Service Parts Disassembly 8-13
3. Rotate the gears as shown by #2 above to lower the wiper all the way down.
Caution
To prevent damage to the ink jets, be careful not to place your fingers on the
faceplate of the printhead.
4. While pulling back slightly on the printhead to keep it away from the drum
surface, unlock (push down) the right and left printhead restraint arms, #3 above,
then slowly allow the spring-loaded printhead to tilt forward.
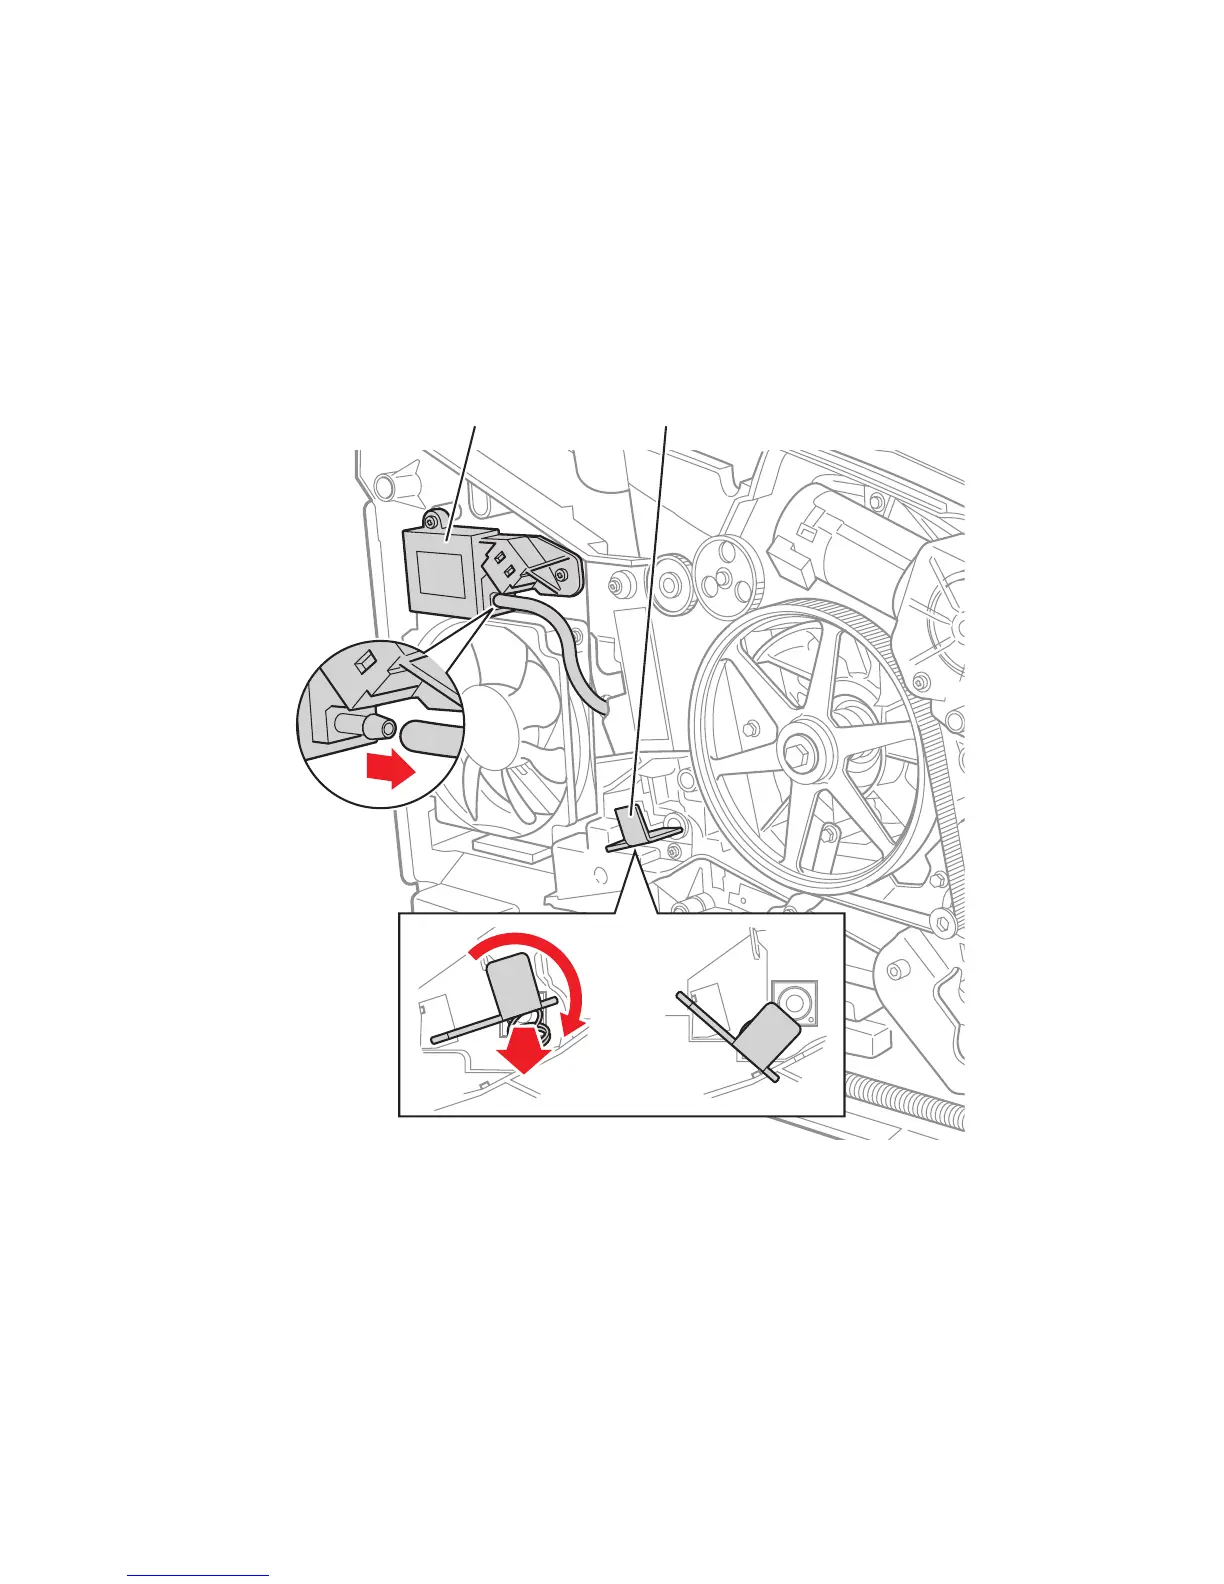
5. On the left side of the printer, pull the X-Axis bias spring and hook out slightly
and shift to the side (rotate down), see #1 and #2 of the following figure. Allow
the spring hook to rest against the detentes in the printer frame.
6. Disconnect the air hose from the purge pump (see figure above).
s8500-074
1. 2.
Bias Spring Hook
Purge Pump

 Loading...


