11.
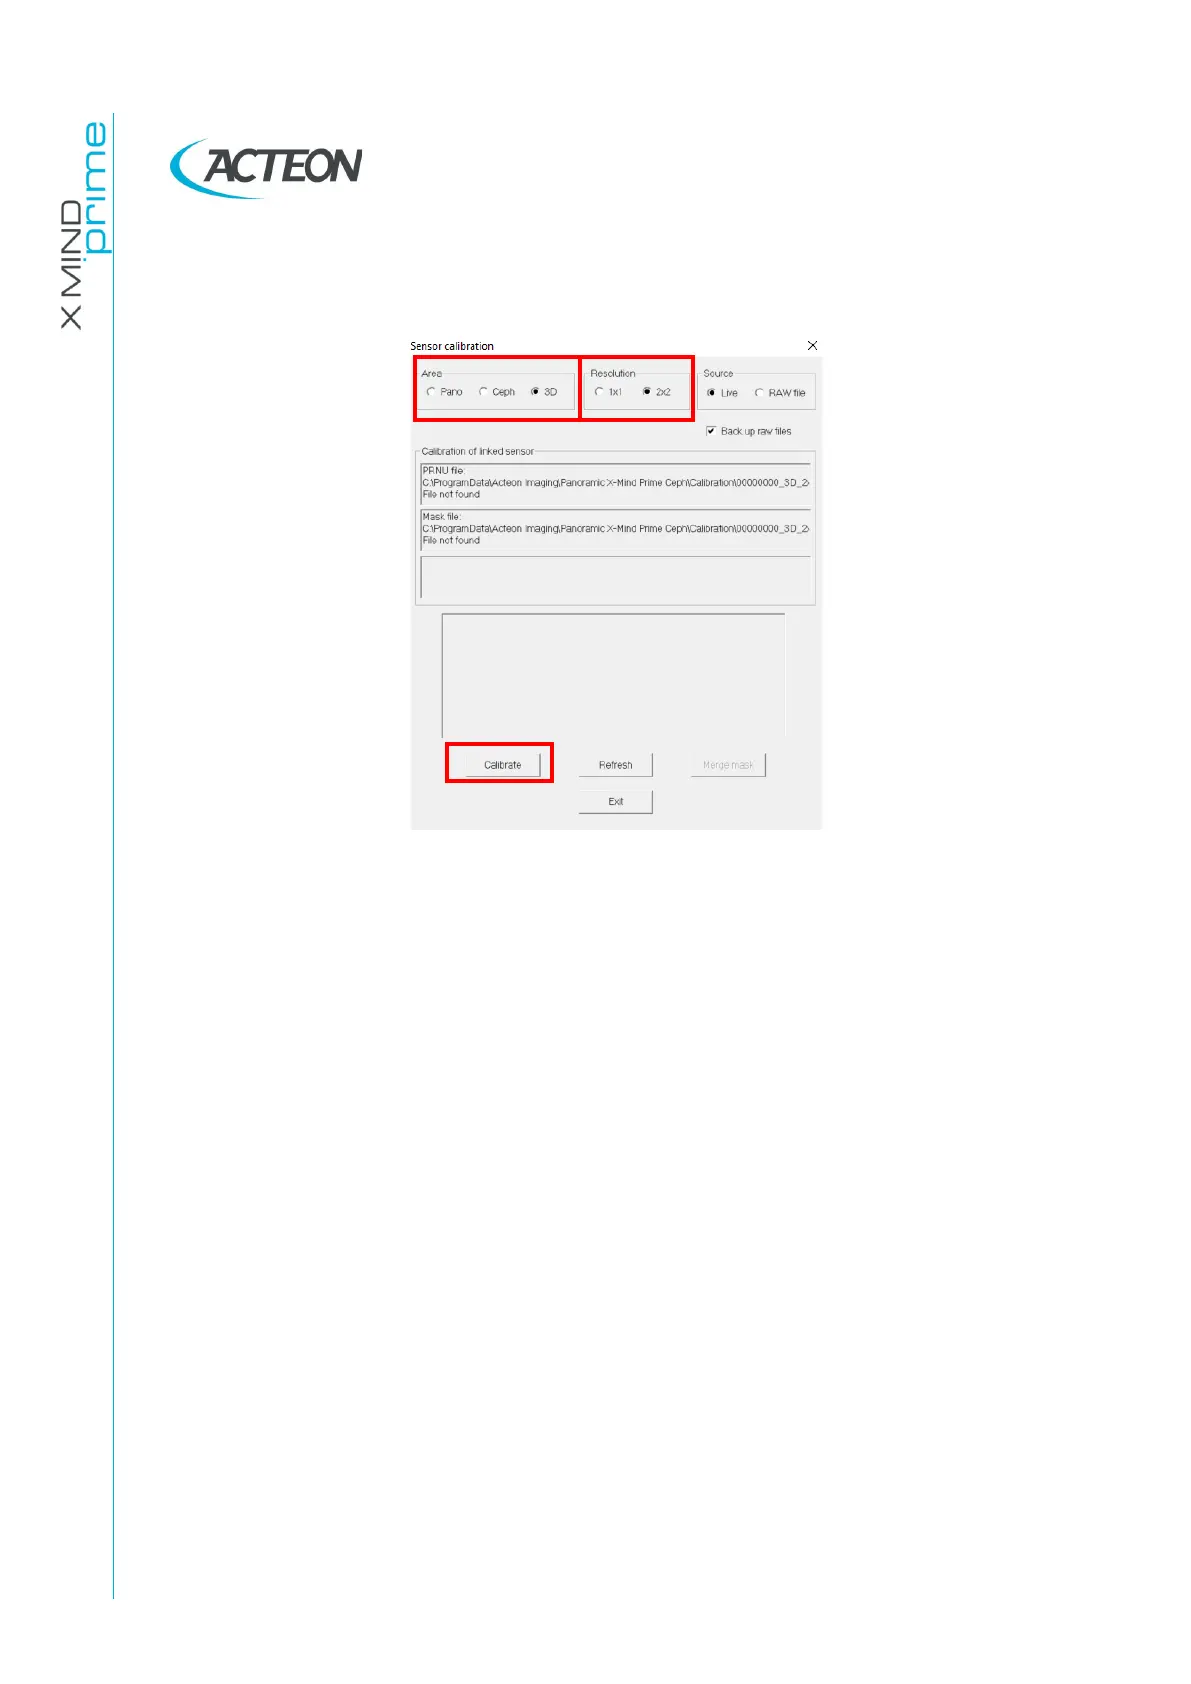
Don't remove the copper filter and Select "3D" in the "Area" panel, "2x2" in the
"Resolution" panel.
12.
Press the button “Calibrate”.
13.
Each time the calibration window displays the message “Waiting for an
acquisition” press the X-ray button until the end of the exposure.
14.
When the 2x2 resolution area calibration is completed, the message
"Calibration finished. Remove the 1.5 mm Cu filter" is displayed. This calibration
will generate the following files in the folder
C:\ProgramData\Acteon
Imaging\Panoramic X-MIND Prime Ceph
\Calibration:
-
[Sensor S/No]_3D_2x2.fmp
-
[Sensor S/No]_3D_2x2.msk