Cleaning and Inspecting Fibers and Ports
Step 3 Inspect the fiber using a fiber scope (as shown in Figure 4).
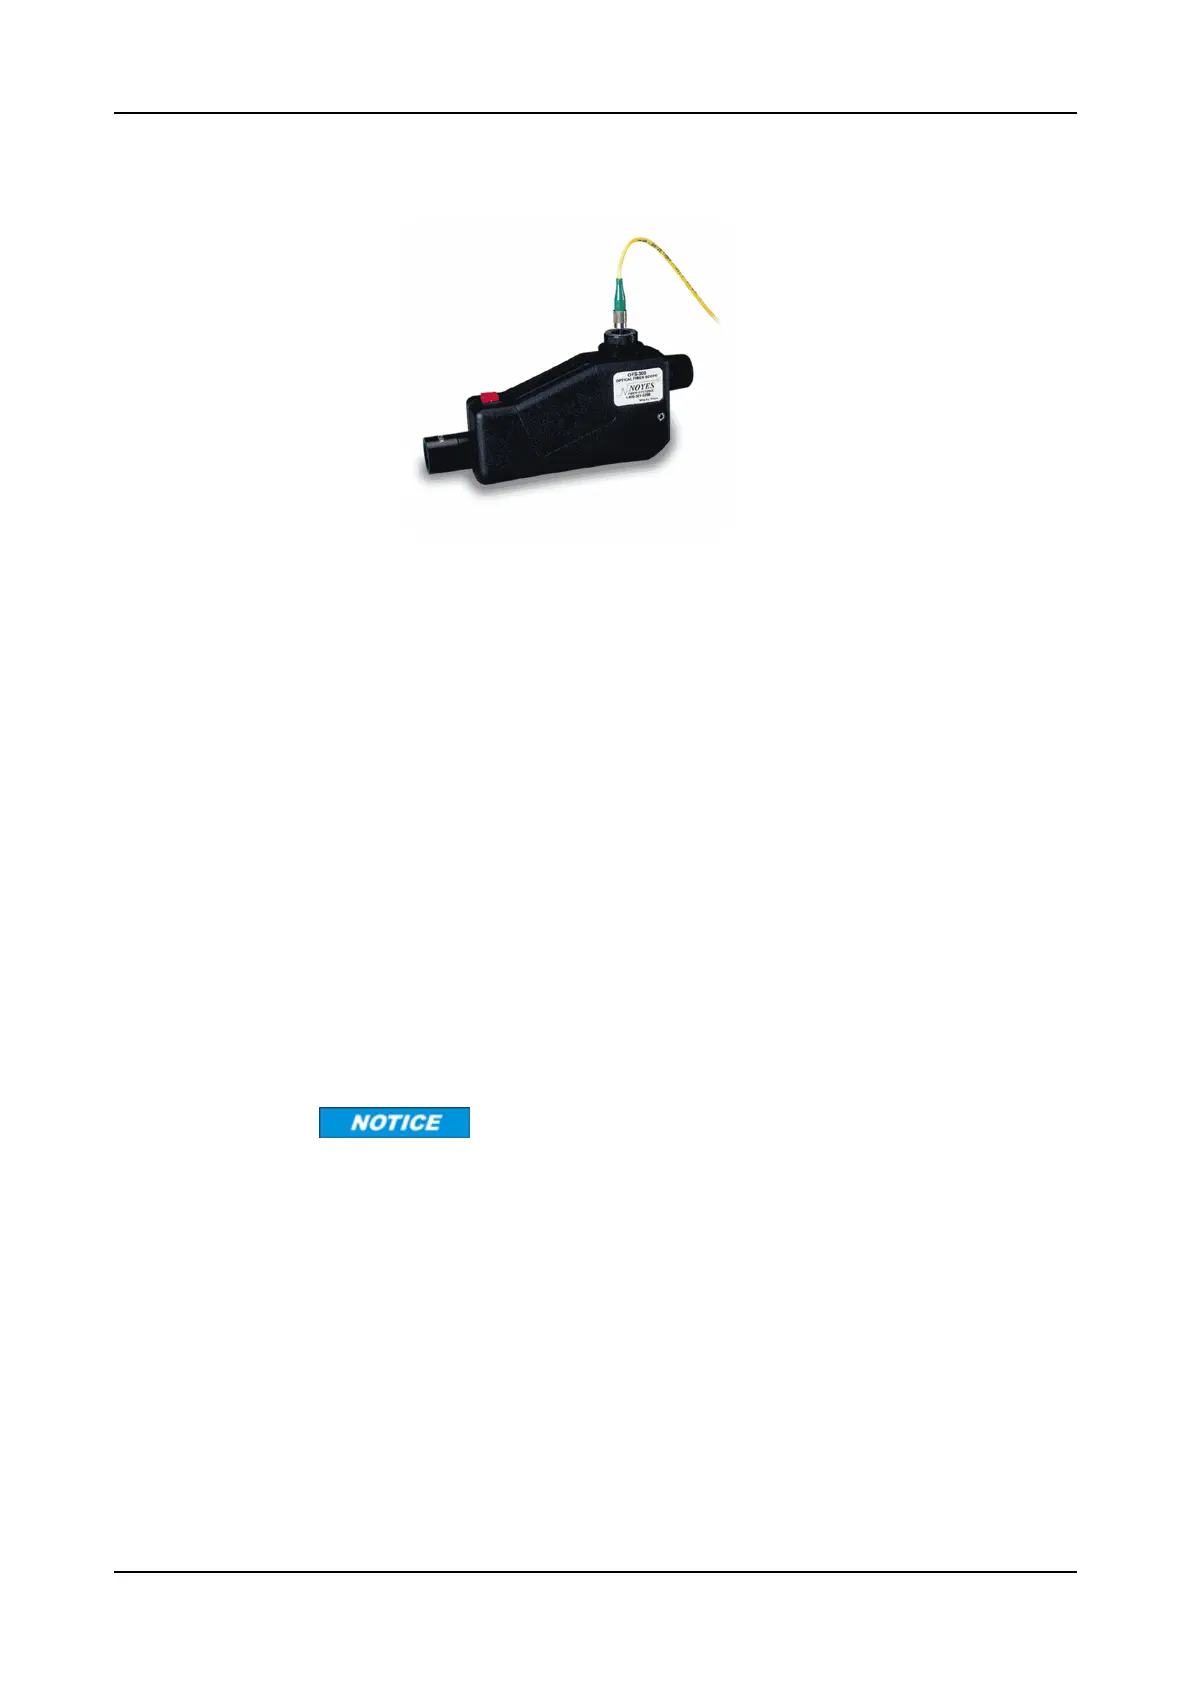
Figure 4: Fiber Scope
Refer to Figure 2 on p.36 for examples of clean, damaged, and dirty fiber
endfaces.
Step 4 If the connector is dirty, clean it with a cartridge or pocket cleaner, using one of
these methods:
a) For cartridge cleaners, press down and hold the thumb lever. The shutter
slides back, exposing a new cleaning area. Proceed to Step 5.
b) For pocket cleaners, peel back the protective film for one cleaning surface.
Proceed to Step 5.
c) For manual advance cleaners, pull on the cleaning material from the
bottom of the device until a new strip appears in the cleaning window.
Proceed to Step 5.
Step 5 Hold the fiber tip lightly against the cleaning area.
a) For single, non-APC fiber connectors, rotate the fiber once through a
quarter turn (90 degrees).
b) For APC connector endfaces, hold the cleaning area at the same angle as
the endface.
Step 6 Pull the fiber tip lightly down the exposed cleaning area in the direction of the
arrow, or from top to bottom.
Do not scrub the fiber against the fabric or clean over the same surface more than
once. This can potentially contaminate or damage your connector.
a) For pocket-style cleaners, go to Step 8.
b) For single fiber connectors with the type A CLETOP, repeat the cleaning
process in the second clean slot (Step 5 and Step 6).
Step 7 Release the thumb lever to close the cleaning window (if you are using
cartridge-type cleaners).
Step 8 Inspect the connector again with the fiber scope. Refer to “Cleaning Fiber-
Optic Connector Plugs” on p.34.
FSP 3000R7 Maintenance and Troubleshooting Manual - Product Release 16.2 - Document Issue A 39
 Loading...
