EasyManuals Logo

Akai MPC 4000 User Manual

Akai MPC 4000
266 pages
To Next Page IconTo Next Page
To Previous Page IconTo Previous Page
Page #263 background imageLoading...
Page #263 background image
Installing a drive
253
6. Use a metal rod or similar object as a prop inside the chassis to hold up the top
panel.
The side panels and screws you removed must be kept in a safe place.
To close the top panel, re-tighten the screws in the opposite order to which they were
removed.
Installing a drive
1. If you are installing a removable-media drive such as a CD-ROM drive or Zip
drive, remove the blank panel from the front panel.
2. Detach the bracket that is attached to the bottom panel of the chassis.
3. Use the hard disk attachment screws (included with the MPC4000) to attach
the drive to the bracket, and re-attach the bracket to the bottom panel of the
chassis.
When installing a drive in the 3.5 inch bay
P2
P7
P8
PC IO
PC CPU
PC IO AD_DA
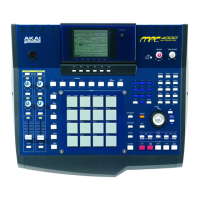
Table of Contents

Questions and Answers:

Question and Answer IconNeed help?

Do you have a question about the Akai MPC 4000 and is the answer not in the manual?

Akai MPC 4000 Specifications

General IconGeneral
Polyphony64 voices
RAM272 MB (expandable to 512 MB)
Pads16 velocity and pressure-sensitive pads
MIDI2 MIDI inputs, 4 MIDI outputs
Sampling Frequency44.1 kHz
Display240x64 backlit LCD
Effects4 internal effects processors
StorageInternal Hard Drive
Sequencer300, 000 notes capacity
FilterMulti-mode filter (Low Pass, High Pass, Band Pass, Band Boost, Band Reject)

Related product manuals