128
1. Copy the rmware le (.sw le) to your USB drive, and insert the USB ash drive into the NVR’s USB
port.
2. Click the Select File button to choose the rmware le in your USB ash drive, then Click OK.
3. Click the Upgrade button to start system upgrade. The system upgrade will last around 5-10 minutes.
Please do NOT power o the NVR or remove the USB from the NVR during rmware upgrade.
You can export the main menu settings you have congured to a USB ash drive, or import an exported
setting le from USB ash drive to the NVR.
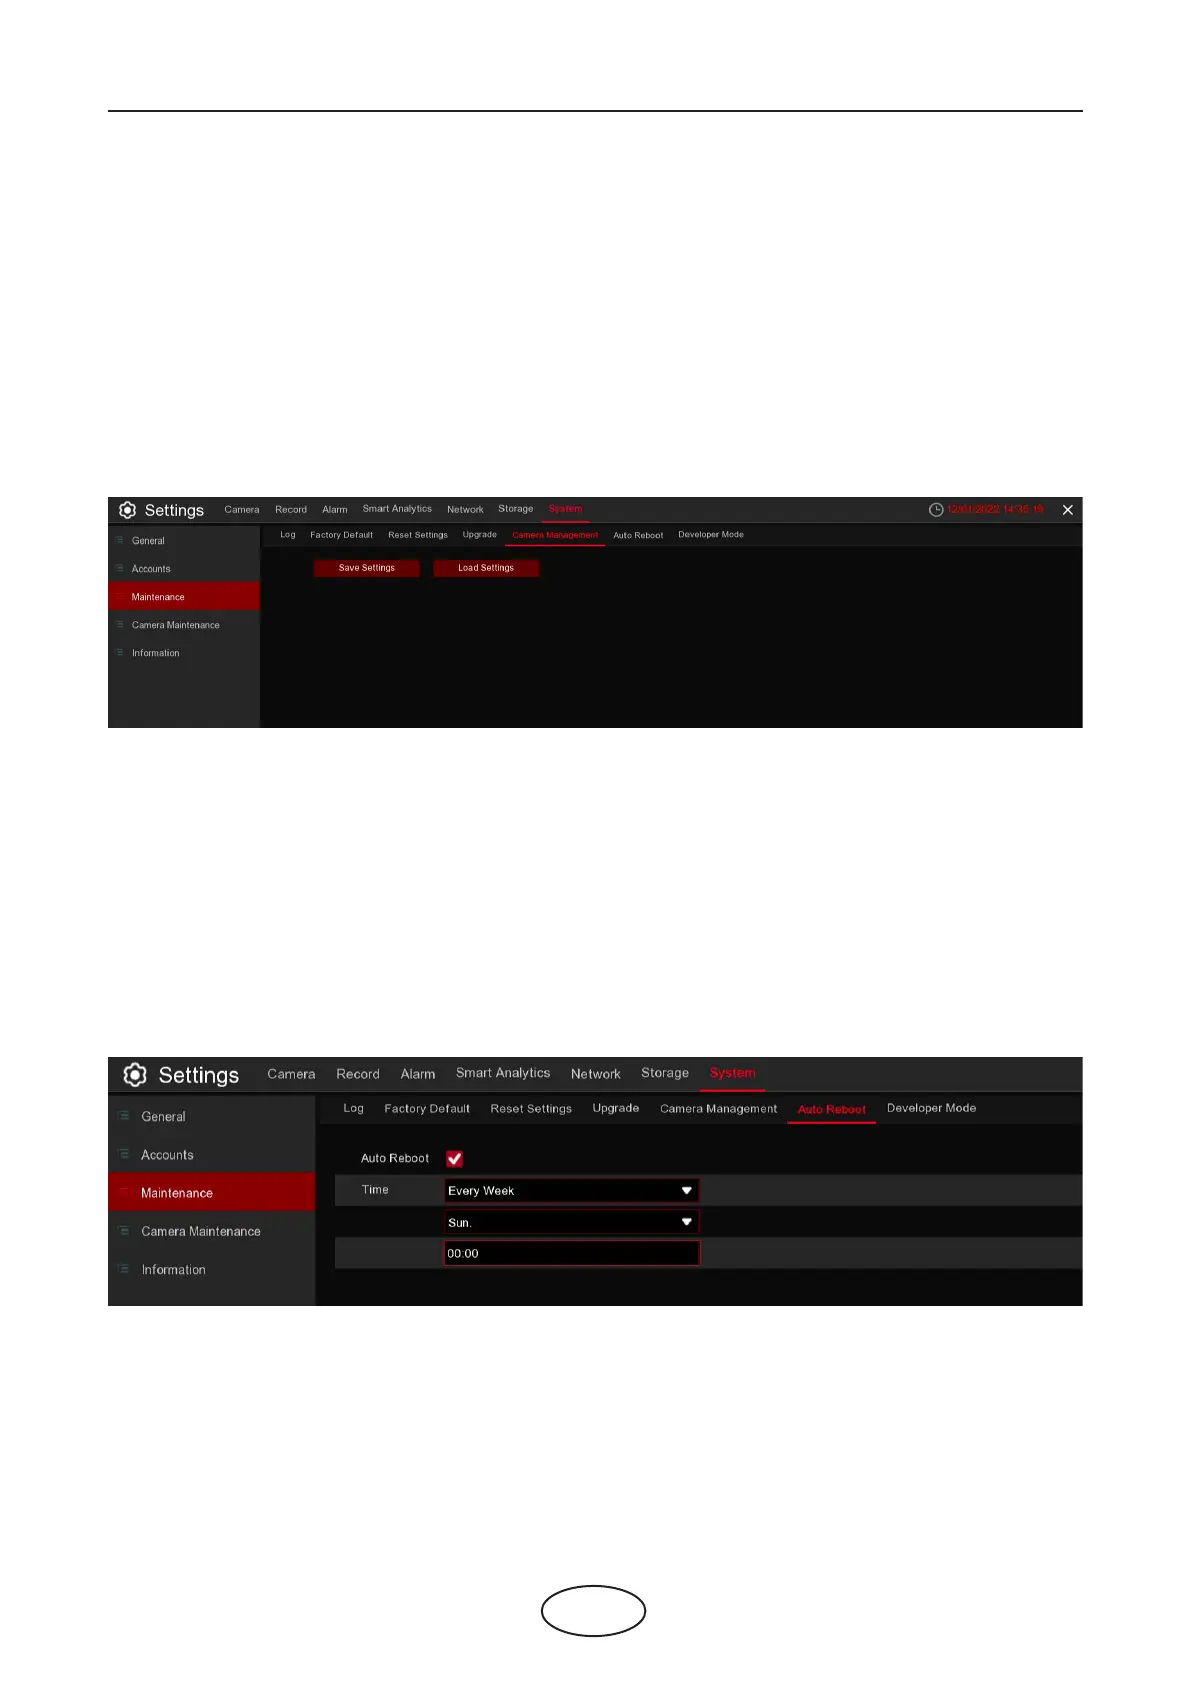
5.7.3.5 Camera Management
Save Settings: Click to save the NVR current system settings to the USB device. You will be required to input
the Admin password to authenticate.
Load Settings: Once you have created a system settings export, you can import the settings to another
NVR. Click the Load Settings button to navigate to the system settings le you want to import from your
USB ash drive. You will be required to input the Admin password to authenticate.
5 NVR System Setup
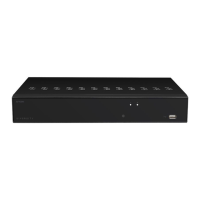
5.7.3.6 Auto Reboot
This menu allows the system to auto reboot the NVR regularly. It is recommended to leave this
function enabled, as it maintains the operational integrity of your NVR.
Auto Reboot: Check to enable.
Time: You can set the NVR to reboot by day, week, or month.