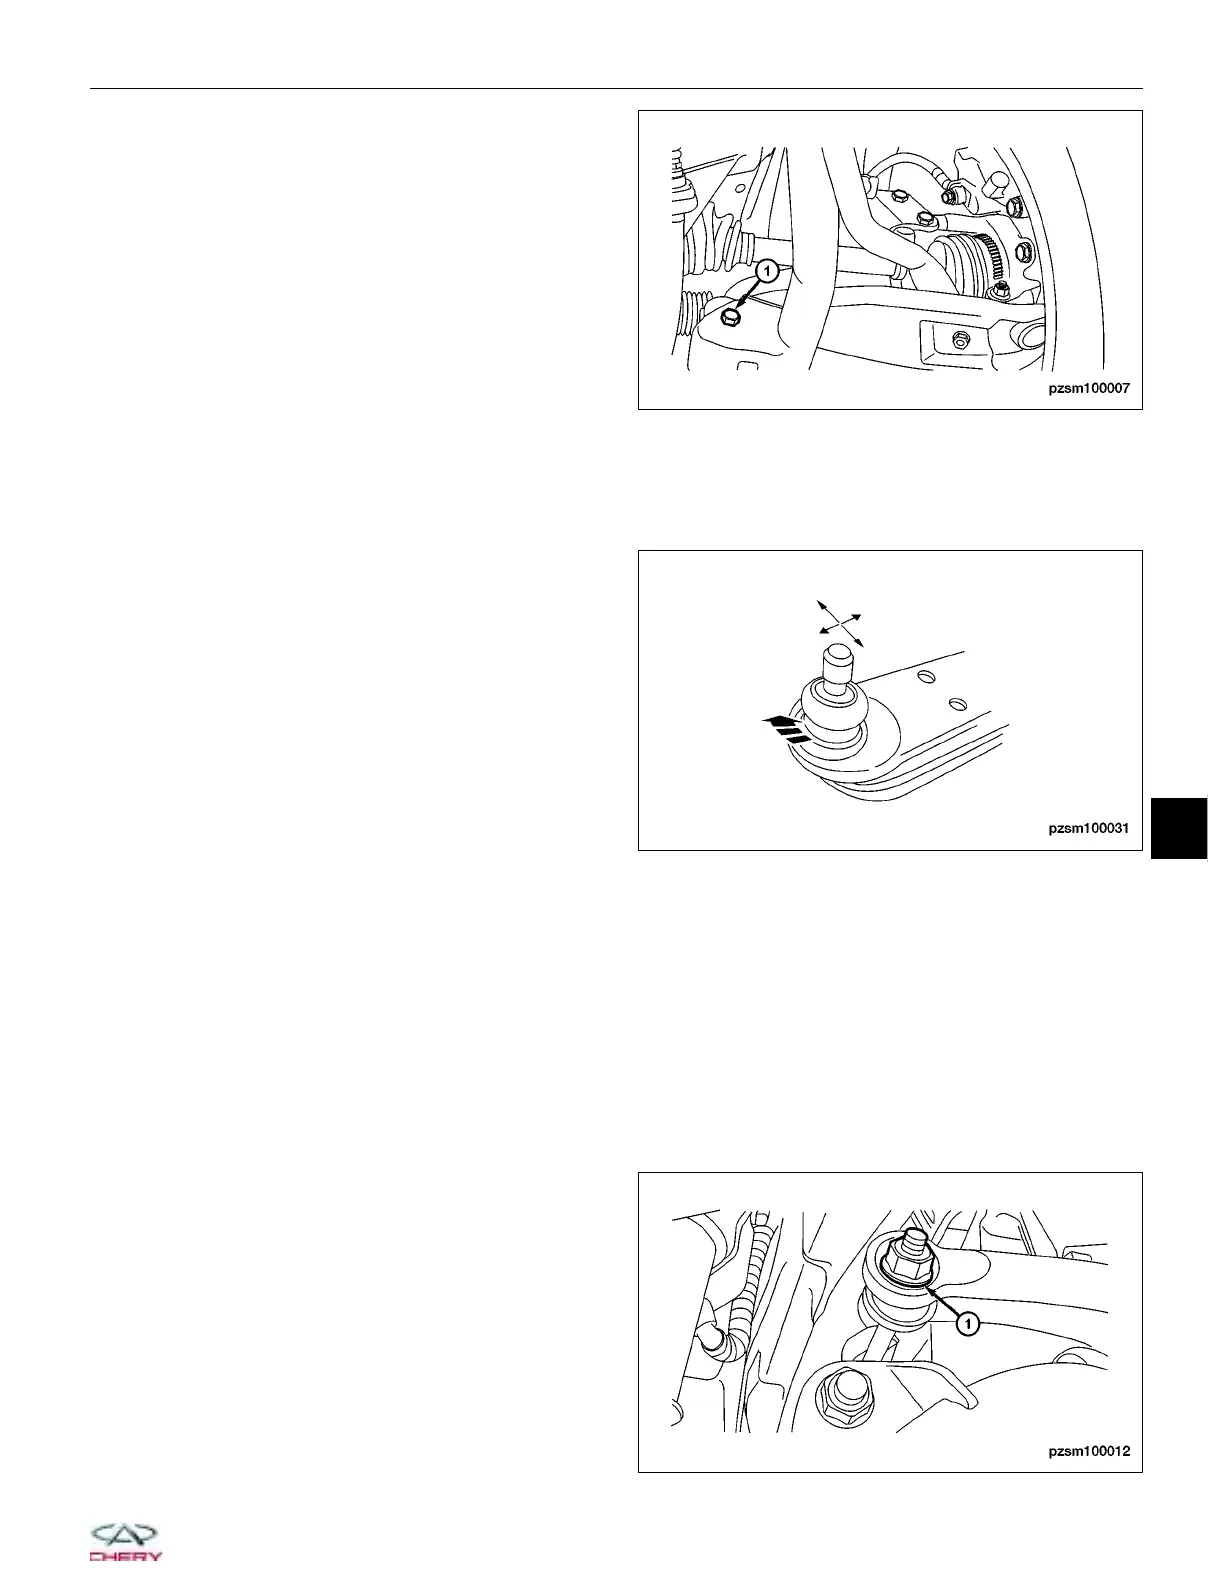
6. Remove the lower control arm to the sub-frame
bolt (1).
(Tighten: Lower control arm to the sub-frame bolt
to 150 ± 10 N·m)
7. Remove the lower control arm from the sub-frame.
8. Perform the following inspection procedure before installation.
Inspection
Lower control arm inspection:
a. Check for smooth rotation.
b. Inspect ball stud for damage.
c. Inspect dust cover for damage or oil leak.
d. Inspect for play in the ball joint, if defective,
replace the ball joint.
9. Install the lower control arm is in the reverse order of removal.
Installation Notes:
After installation, each bolt must be tightened to the required tightening torque.
Front Stabilizer Bar
Removal & Installation
1. Raise and support the vehicle.
2. Remove the wheel mounting nuts and the wheel assembly.
(Tighten: Wheel mounting nuts to 110 N·m)
3. Remove the stabilizer bar link nuts (1) attaching
the stabilizer bar to the stabilizer bar link.
(Tighten: Stabilizer bar link nuts to 110 ± 10 N·m)
ON-VEHICLE SERVICE
PZSM100007
PZSM100031
PZSM100012
10
10–11
Chery Automobile Co., Ltd.