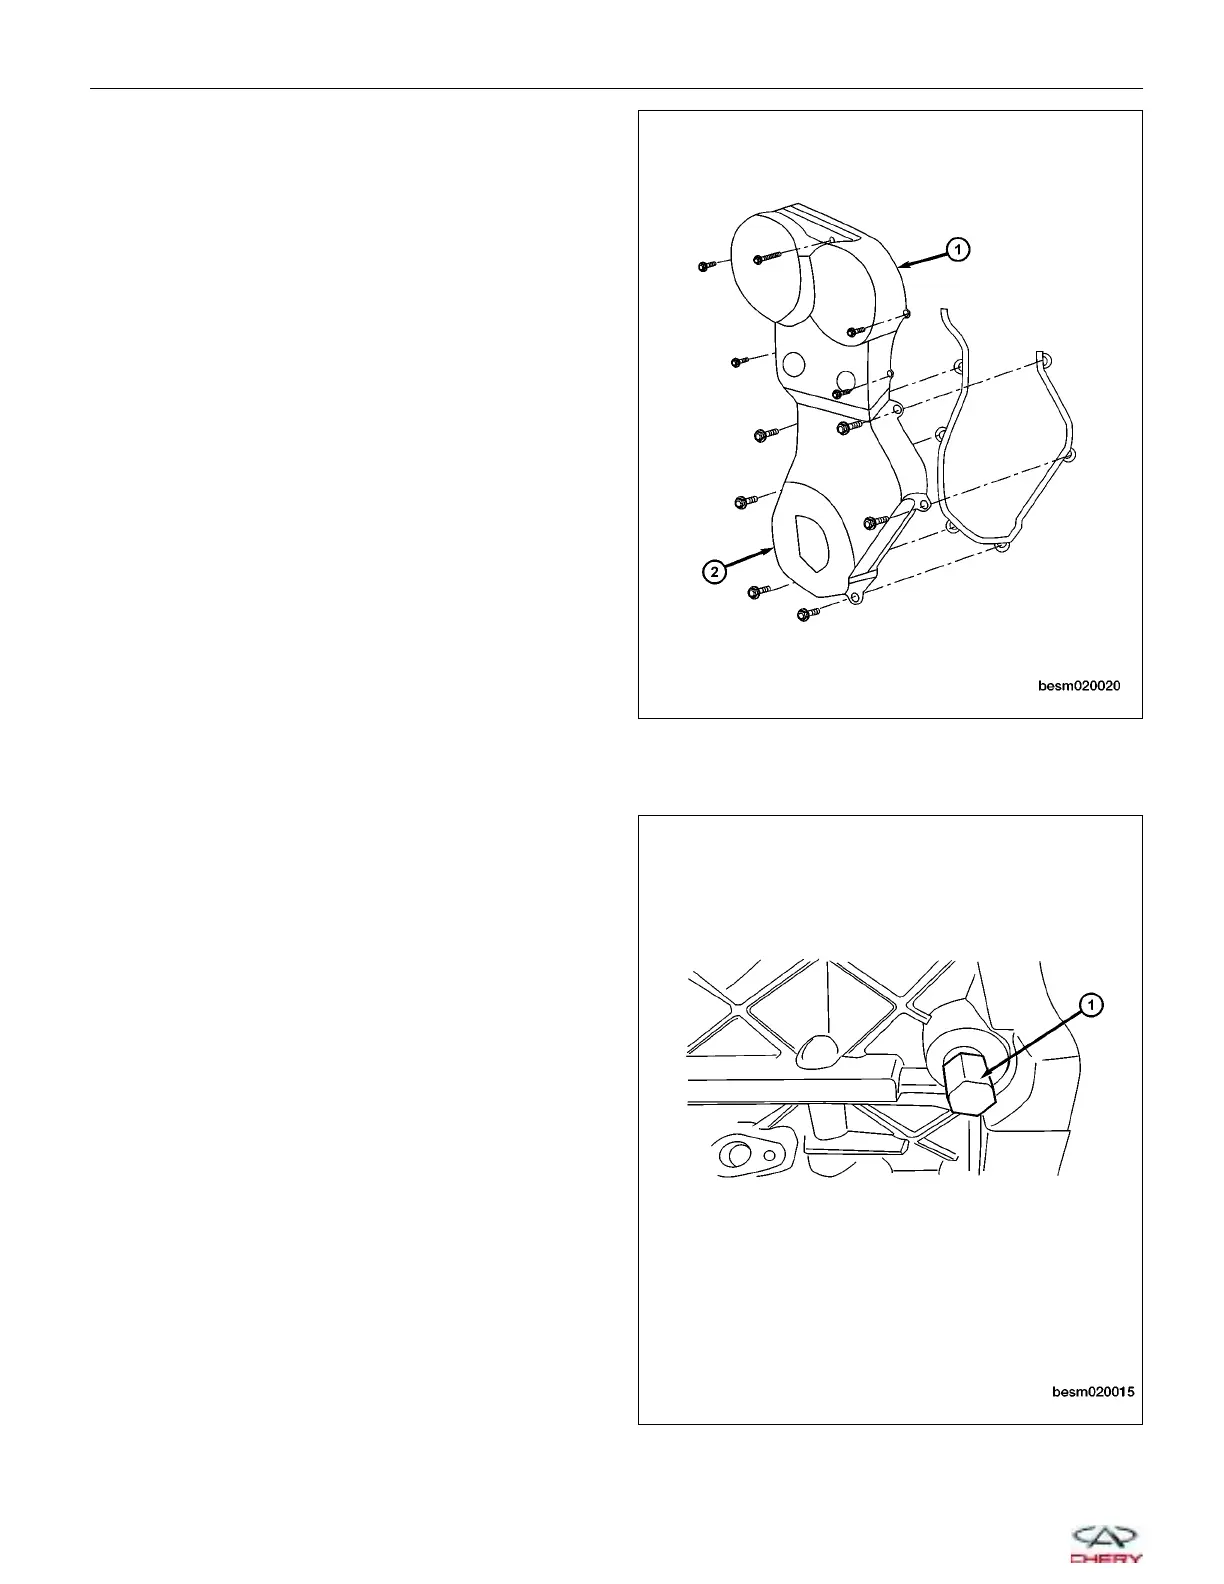
9. Remove the timing belt upper cover (1) and the
timing belt lower cover (2).
(Tighten: Timing belt upper cover bolts to
8 ± 3 N·m)
(Tighten: Timing belt lower cover bolts to
8 ± 3 N·m)
10. Remove the intake manifold (See Intake Manifold Removal & Installation in Section 02 Engine).
11. Remove the cylinder head cover (See Cylinder Head Cover Removal & Installation in Section 02 Engine).
12. Remove the plug in the cylinder block.
13. Using special tool CH-20003 (1), install the crank-
shaft holder (1) into the cylinder block and rotate
the crankshaft until the crankshaft tool completely
holds the crankshaft in place.
(Tighten: Crankshaft holder to 28 N·m)
NOTE: The crankshaft holder will prevent the
crankshaft from rotating in either direction.
ON-VEHICLE SERVICE
BESM020020
BESM020015
02–42
Chery Automobile Co., Ltd.