DLS 4 / DLS 8 / 8 PLUS / DLS 16 / 16 PLUS
27Dallmeier electronic
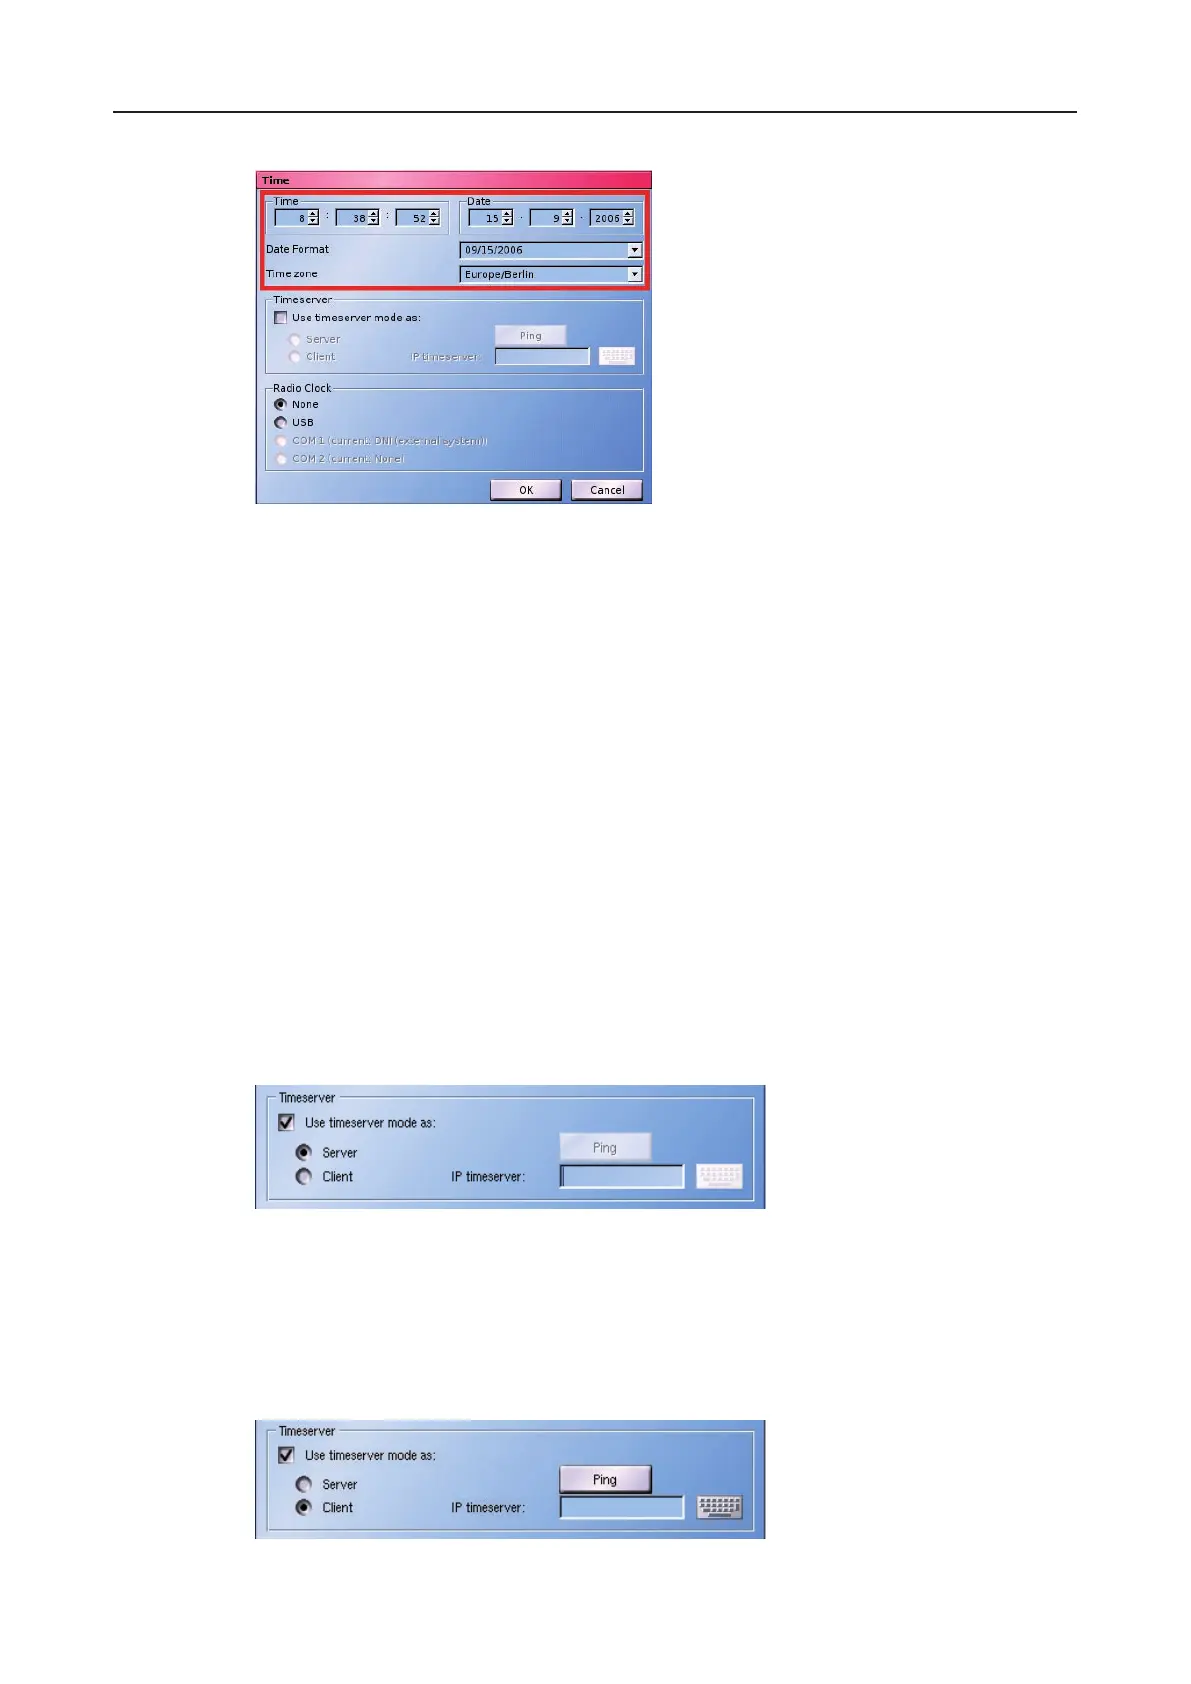
Fig. 7-2: Set the time manually
Ø Enter the current time.
Ø Enter the current date.
Adjust the date format and the time zone if necessary.
7.2.2 Time server
If several DLS units are used and linked via a LAN, one DLS can be used as the master
(time server) for the date and time. The setting in the other recording systems then changes
according to the change in the master DLS.
If the master DLS is operated with a radio clock, all connected slave recorders (Clients) run
in sync with the radio clock.
Setting DLS as Master
Ø If your DLS is to be used as a Master, acivate the checkbox next to Use timeserver
mode as:.
Ø Mark the Server function.
Fig. 7-3: Time dialog - set Timeserver
Setting DLS as Client
Ø If your DLS is to be used as a Client, and therefore as a time receiver, rst mark the
checkbox next to Use timeserver mode as:.
Ø Mark the Client function.
Fig. 7-4: Time dialog - set Timeserver / Client