50
HemoSphere Advanced Monitor 3 Installation and Setup
3.4 Initial Start Up
3.4.1 Start Up Procedure
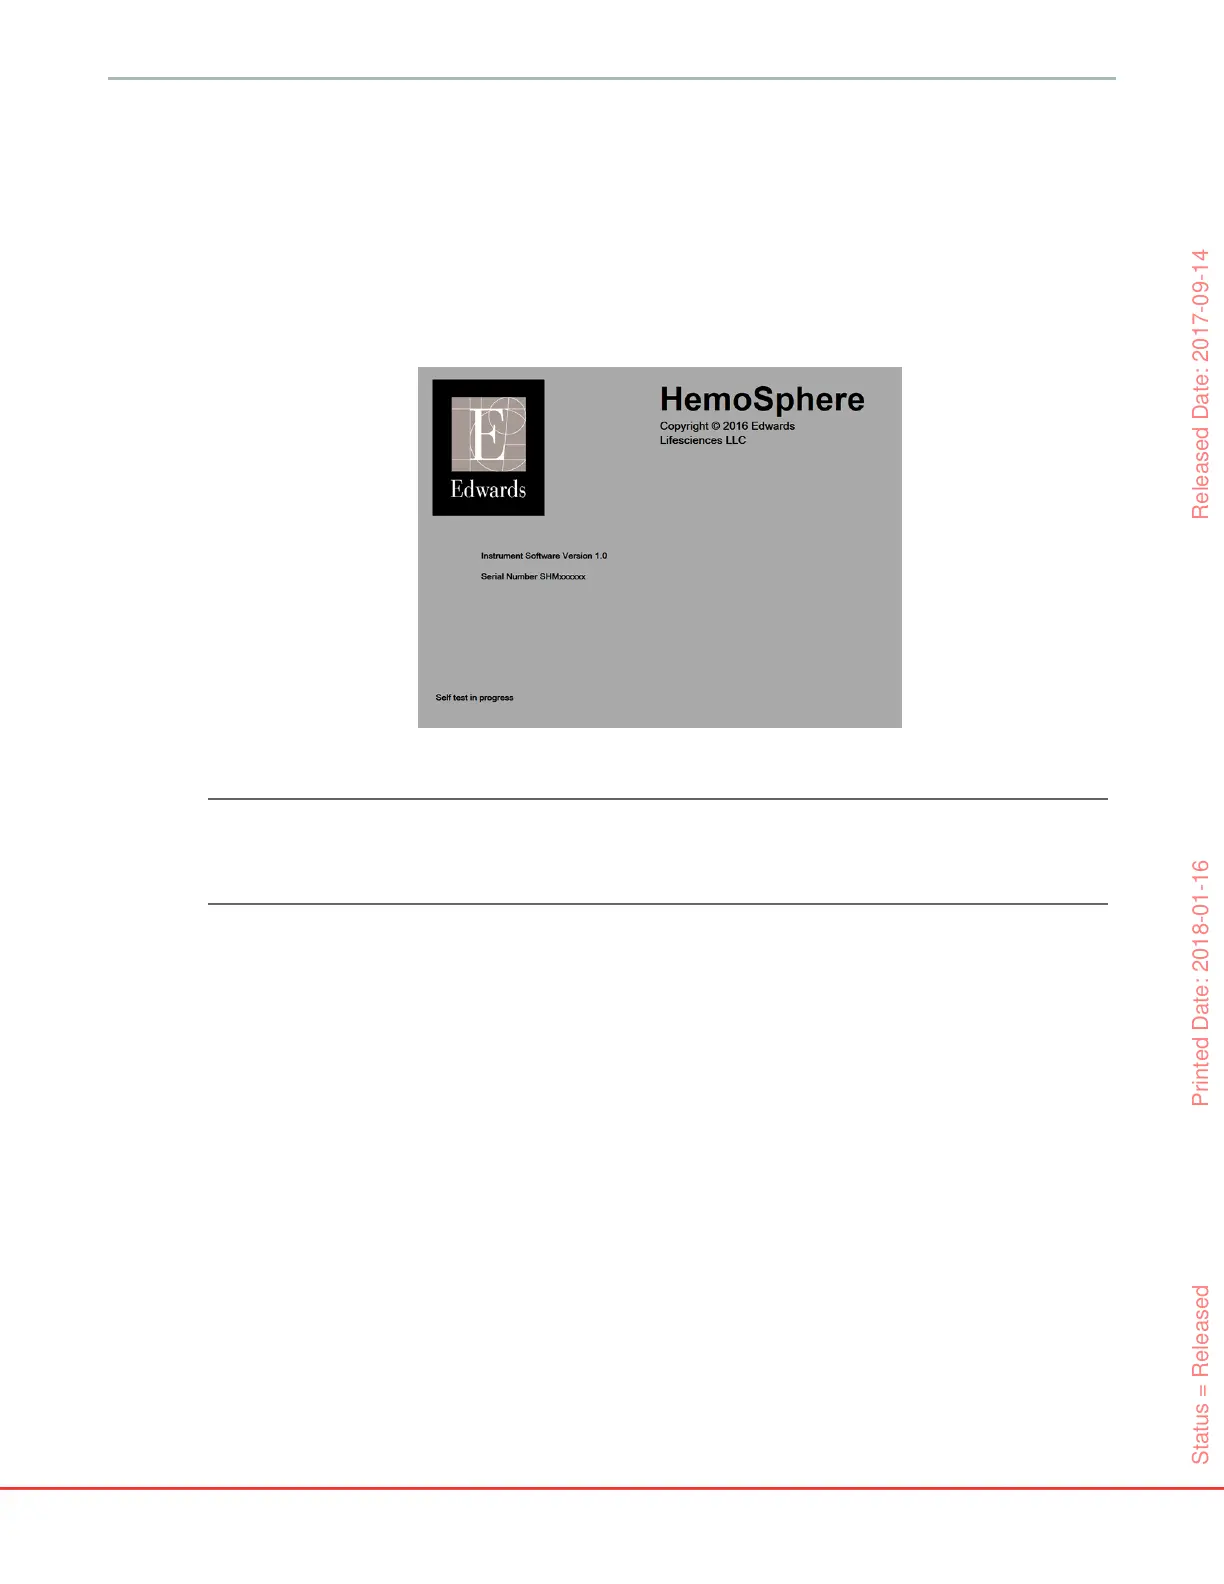
To turn on and off the monitor, press the power button located on the front panel. After turning on the
monitor, the Edwards screen is displayed followed by the Power-On Self Test (POST) screen. The POST
verifies the monitor meets basic operating requirements by exercising critical hardware components and is
performed each time the system is turned on. POST status message is displayed on the startup screen along
with system information such as serial numbers and software version numbers.
NOTE If the diagnostic tests detect an error condition, a system error screen will replace the
startup screen. See chapter 13: Troubleshooting or appendix F: System Care, Service and
Support. Otherwise, call your Edwards Lifesciences representative for assistance.
3.4.2 Select Language
Upon initial HemoSphere advanced monitor startup, language options are offered which affect the displayed
language, time and date formats, and units of measurement. The language selection screen appears after the
software has initialized and POST is complete. Selecting the language also sets the display units and the time
and date format to the default settings for that language (see appendix D: Monitor Settings and Defaults).
Each of the language-related settings can be changed later in the Date/Time screen of the Monitor
Settings screen and in the language option through Monitor Settings
General.
Figure 3-6 Startup screen
Status = Released Printed Date: 2018-01-16 Released Date: 2017-09-14