57
HemoSphere Advanced Monitor 4 HemoSphere Advanced Monitor Quick Start
2 Use the Select Pressure panel to select the type/location of pressure sensor being used. The
choices for Pressure Transducer are:
• ART
• CVP
• PAP
This step can be skipped while monitoring with a FloTrac or FloTrac IQ sensor. If a FloTrac or
FloTrac IQ sensor is connected ART is the only available pressure option and is automatically
selected.
3 Level the stopcock valve to the patient’s phlebostatic axis position according to the instructions
for use.
4 Open the stopcock valve to measure atmospheric pressure.
5 Press the physical zero button directly on the pressure cable, or touch the zero button
located on the screen. When zeroing is complete, a tone sounds, and the message “Zero
Complete” appears. The zero button LED will emit a solid green light when properly zeroed.
6 Confirm stable zero pressure and trun stopcock such that sensor is reading patient intravascular
pressure.
7 Touch the home icon to begin monitoring.
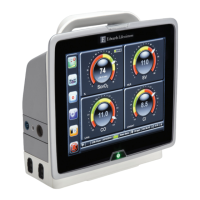
8 Touch the monitor screen selection icon to select the desired monitoring screen view.
9 Touch outside of a parameter globe to select the desired key parameter from the parameter popup.
10 Touch within a parameter globe to adjust Alarms/Targets.
NOTE The alarms limits for the Hypotension Probability Indicator, P(↓BP), are not adjustable.
Status = Released Printed Date: 2018-01-16 Released Date: 2017-09-14