CHAPTER 6
108
Routine Printer Maintenance
4/29/10 Rev G
9 The printer prompts you to Check the Ink Waste Tray. Remove the waste ink tray, empty
it if necessary, replace the two all-purpose wipes if they are saturated, and reinstall
tray (see page 93).
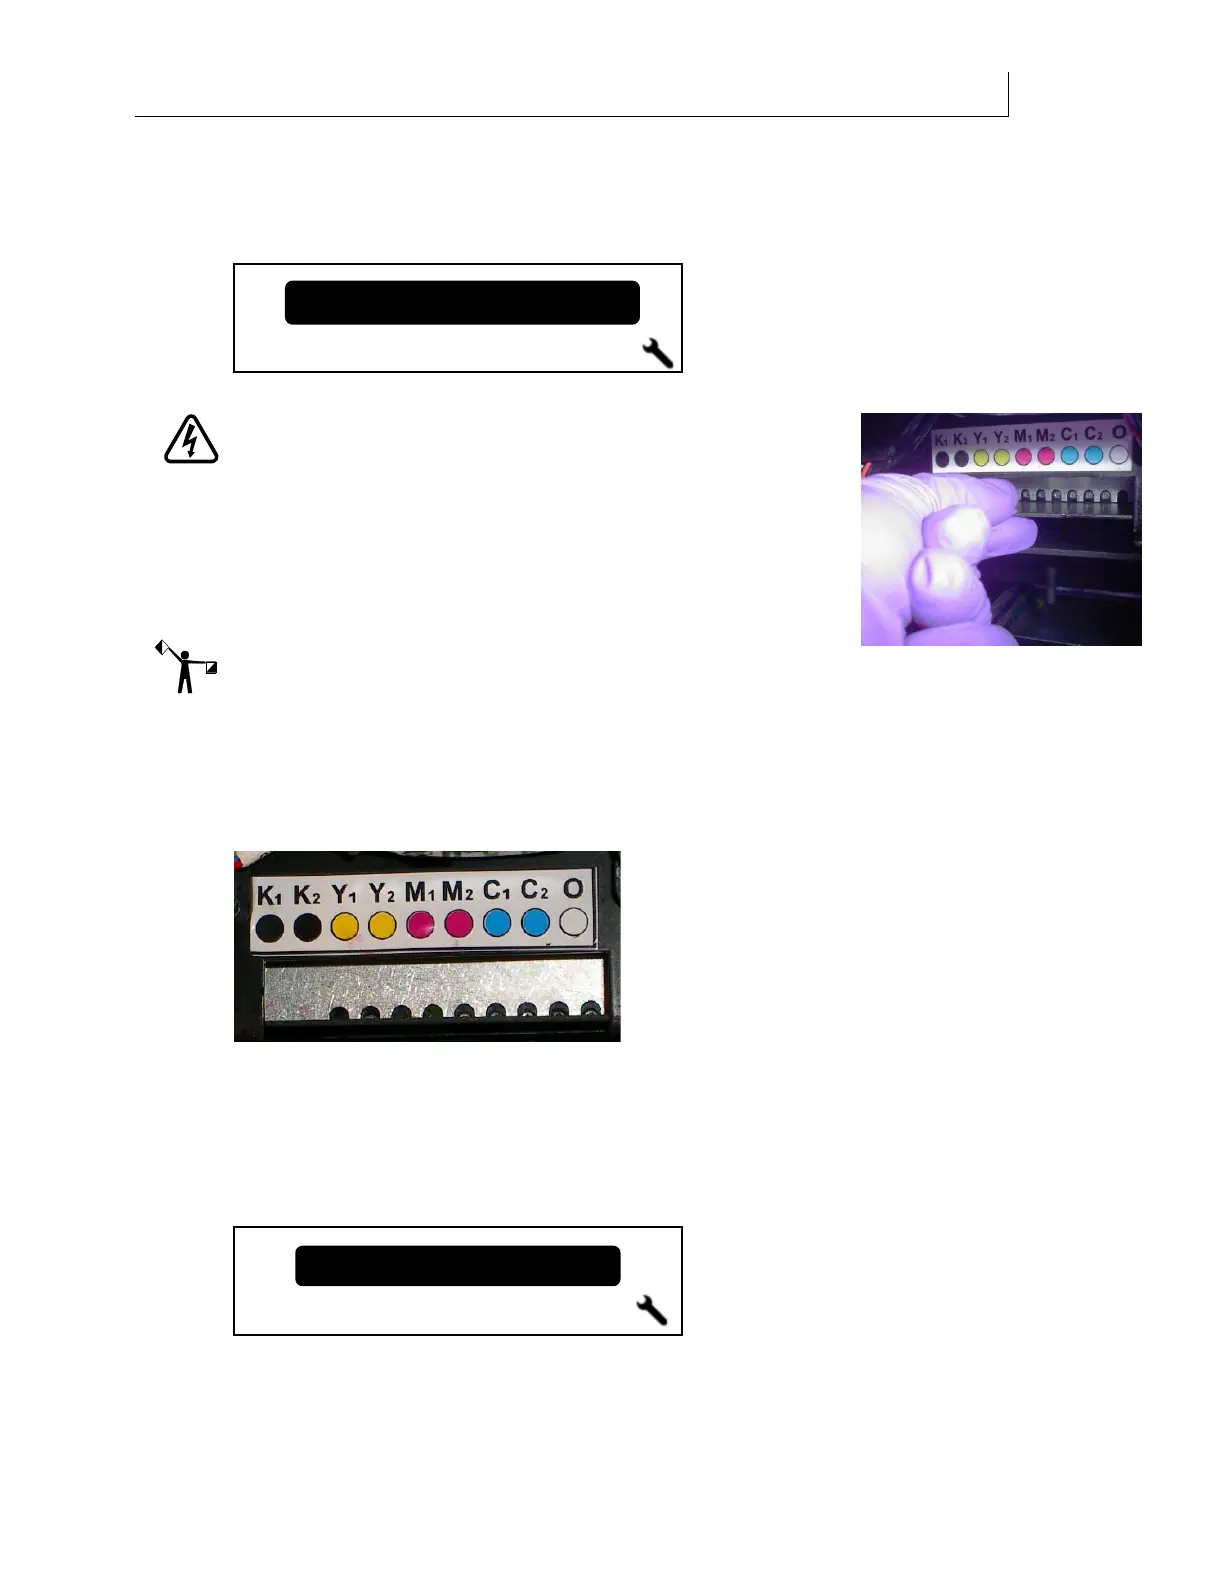
10 The screen prompts you to
Open “INK COLOR” Purge Valve 1. Press ENTER when done.
WARNING: Use care when opening the ink valves as it is
easy to push the printhead carriage away from the waste ink
tray causing ink to drip on the printer electronics and cause
damage. The carriage should not move during this
procedure. The bottom of the carriage has a shield, hold the
shield in place with your fingers while turning the purge
valve set screw. This will keep the carriage from moving. If
it does move, pull it back with your fingers (see photo).
Note: If the carriage is not correctly parked above the waste ink
tray, the printer prompts you to move the Carriage to the PARK position before the ink is
pumped during the purge. To do so you must grab the carriage by the shield with your fingers
and pull until it stops.
11 Open the purge valve for the color you wish to purge using the 2mm Allen wrench.
Turn the wrench ¾ to one full turn counterclockwise to open the valve. You may find a
flashlight helpful when locating the valve. Press ENTER when done.
12 The working icon displays while the ink drips from the valves into the waste ink tray.
Approximately 50 ml of ink will be cleared from the ink line. The process takes two to
three minutes.
13 When the ink clearing is complete the screen prompts you to
Close all purge valves. Press
ENTER when done. Use the 2mm Allen wrench to close the valves. Press ENTER when
done.
14 The printer prompts you to
Check the Ink Waste Tray. Empty tray if necessary, replace
all-purpose wipes, and reinstall the tray (see page 93).
Close all purge valves
Press ENTER when done
O
en CYAN Pur
e Valve
1
Press ENTER when done