Chapter 2: Installation
Audio Connections
52/ 526 2.0 Eclipse User Guide
Audio Connections
Eclipse’s I/O interfaces use the standard audio connectors
commonly found in professional audio.
Analogue-to-digital converters and digital audio connections
operate at 24-bit, 48kHz, except the DI-8Src card which accepts
sampling frequencies from 32kHz to 56kHz.
If you intend to use the standard template File, which is pre-
installed on each console, then you should connect your audio
devices according to Appendix A, see Page 508
.
Alternatively, you can connect your devices as you wish, and
then patch your inputs and outputs using the PATCH IN and
PATCH OUT grids described in Chapter 6.
Warning
When the console powers on, settings from the last File are
loaded. This may cause audio to pass through the console, so
when connecting amplifiers, headphones, etc. make sure that
they are turned off or at a safe level.
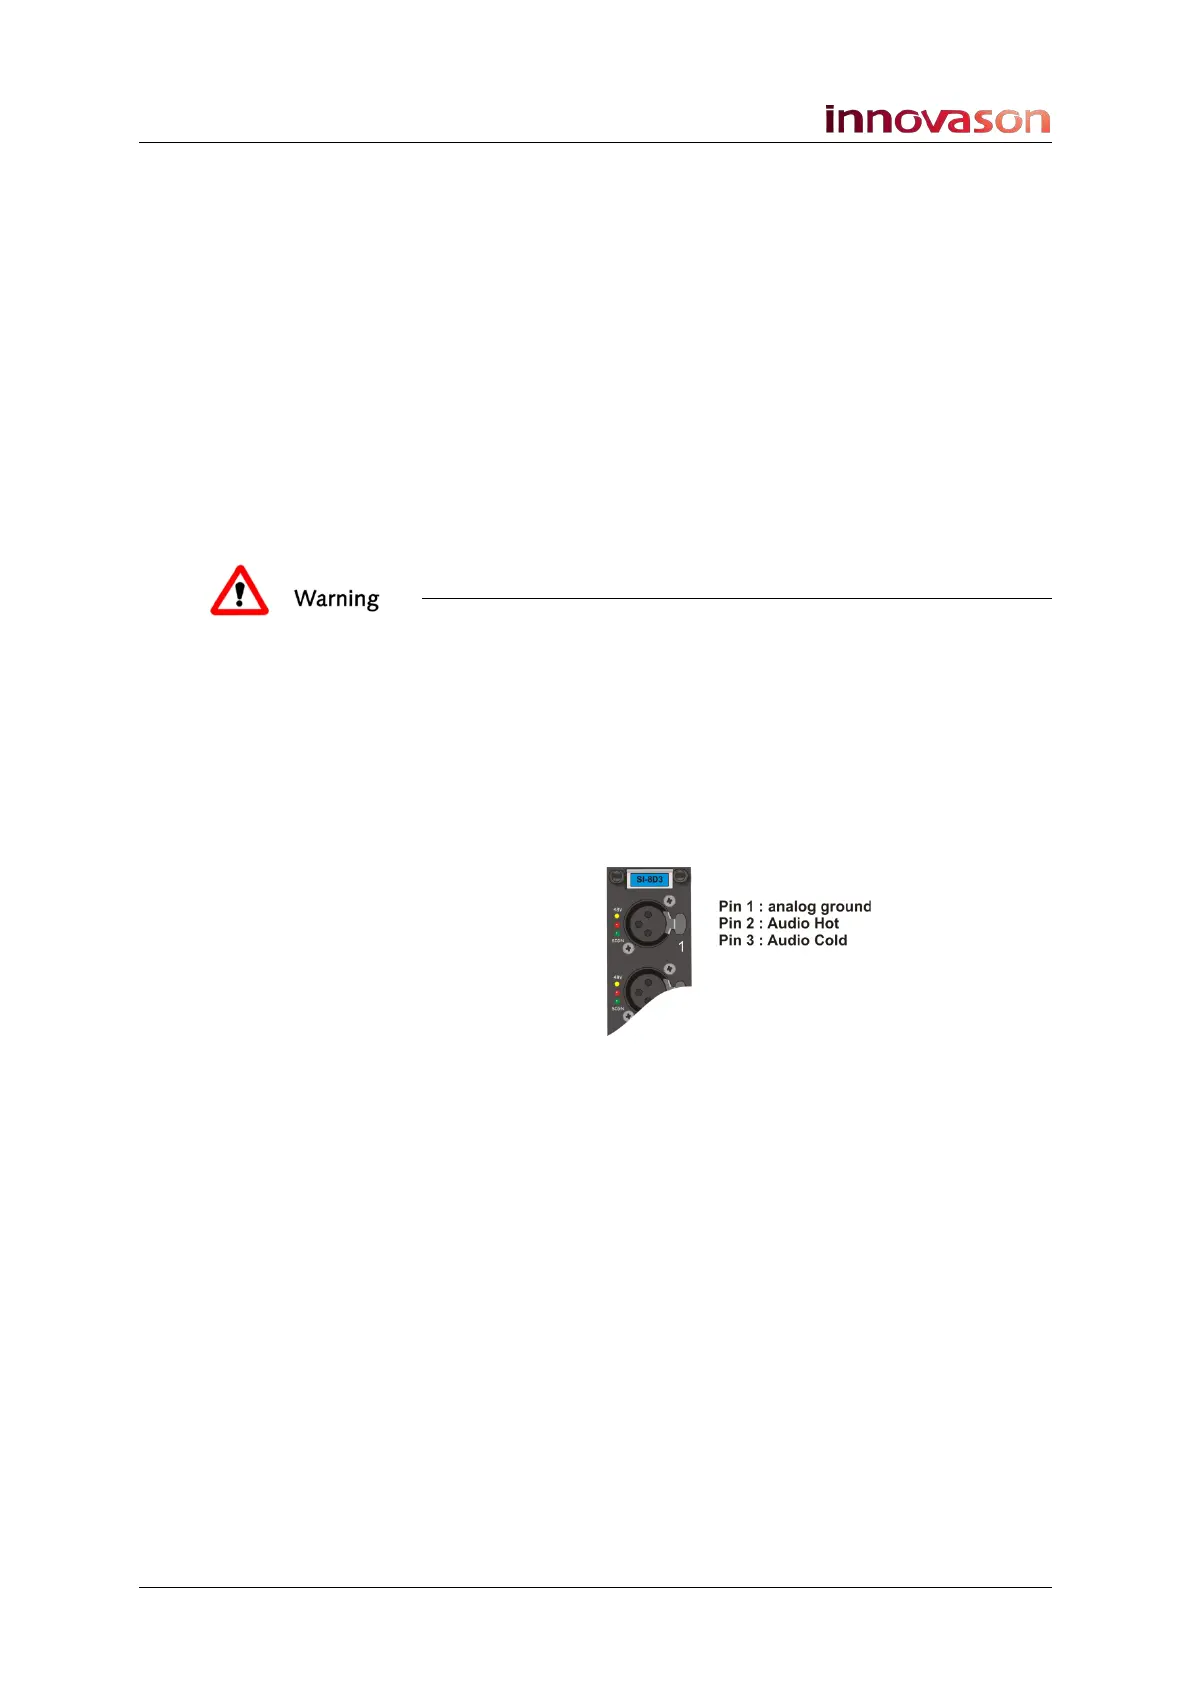
SI-8D3 Cards (standard)
This card provides 8 mic/line inputs. Every input cable should
be wired as follows:
Each of the female XLR connectors allows connection to an
electronically balanced universal preamp, which accepts signals
with levels between -51dBu and +26dBu. Each preamp can be
controlled from the console; the available gain range is from -27
to +63dB, in 1.5dB steps.
The phantom power may be turned on/off independently,
channel by channel. Phantom power can be generated by the
input module itself (limited to 6mA) or from an external source
(e.g. mic power supply, analog console, etc.). When using an
external source, do not turn on 48V for the input as this could
prove destructive.
The yellow LED next to the connector indicates the presence of
48V (internal or external phantom power supply).
The green and red LEDs indicate signal presence and signal
overload respectively.
The output of the preamp feeds a 24-bit Delta-Sigma analogue-
to-digital converter.