Chapter 5: Console Operation
Talkback
218/ 526 2.0 Eclipse User Guide
Talkback
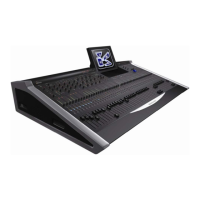
Eclipse provides three talkback controls on the
TB/MONITORING panel which can be used to talk to three
different destinations:
• TB1
• TB2
• SLATE / TB3
The operation of each is identical:
1. Press down on the rotary control to activate talkback to
your chosen destination.
Note that talkback is momentary; for safety, you cannot latch on
talkback so keep holding down the control to talk.
2. Turn the rotary control to adjust the talkback level.
You can prepare the talkback microphone source, and
destination channel, from the Nova touch-screen as follows:
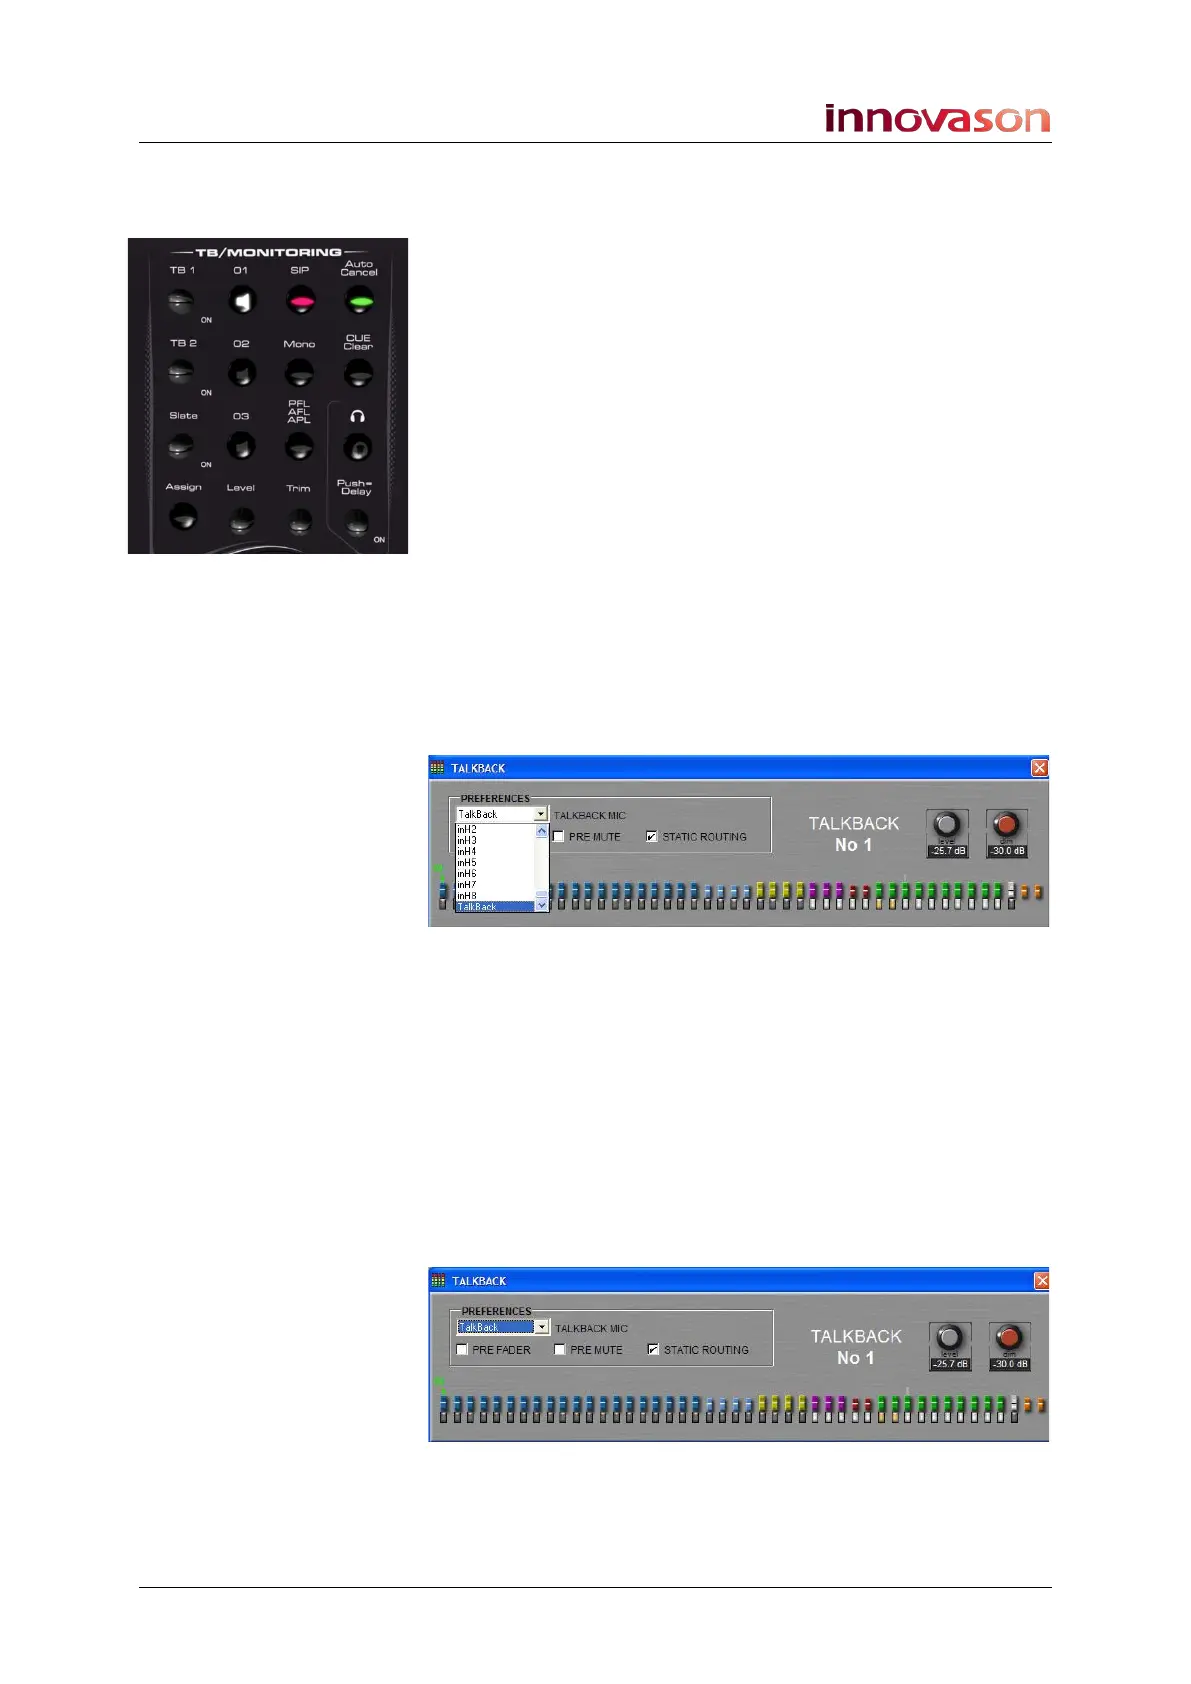
1. Whilst holding a control (e.g. TB1) the Talkback
Preferences window appears:
2. Select a talkback source from the drop-down menu.
By default, the engineer talkback XLR at the front of the console
is selected (Talkback). However, you can choose any
microphone input connected to a local mic card fitted at the rear
of the console.
To set the gain for a local microphone input, or select 48V, use
the input Adjust controls on the PATCH INPUT or PATCH
DIRECT displays.
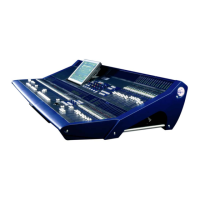
3. Press SEL on the mix busses you wish to talk to.
In our example, we have selected two Auxes:
You can select as many Aux, Group, Master and Matrix busses
as you wish. You cannot inject talkback to an input or VCA!