NOTICE
Wear and premature failure due to damage to toothing
Damage to the toothing of the motor and gear unit can lead to in-
creased wear and premature failure of the components.
• During cleaning, ensure that the toothing is not damaged.
• Before installation, check the toothing of the motor and gear unit for
damage.
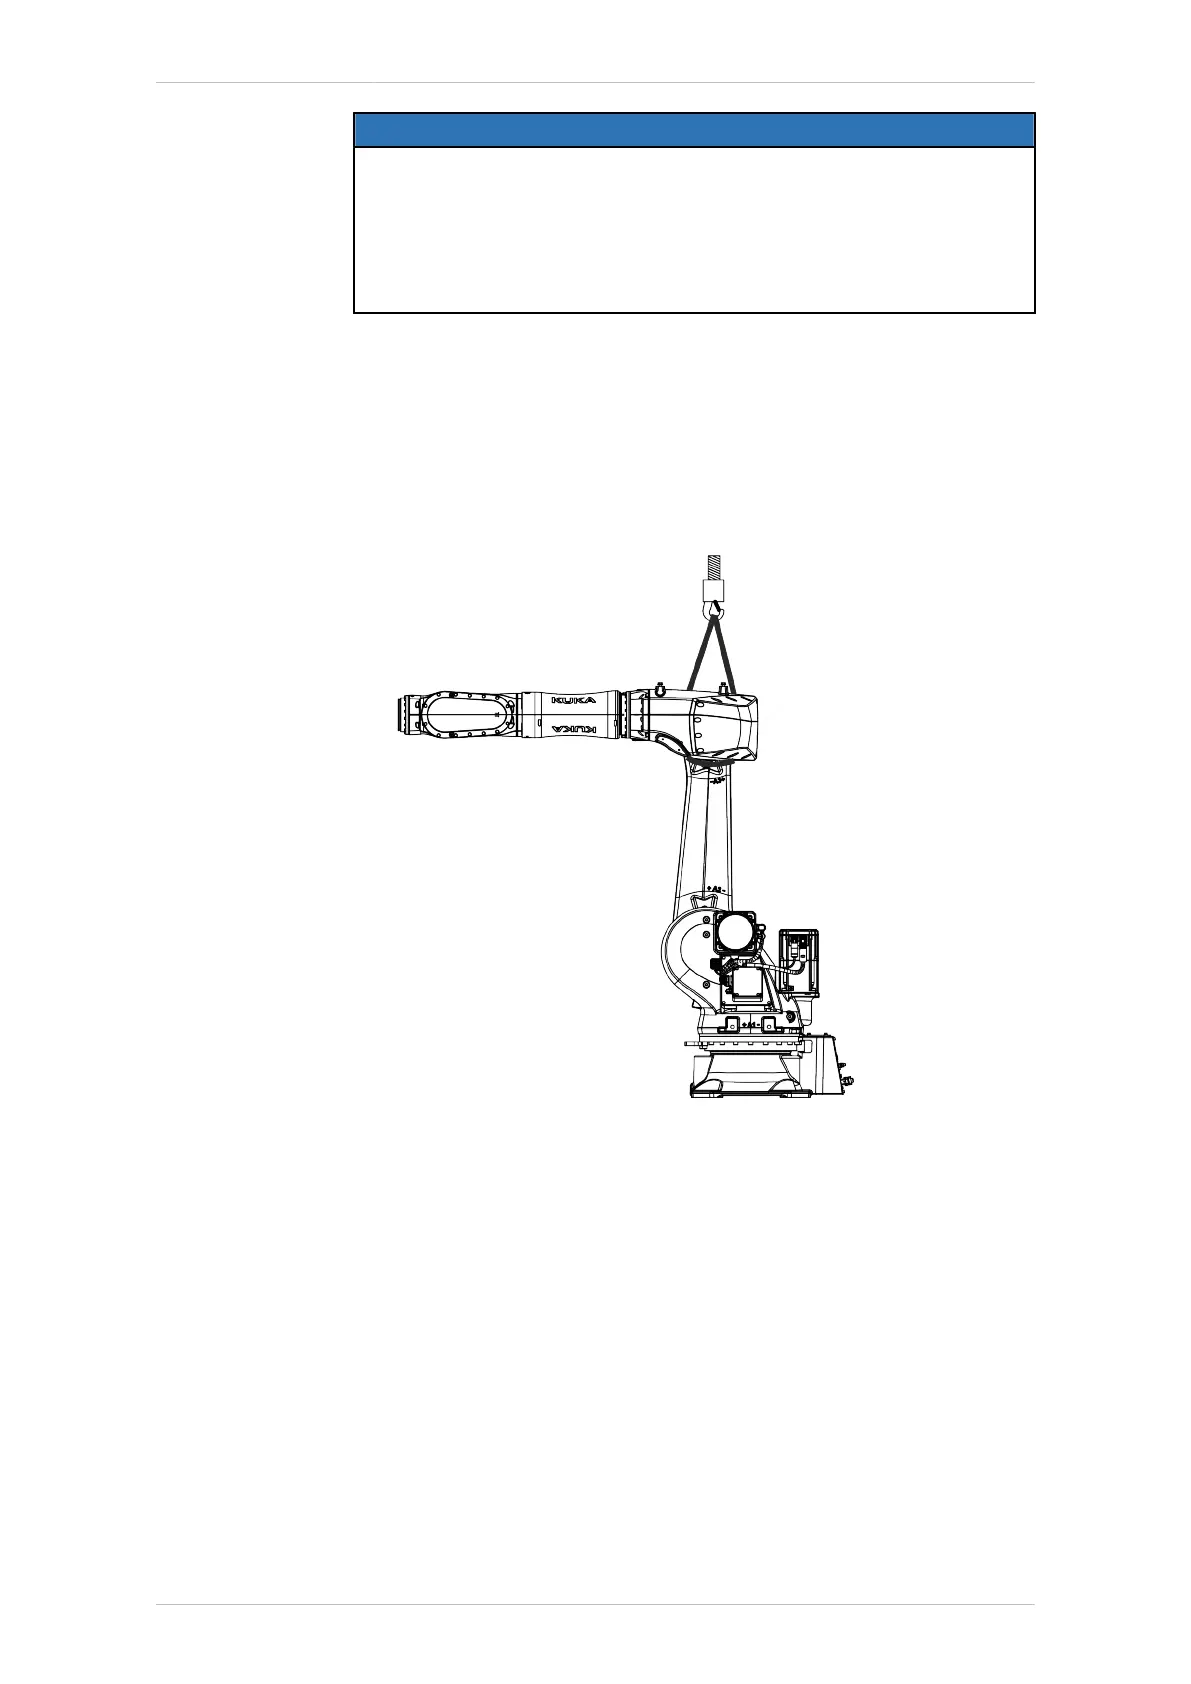
9.2.1 Securing the link arm
Procedure
1. Secure the link arm with a rope sling and attach the rope sling to the
crane hook.
2. Raise the rope sling until it is taut.
Fig. 9-3: Securing the link arm
9.2.2 Removing motor A2
Procedure
1. Release and unplug connectors XM2 and XP2 at the right-angle con-
nectors (>>> 9.2.2 "Removing motor A2" Page 235).
2. Unscrew 4 M10x25-8.8-A2K Allen screws.
3. Release and carefully lift out motor A2, taking care not to tilt it.
4. Cover the aperture on gear unit input shaft A2 and protect it against
fouling.
5. If the motor is not to be reinstalled, it must be disposed of properly or
protected against corrosion before being put into storage.
KR IONTEC
MA KR IONTEC V4 | Issued: 11.05.2021 www.kuka.com | 235/344
Repair

 Loading...

