Repair information 4-17
5062
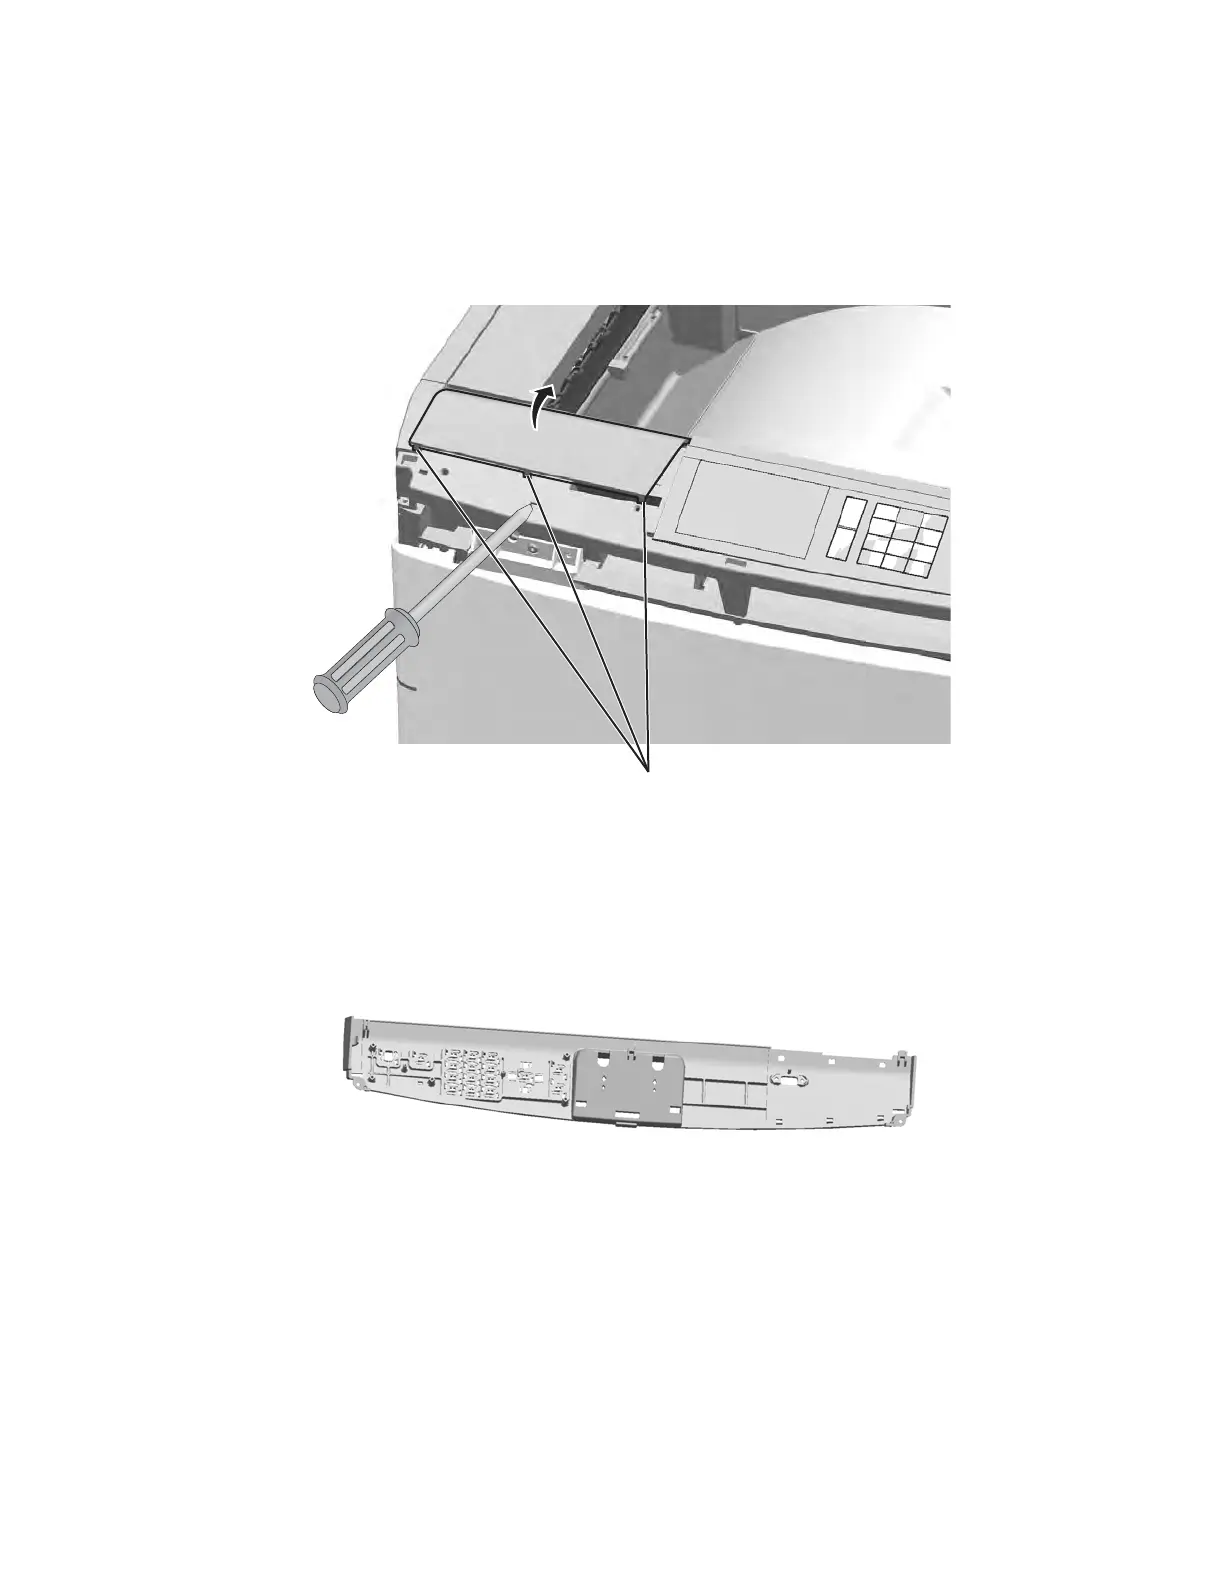
OP panel bezel removal
See “Top, right, and front covers” on page 7-3 for the part number.
1. Remove the logo panel. See “Logo panel removal” on page 4-81.
2. Use a flat-blade screwdriver to pry up the three tabs (A), and then remove the bezel.
Note: Three bezels are in the FRU. Be sure the bezel you install matches the one you remove.
OP panel cover removal
See “Top, right, and front covers” on page 7-3 for the part number.
1. Remove the OP panel display. See “OP panel display removal” on page 4-109.
2. Remove any other cables or cards from the operator panel cover.
Note: Your operator panel assembly may have more or fewer cables and cards than the one shown in this
manual.
Printhead access cover removal
See “Top, right, and front covers” on page 7-3 for the part number.
1. Remove the rear upper cover. See “Rear upper cover removal” on page 4-21.
2. Remove the top cap cover. See “Top cap cover removal” on page 4-27.
Note: If you have any output options installed, then the top cap cover is already removed. Remove the
output options and HTU redrive unit instead.