Page 120 of 182 TP1A002–1 English
Aug 2015
Linx 8900 Operating Manual —
Add other fields
Linx 8900
Setup
NOTE: The Setup button is disabled until you create a source field.
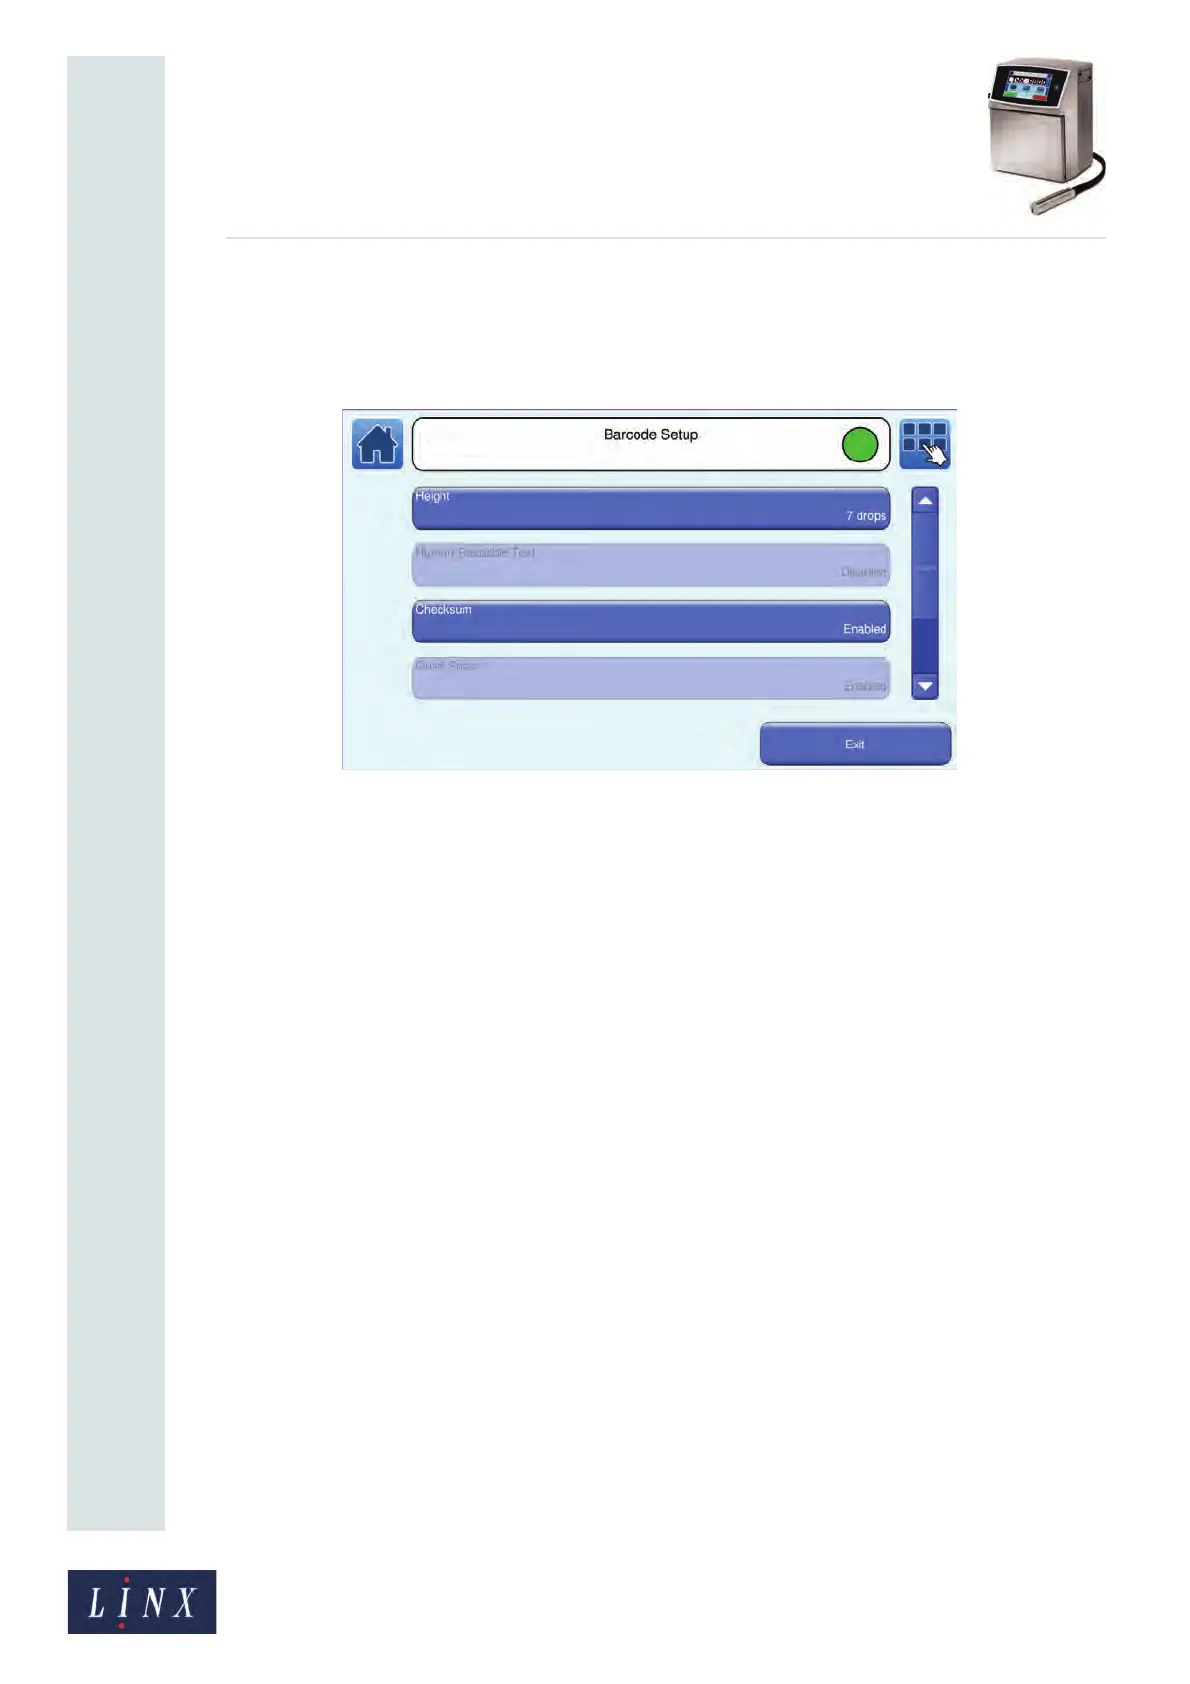
Touch the Setup button to display the Barcode Setup screen.
Figure 132. Barcode Setup screen
The following options are available. These options depend on the barcode type that you
selected.
NOTE: The values in mm and pixels below apply to the Mk11 Midi printhead only. The
values for other printheads assume that one drop is equal to one pixel.
Height
You can set the height of the bar code (the number of ink drops). The maximum height
depends on the printhead type. The maximum height of the bar code is the height of the
largest message type that you can print. One drop is equivalent to one pixel.
Human Readable Text
You can use this option with the barcode types EAN-8, EAN-13, and UPCA.
If you set this option to Enabled the printer displays the barcode text alongside the barcode
(see Figure 133 on page 122).
Checksum
You can set barcode types ITF2o5 and Code 39 to include a checksum. If you set the
Checksum option to Enabled, the barcode includes a checksum character.
The barcode types Code 128, EAN-13, EAN-8, and UPCA always include a checksum.
The Data Matrix barcode types and QR codes include any error checks within the code.
If the checksum character is not in the range of characters that the printer can print, a square
box is printed. For example, the printer cannot print the ASCII character 27 (‘ESC’).
89211