108
Maintenance
5
>>
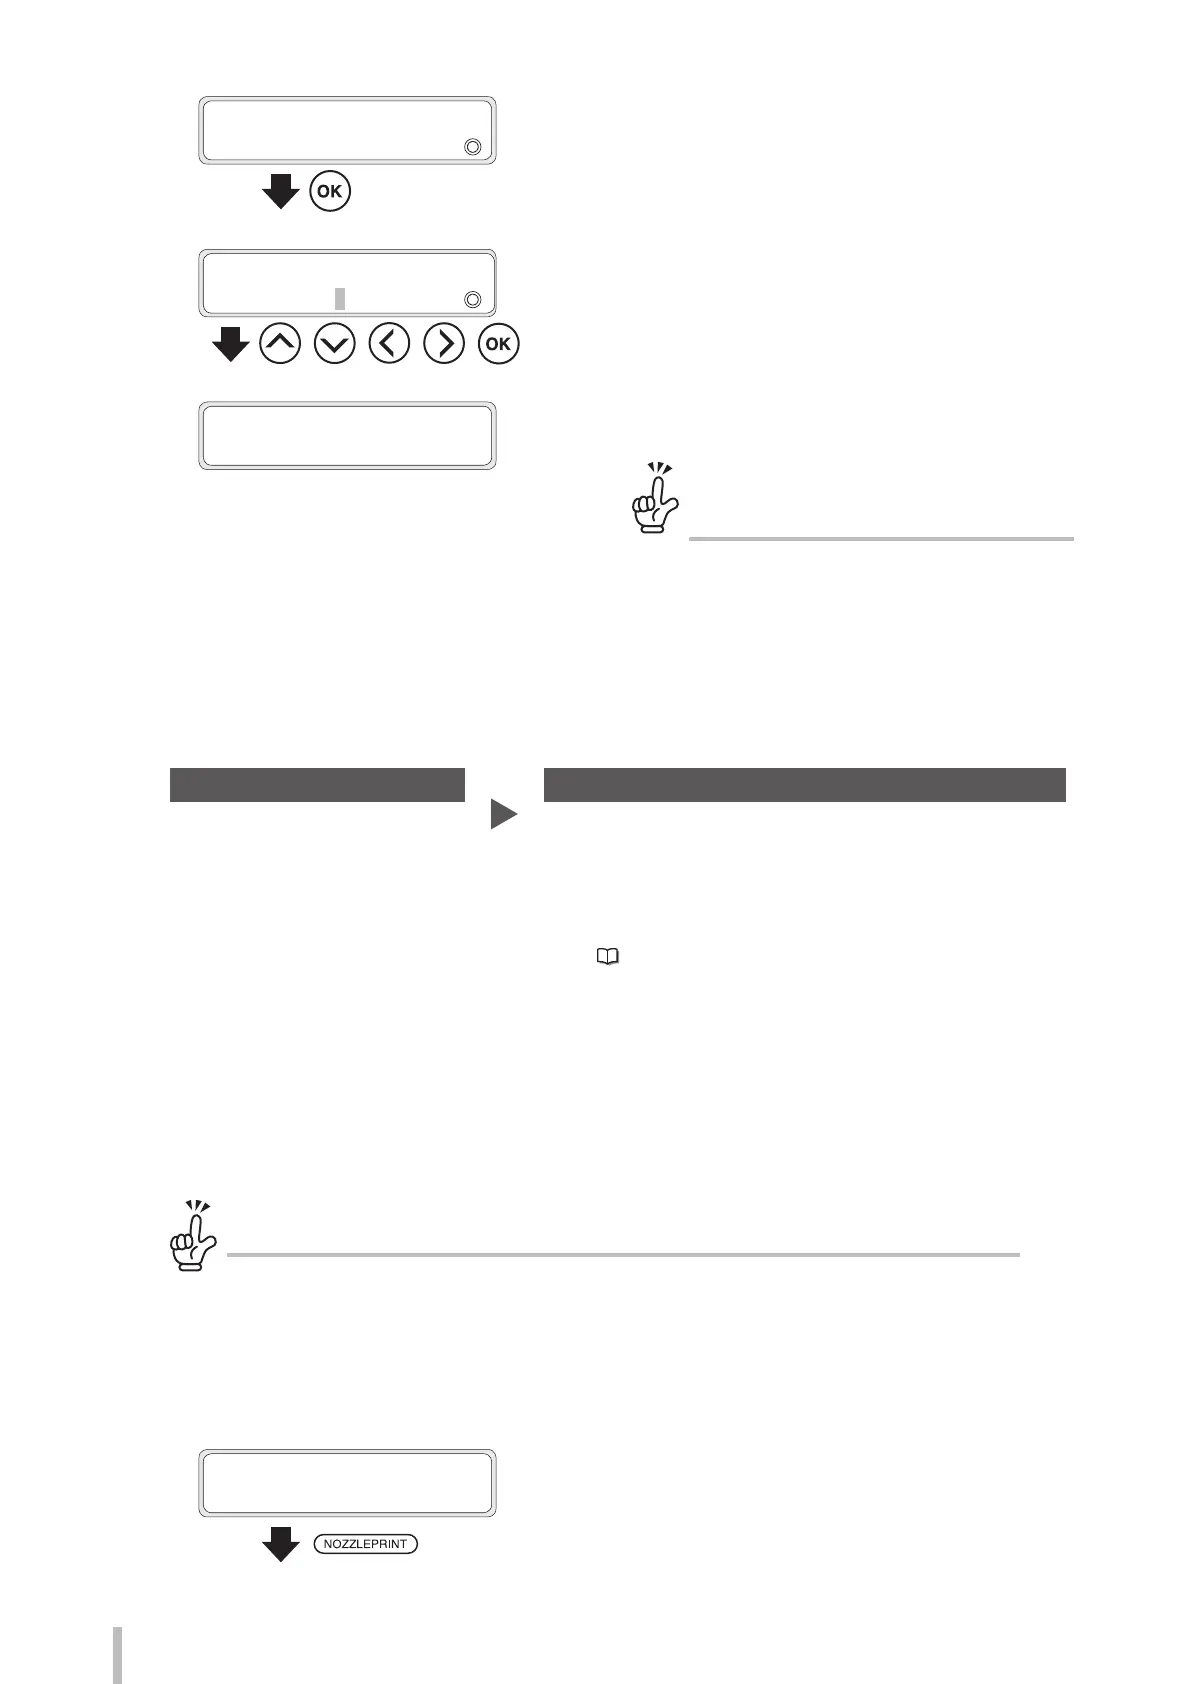
SET NOZZLE MAP
Lc
2
#1:***/VAR
Press the OK button.
6
>>>Lc:#1
2
***/VAR
g
365
/VAR
, , , ,
Press the Up, Down, Left, Right buttons to
set the nozzle map or nozzle number, and
then press the OK button.
7
>>
>
Lc:#1
2
365/VAR
g
365/VAR
The setting is complete.
To check the numbers of the nozzles
with nozzle map
The numbers of the nozzles for which nozzle map
has been set are indicated on the nozzle print
pattern printout.
Automatic conguration
< Operation ow >
STEP1 STEP2
- Select the print head
- Execute automatic configuration
- Select manually additional nozzles to set in nozzle map
- Set overwrite protection
Proceed to STEP 2 as needed.
- See Cautions regarding automatic conguration (
page 107)
- Use media that is 762 mm (30 inches) or larger.
- Only nozzles that are completely clogged are detected with automatic configuration. Nozzles that are
partially clogged or that do not eject ink straight must be added manually.
- Overwrite protection can be congured to skip the manual addition of partially clogged nozzles or nozzles
that do not eject ink straight from the next time.
<STEP 1>
Before automatically congure nozzle map!
If the bidirectional or media advance adjustment value is not set correctly, media may be detected incorrectly
depending on the media used.
It is recommended to perform bidirectional adjustment and media advance adjustment before conguring
nozzle map automatically. Use the following settings to perform these adjustments.
- Bidirectional adjustment: 1: DRA,FAST PR,PRO
- Media advance adjustment: FAST PRODUCTION
1
PRINTER READY
01: PAPER / 1626mm
Press the NOZZLEPRINT button.
You can set up to 10 nozzle map parameters for each print
head.