Chapter 3 Functions for Master Making
73
3
1
Place the paper.
Check the header section of the Paper Memory
Original. Place paper of the size printed on the
header section.
2
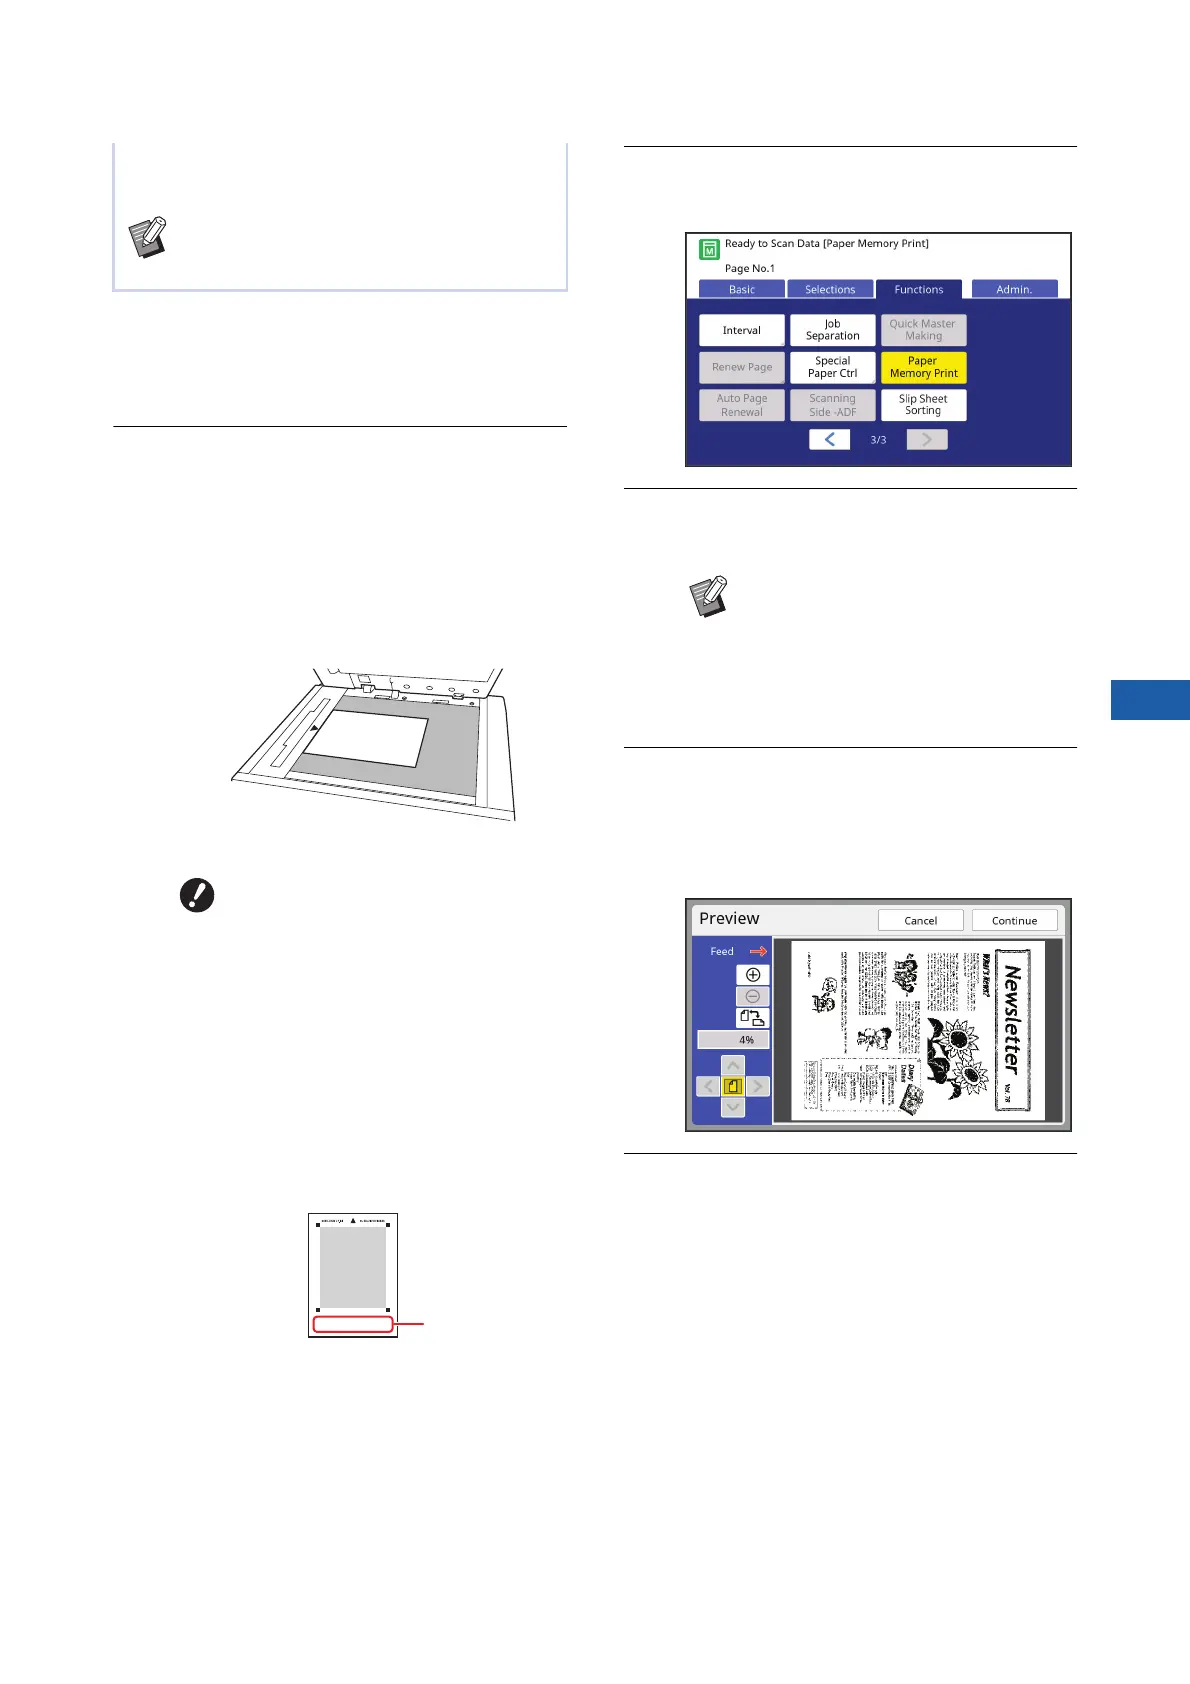
Place a Paper Memory Original on
the glass platen.
Confirm that “P.1” is printed on the header sec-
tion of the Paper Memory Original.
When placing the original, turn it so the printed
side is facing down. Then align the center of
the original with the [H] mark. Then, close the
platen cover.
3
Touch [Paper Memory Print] in the
[Functions] tab screen.
4
Press the [START] key.
The Paper Memory Original is scanned.
5
Confirm the original information.
When scanning of the Paper Memory Original
is complete, the [Preview] screen (A 69) is dis-
played. Confirm that the displayed original is
the one that you want to print.
6
Touch [Continue].
Master making starts.
The rest of the procedure is the same as the
normal printing operation of paper originals.
(A 38 “Printing of Paper Originals”)
This section describes the procedure to scan and print
Paper Memory Originals with this machine.
BFor the procedure on creating Paper Mem-
ory Originals, see the “RISO Printer Driver
User’s Guide” (DVD-ROM).
BThis machine may not be able to
scan the Paper Memory Original
properly in the following cases:
CThe glass platen or platen
cover pad is stained.
CThe Paper Memory Original is
stained, wrinkled, or creased.
BUse the margin as shown below
to write notes on the Paper Mem-
ory Original. If anything is written
in other areas of the Paper Mem-
ory Original, this machine may
not be able to scan the Paper
Memory Original properly.
Margin
BWhen you have multiple pages of
the Paper Memory Original, after the
scanning of the original is complete,
replace the original with the next
page number and press the
[START] key.