Chapter 2 Basic Operations
40
5
Perform the required settings in
the [Printer Setup]
1
screen.
Click [Preferences]
1
in the [Print] dialog box,
and then perform the following settings.
1
The screen name and button name may vary
depending on the application software that you
use.
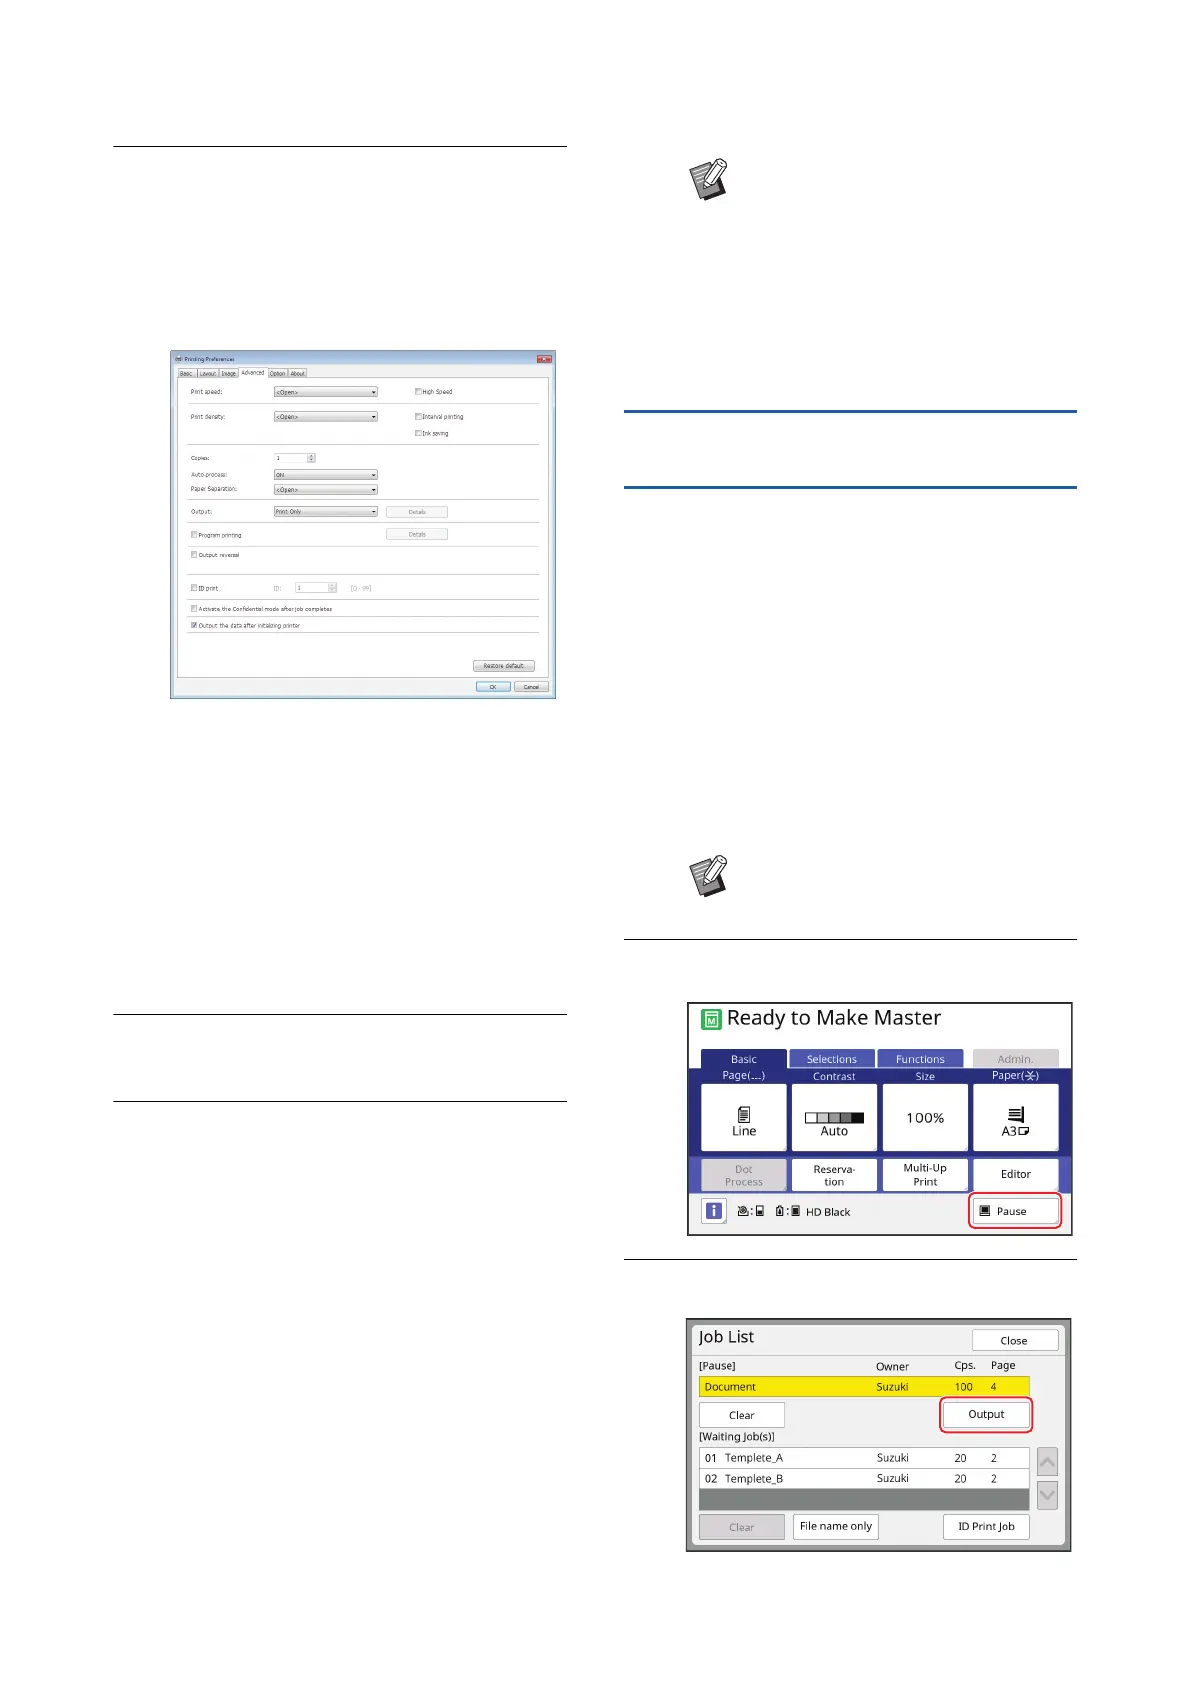
■ [Advanced] tab screen
[Auto Process]: Before master making and
the printing process, you can temporarily stop
the operation to check the proof copy, perform
various settings, replace the paper, or do other
necessary work.
[ID print]: This setting is useful for printing
highly confidential originals.
■ Other printing settings
For more information, see the “RISO Printer
Driver User’s Guide” (DVD-ROM).
6
Click [OK].
The [Print] dialog box is displayed.
7
Click [Print].
2
The original data is printed according to the
printer driver settings.
2
The button name may vary depending on the
application software that you use.
• When [Auto Process] is [ON]:
Master making is followed by the printing pro-
cess.
• When [Auto Process] is set to other than
[ON]:
Perform the necessary operation according to
the settings.
(A 40 “When [Auto Process] is set to other
than [ON]”)
When [Auto Process] is set to other
than [ON]
The operation varies depending on the [Auto Process]
setting that is selected in the printer driver.
■ When [Pause before "Master-making"] is
selected
The operation pauses before master making of each
page. After master making, the printing process is per-
formed automatically.
1
Check that the master making
basic screen is displayed.
If a screen other than the master making basic
screen is displayed, press the [MASTER MAK-
ING] key (A 24).
2
Touch [Pause].
3
Touch [Output].
BWhen [ID print] is set in step 5, refer
to the page below to perform the
necessary operation.
(A 42 “When [ID print] is set”)
BAn idling action (to ensure the ink
usability and stability) may be auto-
matically executed. You can change
the setting in [Auto Idling] (A 122)
under [Admin.].
BWhen the [Job List] screen is dis-
played, go to step 3.
 Loading...