Chapter 2 Basic Operations
39
2
11
Press the [START] key.
The printing process starts.
12
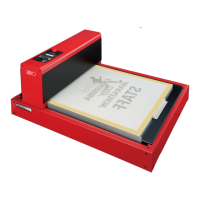
Remove the printed copies.
Fold the receiving-tray paper guides outward
so the printed paper can be removed easily.
Printing from Computer
1
Turn on the power to this machine.
Press the [X] side of the power switch.
2
Check the paper.
(A 32 “Setting up the paper feed tray and the
paper”)
3
Check the paper receiving tray.
(A 33 “Setting up the paper receiving tray”)
4
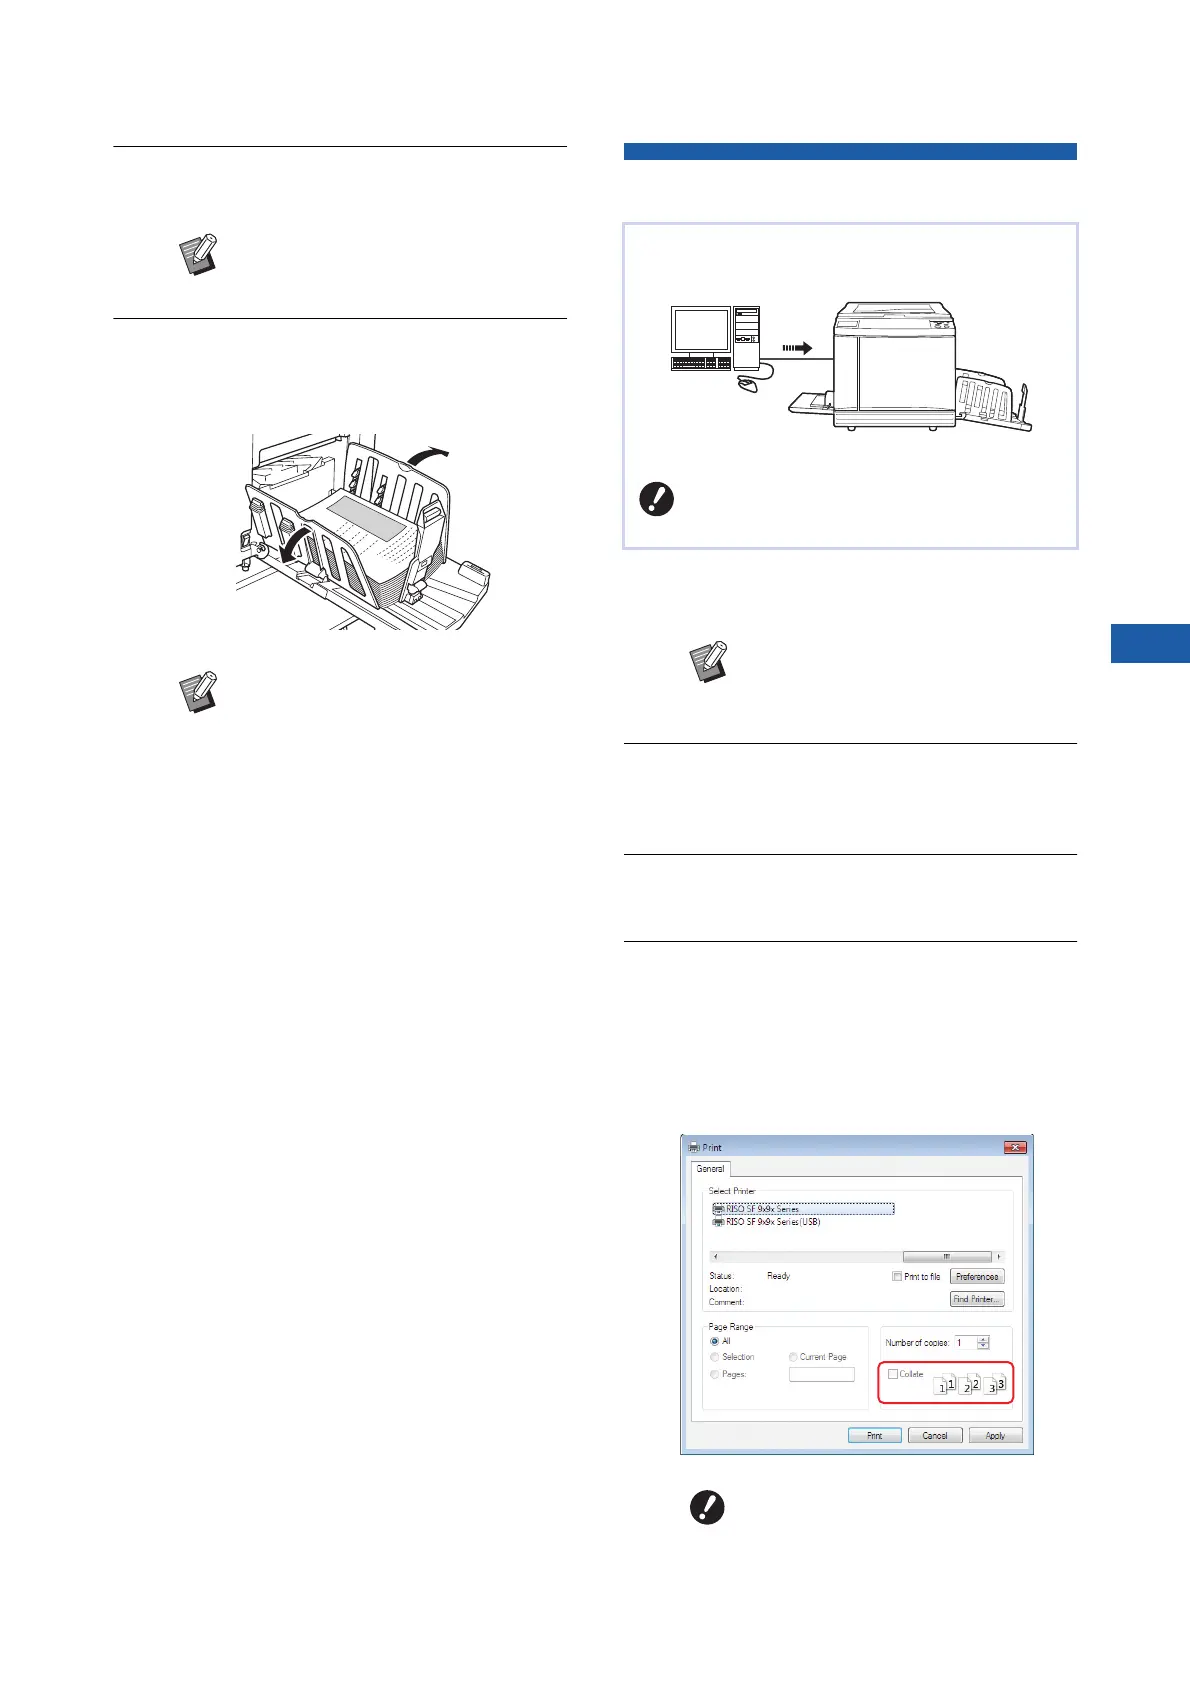
Set the printing conditions in the
[Print] dialog box on the computer.
Select the name of your printer under [Select
Printer], and then enter the number of copies in
the [Number of copies] field.
■ Example of the [Print] dialog box
BTo stop the printing process, press
the [STOP] key.
BTo print more copies, enter the num-
ber of copies and press the [START]
key.
BTo start master making for the next
original, repeat the procedure from
step 3.
BWhen you place originals on the
optional auto document feeder and
the [ADF Semi-Auto] setting (A 70)
is turned on, master making for the
next original starts automatically.
Repeat the procedure from step 10
for each original.
BTo cancel the authentication status,
press the [WAKE-UP] key.
The authentication status is also
cancelled when the time that is set
in [Auto Sleep] (A 121) or [Auto
Clear] (A 121) elapses.
BWhen using the optional auto-control
stacking tray, pressing the paper
guides positioning button (A 23) wid-
ens the receiving-tray paper guides
and paper stopper (only the receiving-
tray paper guides at the default
setting
*
), and makes printed paper
easier to remove.
*
You can change the setting in [Stack
Guide Ctrl] (A 122) under [Admin.].
You can print the original data that was created
using a computer on this machine.
BBefore printing, it is necessary to
install the printer driver dedicated for
this machine in the computer.
BWhen an authentication screen
(A 25) is displayed, follow the
instructions on the screen.
BClear the [Collate] check box. If
this check box is selected, mas-
ter making is repeated each time
a single copy is printed.