DISPLAY PANEL MANUAL
11-7
11.2.4 Battery Replacement Procedure
Replace the battery “V7-BT” within three minutes after the unit is turned off.
If it is not possible to replace within three minutes, use the V-SFT-5 editor or a CF card and make a backup
copy of data in the SRAM. Refer to ‘Hardware Specifications V806 4.1 Coin-type Lithium Battery (V7-BT)’
‘Hardware Specifications V8 4.1 Coin-type Lithium Battery (V7-BT)’ for detail.
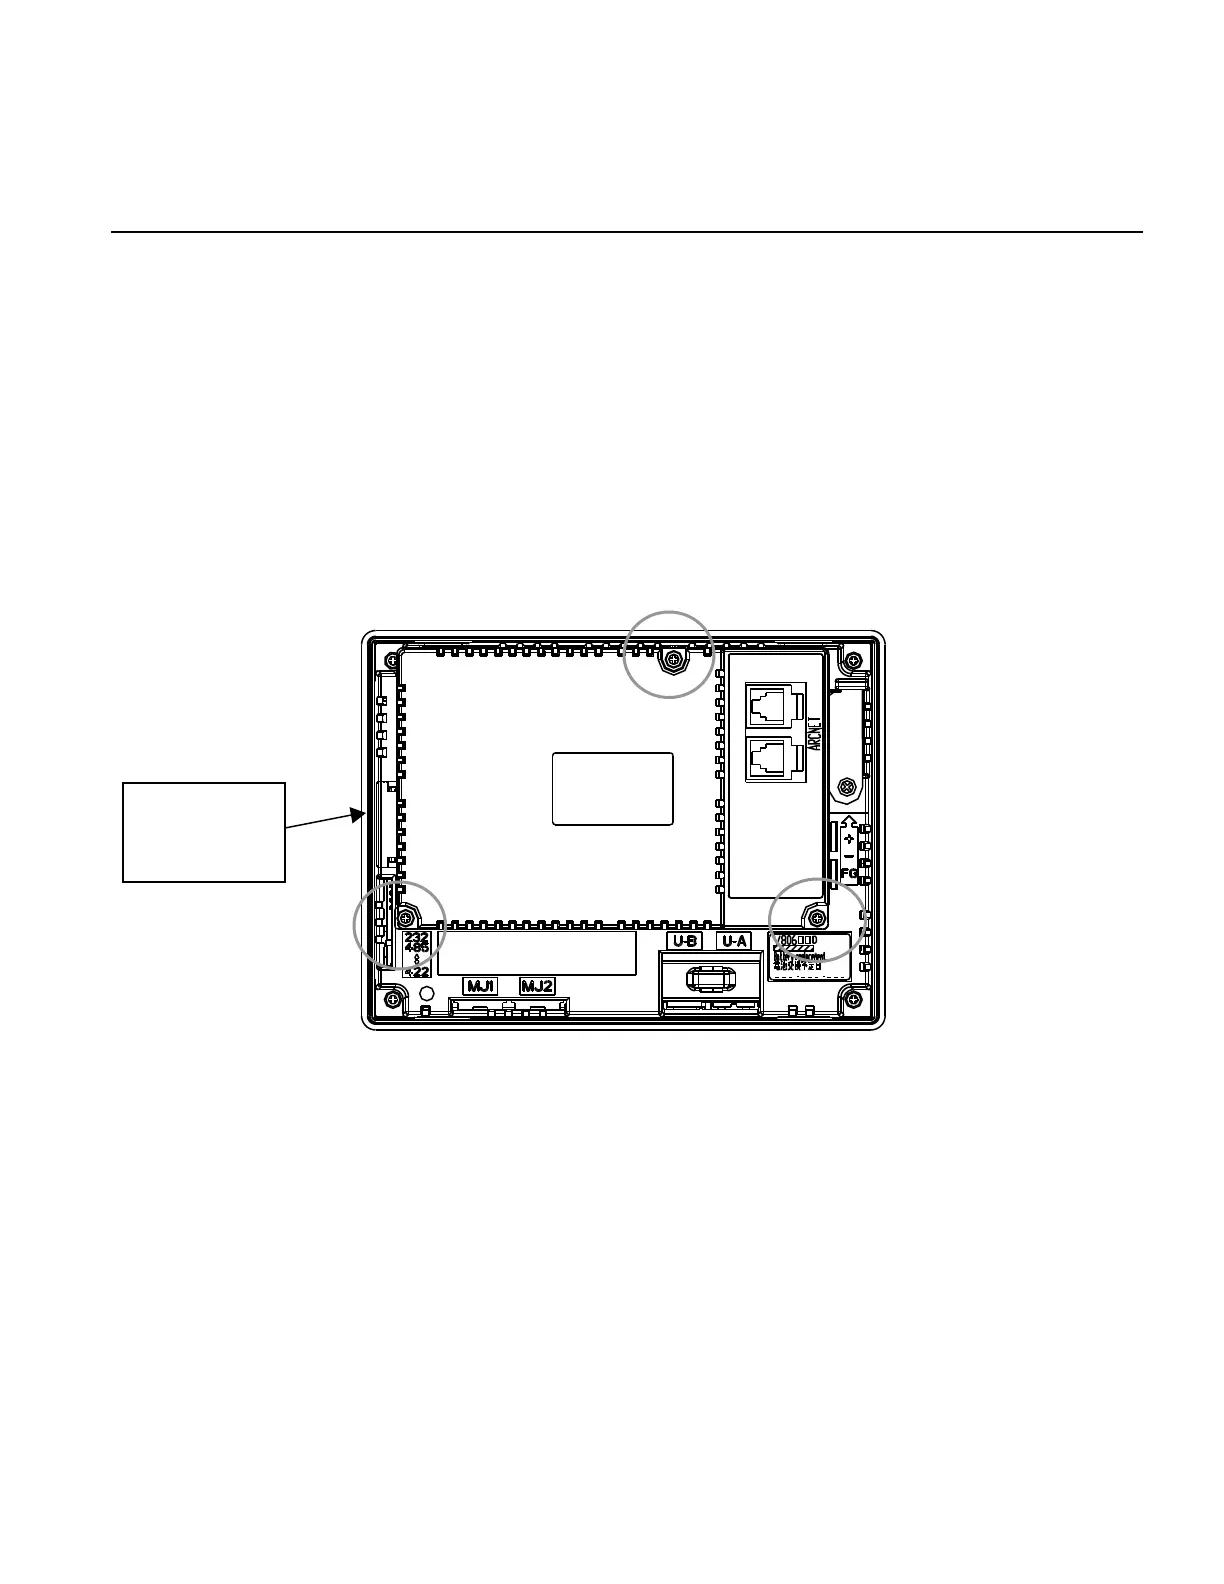
●Battery Replacement Procedure
1) Turn the unit off. Remove the NR communication unit mounted on back of the DISPLAY PANEL.
Loosen three fixed screws and remove it.
2) Dislodge the battery holder cover by sliding it. The battery fit in the socket comes into view.
Disconnect the battery connector. Disengage the battery from the socket by pulling the battery toward
you.
Insert a new battery in an upright position. Check that the side with the red cable faces the right, and
fit the battery on the protrusions inside the socket.
Plug in the battery connector and close the battery holder cover. Remove the existing caution sticker.
Enter a date five years from now for “Battery replacement” as an expiry date on the new caution
sticker, and attach it to the battery holder.
Mount the NR communication unit. Turn on the DISPLAY PANEL. Be sure that a message “Battery
not set” or “Brownout Battery” does not appear.
cover