Open Visual Timecode Editor 101
NEO Lighting Control Console
Mark - A marked cue will execute most of its attributes in the previous cue if the channel does not exist in that cue. It
uses the fade in and dwell time of the previous cue as the time the fixtures will change. You can also override this
operation by setting a non-zero value into the "default mark time" found in the "System Properties."
Each of the attribute cells also provide helper controls that can be accessed by double clicking on the cell. For the
color cells the standard NEO color picker will appear. Once you have finished modifying the value with the helper
control click anywhere in the previous window to close it.
DMX
The DMX tab will show all of the same information as the overview tab but all of the values will be shown as DMX
values. This provides the maximum resolution when modifying the data in the cue. For example in the overview tab
the dimmer is shown as a percentage giving 100 possible values but the underlying DMX associated with the dimmer
has 255 (or in some cases 65535) possible values. When the percentage is changed is converted to a DMX value for
storage in NEO.
Timing
To set an individual fade time for any attribute use the timing tab to enter a time value in seconds. If the value shows
"Not set" then no independent fade time exists. Any fade time set here will override the channel fade time and the cue
timing.
Delay
To set an individual delay time for any attribute use the delay tab to enter a time value in seconds. If the value shows
"Not set" then no independent delay exists. Any delay set here will override the channel delay when the cue timing.
Profile
The profiles tab is reserved for a future version of NEO. This feature is not currently supported in this version.
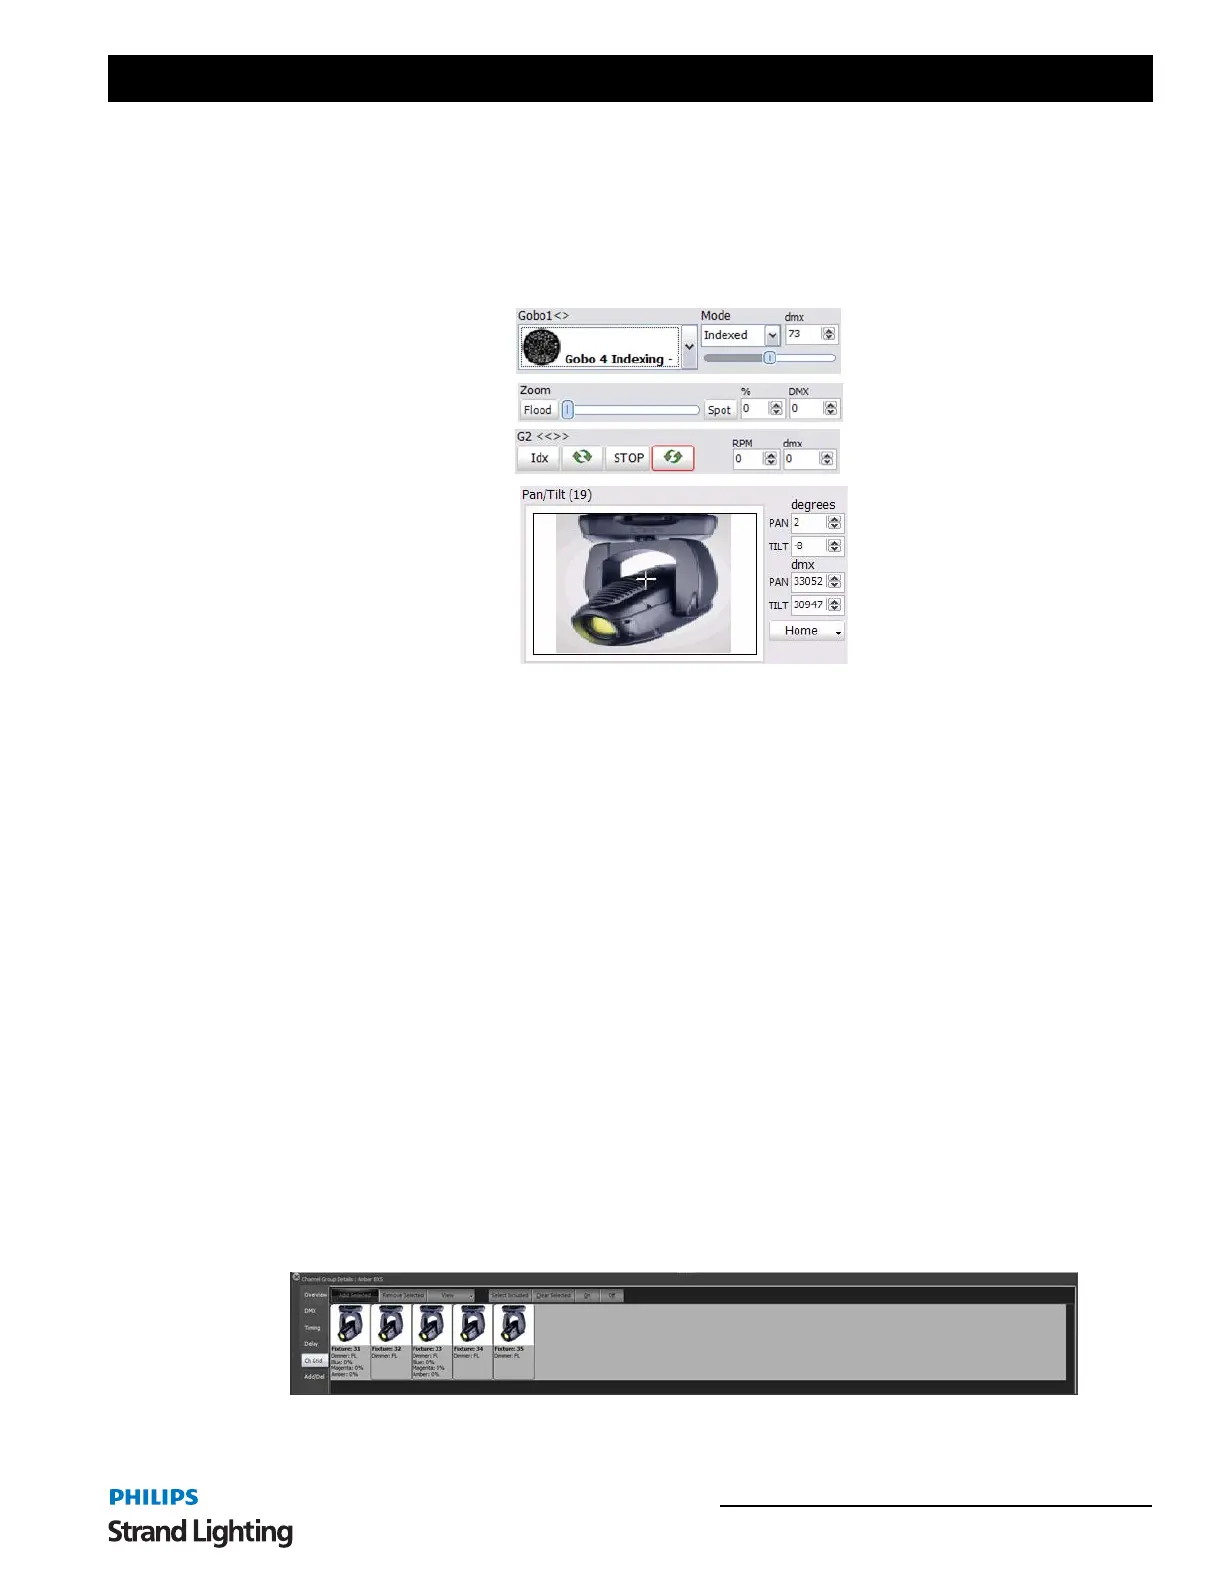
CH Grid
The channel grid view will show the channels in a similar view to the channel display window. Editing channels in
this view is similar to the channel display. You can select the channels using the mouse and control the dimmer value
with the scroll wheel.
The view menu can be used to change the way each channel is displayed. See “Channel Grid” on page 83 for
information on the different view styles.
 Loading...