Tutorial 225
NEO Lighting Control Console
Reselect channel 1, move the scroll wheel on your mouse up one click you should see the value increase by 5% to
35%. The mouse scroll wheel is a convenient way to control the intensity of selected channels when the exact value
you want is unknown
NEO NOTES & TIPS: If you do not have a scroll wheel on your mouse, use the + and - keys as replacements.
Channels can also be selected in large numbers by holding the mouse down and dragging it over the channels you
want as follows:
1) Click on channel 5 and hold down the mouse button
2) Now drag the mouse over to channel 7 and release the button. You should now see channels 3, 5, 6 and 7 all
selected.
3) Move the scroll wheel up and down and notice that all of the selected channels increase or decrease by 5%
with every movement.
Storing and Editing Cues
When the stage lights are set the way you want just type [RECORD] [ENTER] and that will record your first cue in
the primary cue list.
You can also type [RECORD] [CUE] [ENTER] or [RECORD] [CUE] [#] [ENTER] or [RECORD] [RECORD].
There are many choices.
You can also hold down the Record key and press Cue. This will initiate the Record Cue dialogue box where you can
check settings and fill in the correct info.
Adjusting Cue Parameters
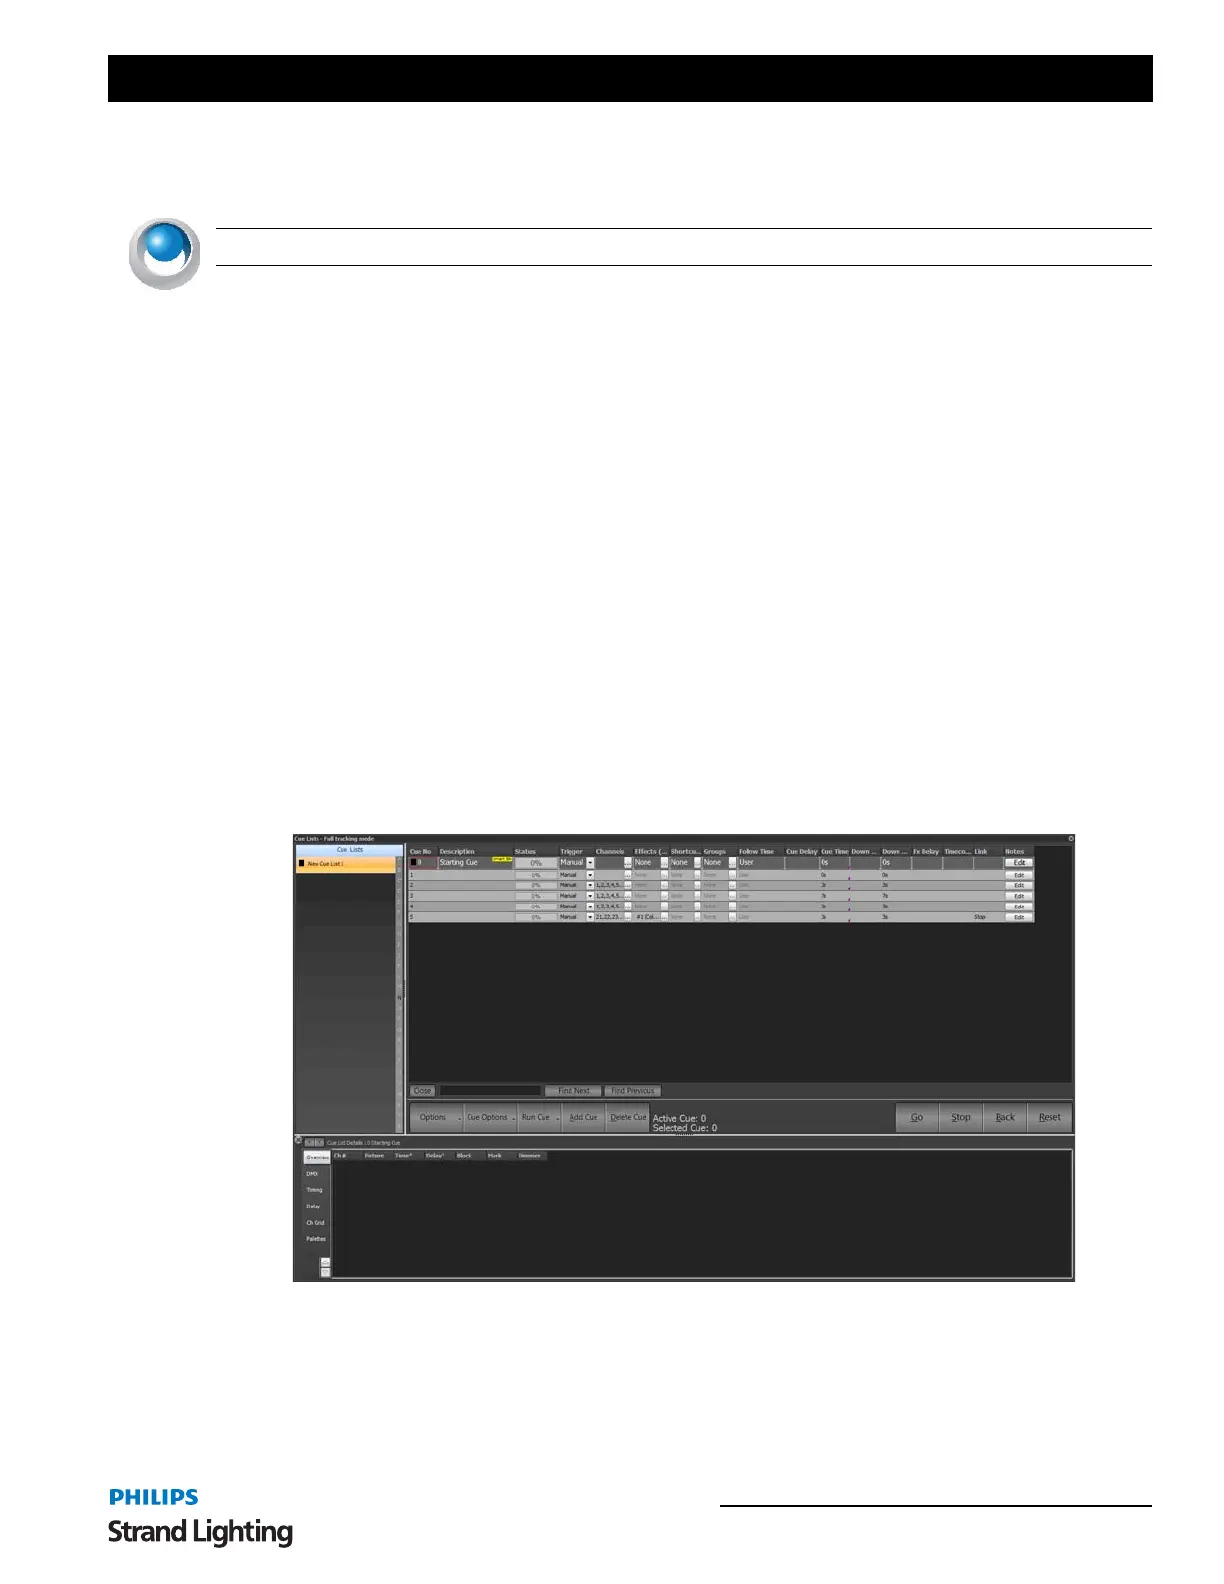
Cue parameters are often time based or trigger based. The Cue List detail window will display all of the options for
changing times and triggering options for an cue.
Command Line support is available with such commands as [CUE] [1] [TIME] [5] [ENTER]. Additional buttons
such as Delay and Follow will work using similar command line structure.
Patching an Automated Luminaire
To use the channel window for controlling a automated luminaire, we need to address the fixture in the Patch window.
In this example we have a VL1000 that we will patch into the 2nd universe.


 To Next Page