Unpack 21
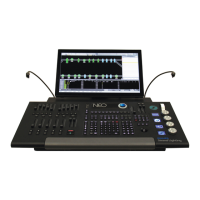
NEO Lighting Control Console
INSTALLATION AND SETUP
1. Unpack
Site Requirement
The console and its components require a sturdy, flat surface for installation. The surface should be able to support
the weight of the console (including monitors, etc.) and should provide suitable ventilation. Also, the site should be
clean (i.e. absent of any construction dust or debris) and dry. Before setting up, ensure that the installation site meets
these requirements. Refer to product specification sheet on the Philips Strand Lighting web site for console
dimensions and power requirements.
Product Care
In the event the console needs to be cleaned, remove all power from unit and use only a very mild soap on a damp
cloth. Dry immediately with a soft lint-free cloth after cleaning. Never use harsh chemicals such as window cleaners,
paint removers, vinyl conditioners, etc.
It is recommended to gently blow out the sub pots and desk occasionally to prevent buildup of dust and dirt.
Unpack and Assemble Components
To unpack and assemble the console components, do the following:
Step 1. Remove console components from shipping container or case.
Step 2. Place console desk on installation surface.
Step 3. Place monitor(s)* and other external components close enough to console so that cabling will reach.
*Monitors sold separately.
2. Hardware Setup
Connecting Console Components
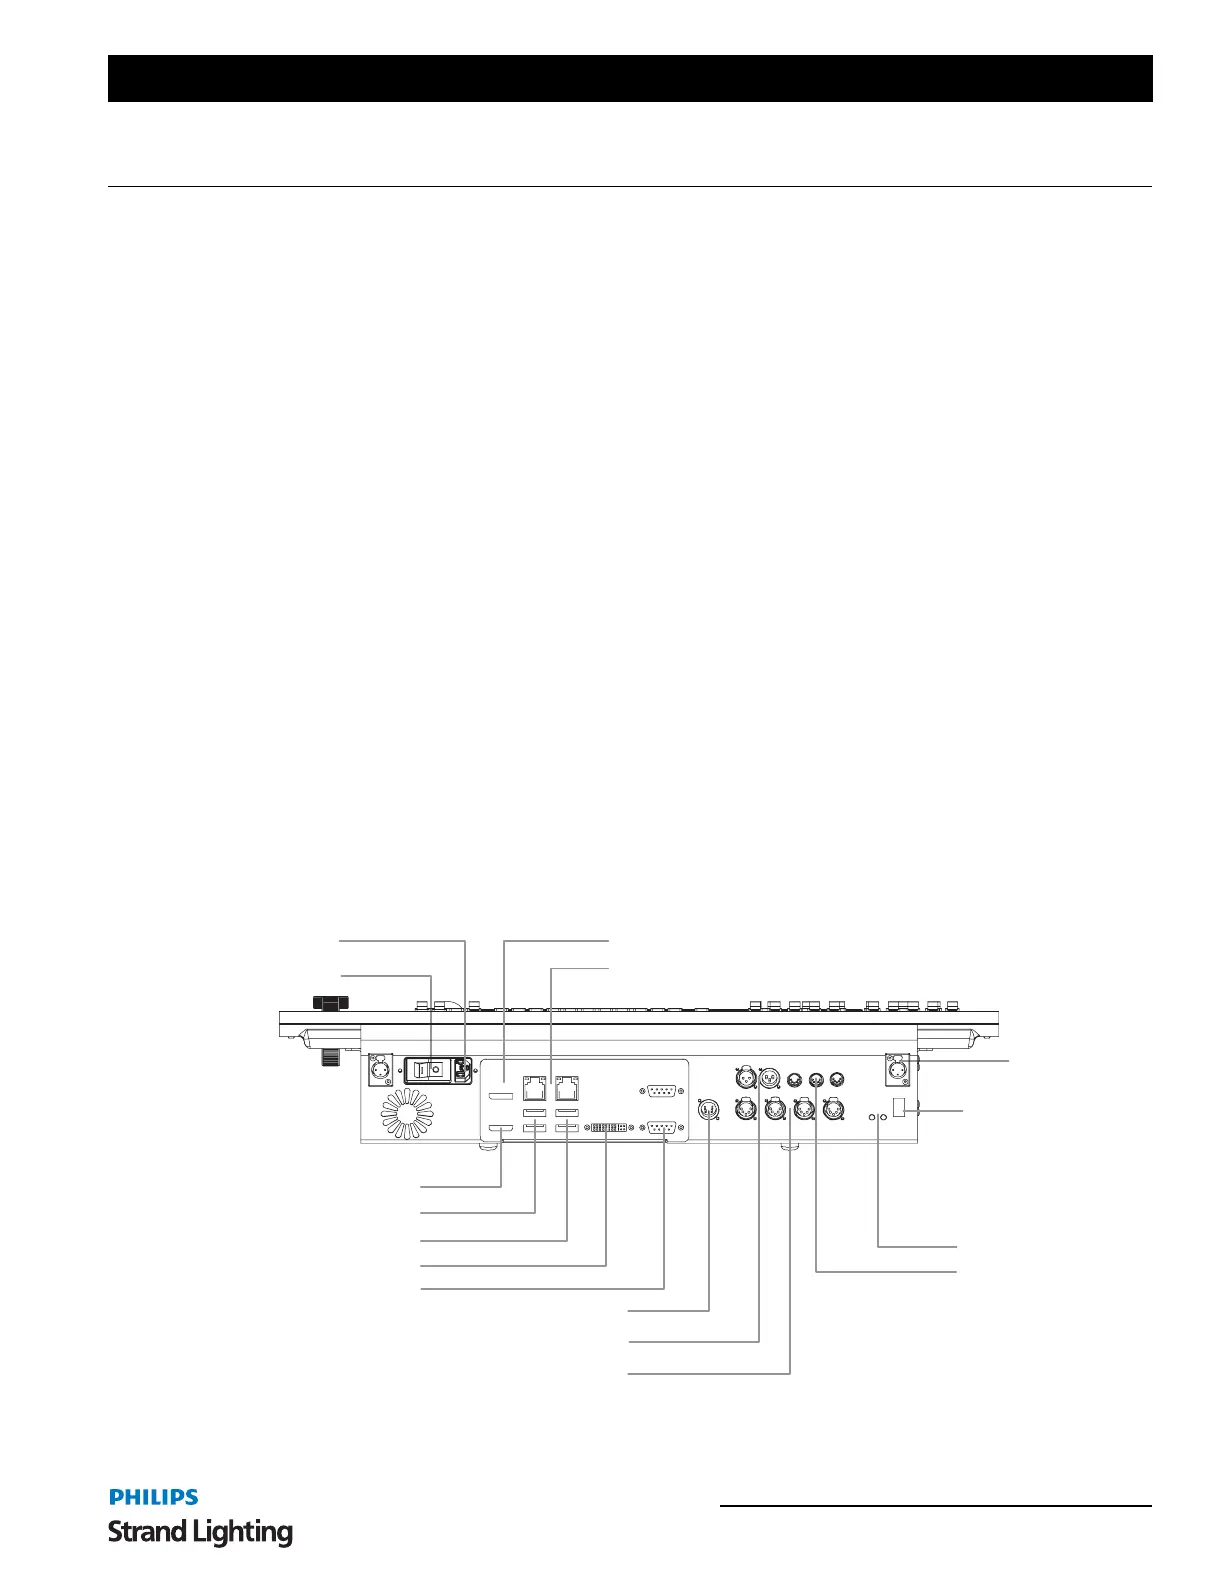
Figure 1 outlines the NEO Lighting Control Console’s connections.
Figure 1: Console Rear Panel Connections
On/Off Switch
Console Light
Receptacle (x2)
DMX Input
DMX Output (x4)
Status Indicators
SMPTE In/Out
MIDI In/Out
Rear of Unit
Display Port
HDMI
DVI
HDMI Port
USB 2.0 Ports
DVI Port
AC Input
VESA Display Port
Network Ports
COM Ports
USB 3.0 Ports
Kensington Security
Lock Slot
(security cable and lock
by others)