Tutorial 229
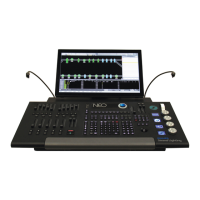
NEO Lighting Control Console
Creating Cue 1
STEP 1
Click on channel 2 and 3 to select them and then type @80 on your keyboard and press enter. The selected channels
should now be set to 80%. The * can also be used as an alternative to the @ symbol. (e.g. *80).
STEP 2
Clear the selection of these channels and double click on channel 6 to bring it up to 100%. Because channel 6 is an
intelligent fixture, the "Channel Fixture Properties" window will automatically appear. Set the pan and tilt to the
desired location using the control described above ("Controlling a Moving Light" on page 67).
STEP 3
Once you have set the desired scene, click on the "Record Cue" button.
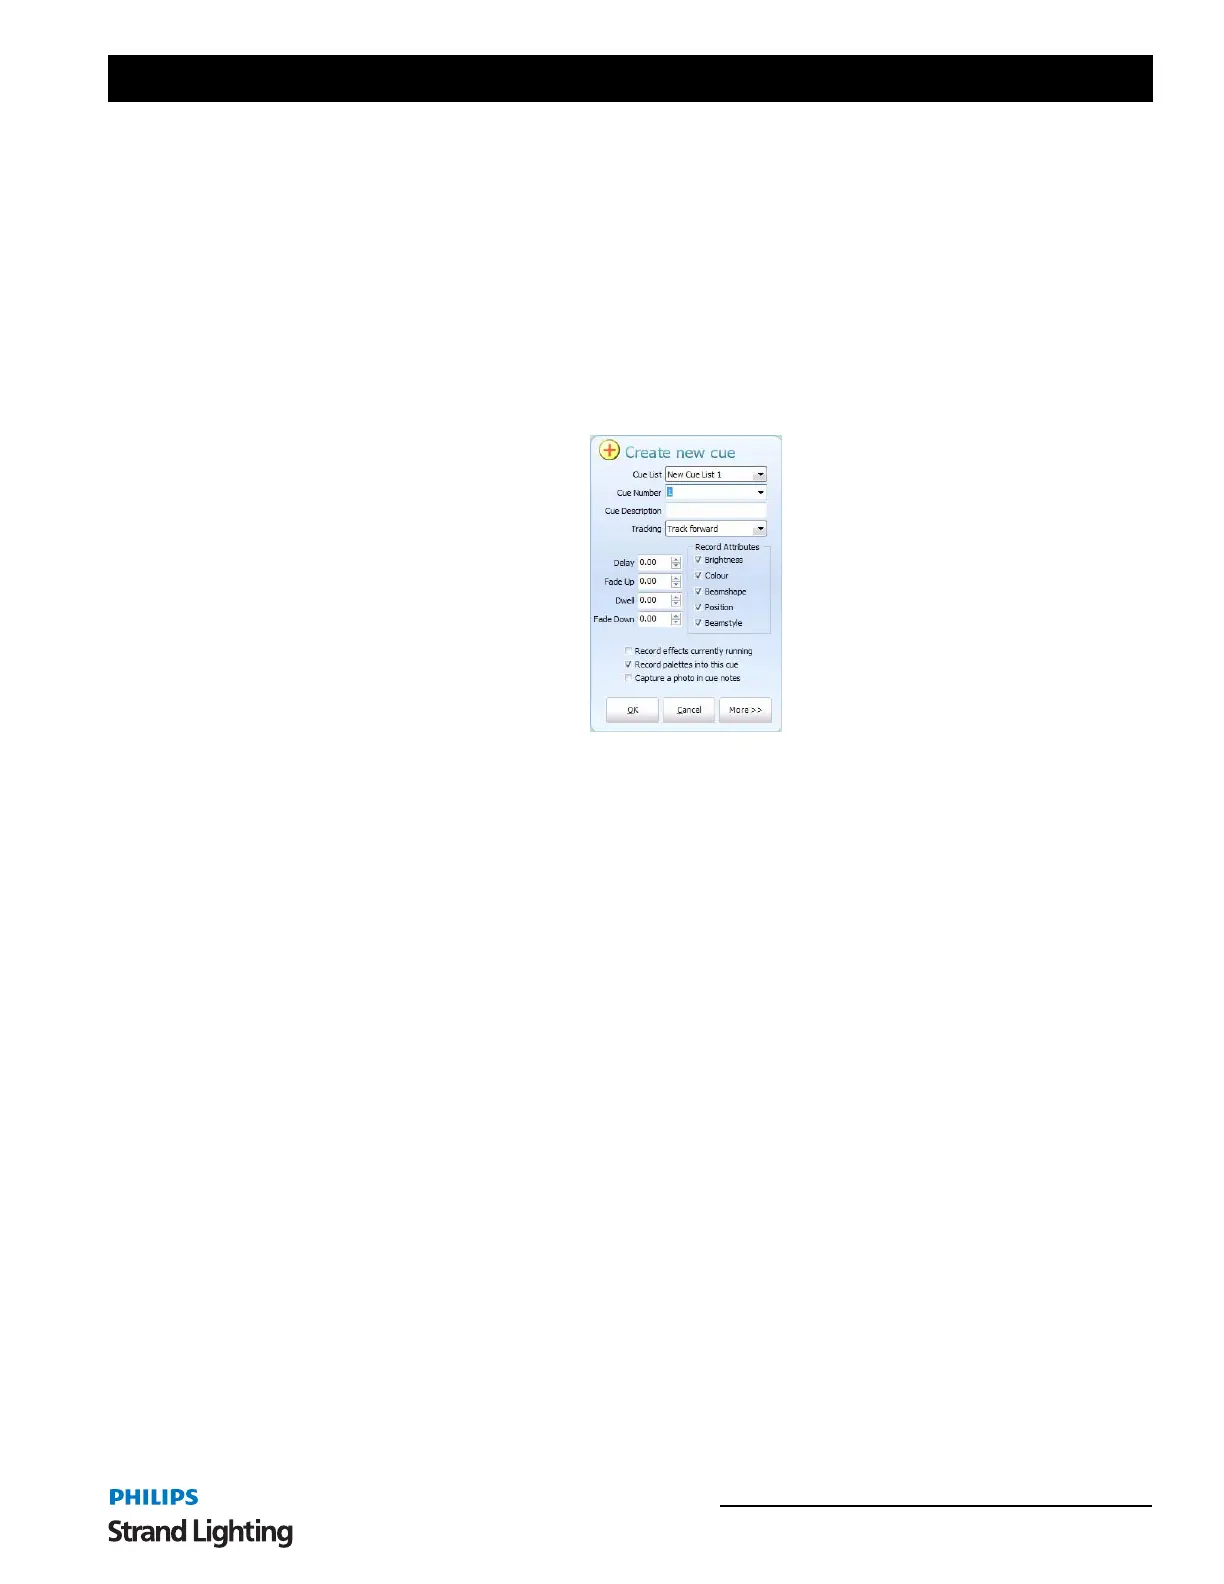
STEP 4
The "Create new cue" dialog box will be displayed. NEO will automatically pick the active cue list (If you have just
installed then this will be the only cue list) and set the cue number to the next available cue. Press the "OK" button to
record this cue. The cue has now been recorded with the active channels in their current state.
Creating Cue 2
STEP 1
Select channels 2 and 3 and set their value back to zero.
STEP 2
Now select channels 1, 7 and 11 and set all their values to 20%.
STEP 3
Click on the "Clear Selected" button and then click on channel 6 only. Bring its intensity back to 30% by either typing
@30 on your keyboard or using the scroll wheel.
STEP 4
In the "Fixture Control" window set the new position that you want the fixture in for cue 2.
STEP 5
Now that the second scene is set, click on the "Record Cue" button again. Alternatively you can use the keyboard
shortcut control-c to perform the same operation.
STEP 6
In the resulting "Create New Cue" dialog, cue 2 should already be set in the "Cue" edit box. If this is not the case,
enter the number 2 and press the "OK" button.
Creating Cue 3
STEP 1
Click on the "DBO/Clear" button to reset all channels back to dimmer levels of 0.
 Loading...