Objet30 User Guide 6 Operating and Maintaining the Printer
DOC-34025 Rev. I 6-83
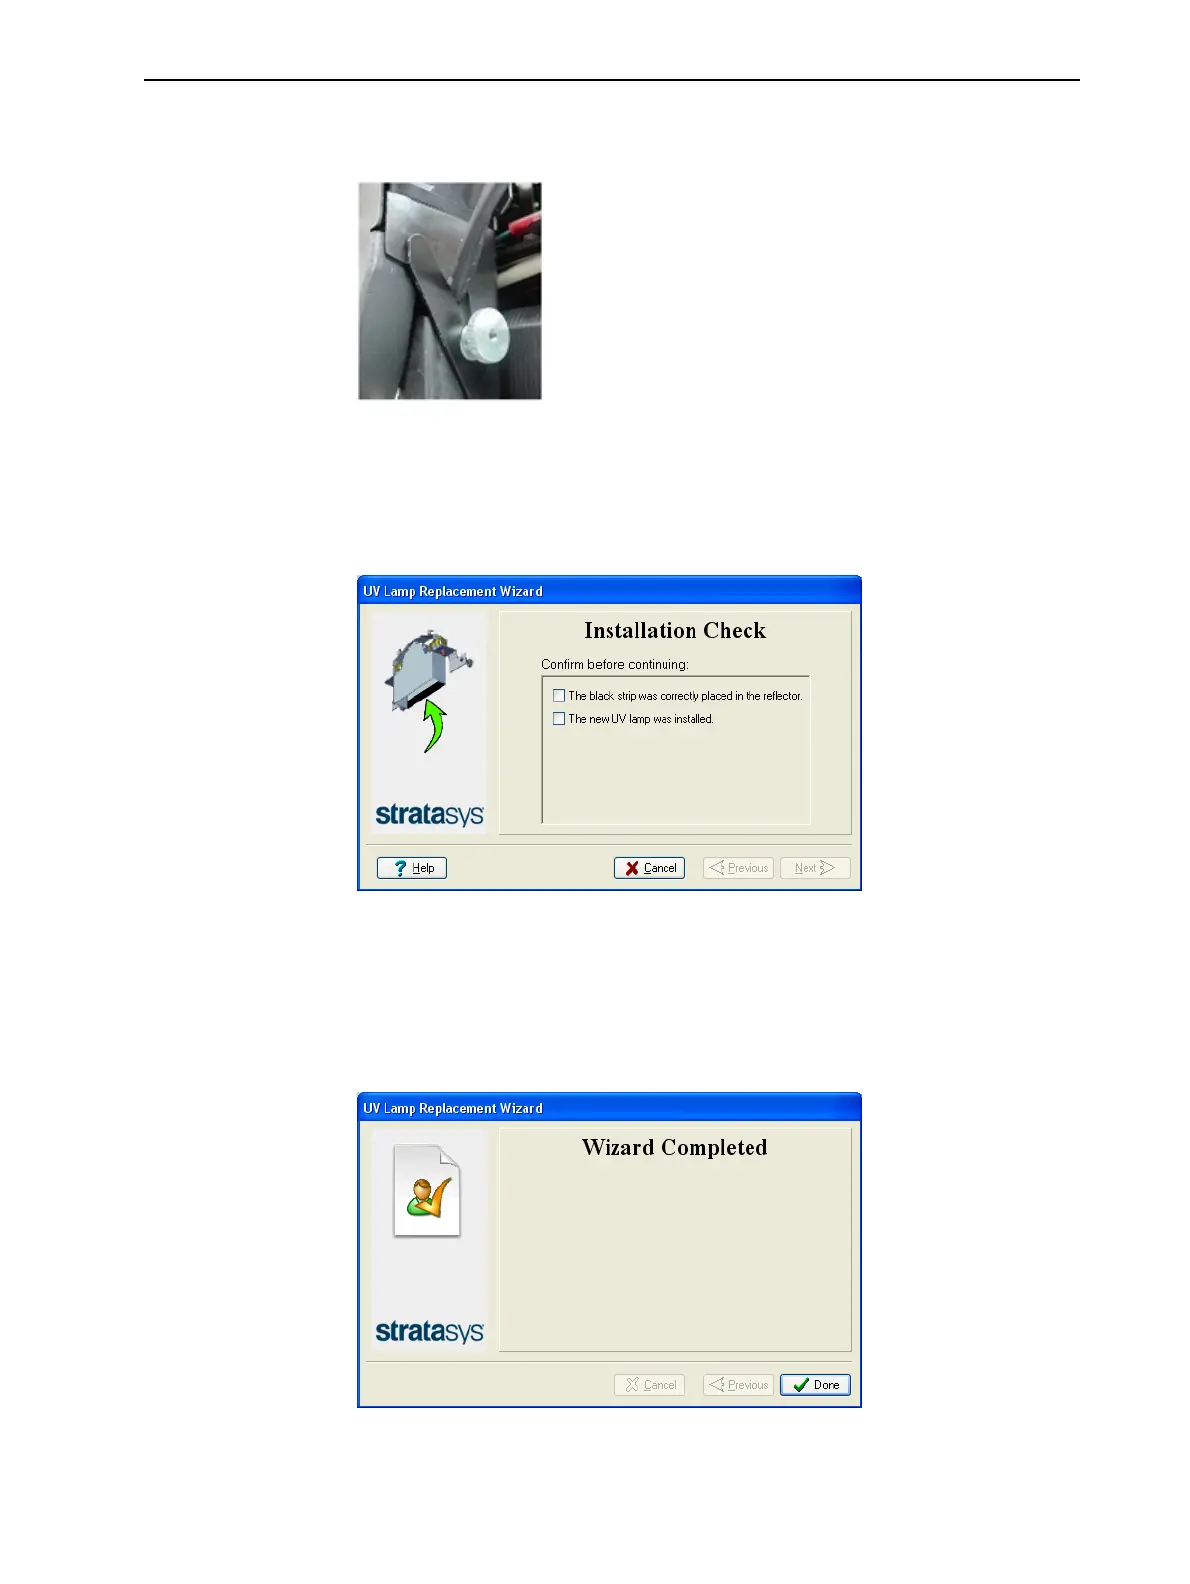
15. Replace the UV lamp assembly in the printer, making sure that the cable
fits into the slot together with the side securing screw.
Figure 6-113 UV-lamp cable after replacing the assembly
16. Tighten the two side securing screws.
17. In the wizard screen, confirm that you have replaced the UV lamp and that
the black strip is attached, then click Next.
Figure 6-114 UV-installation confirmation
Note: The mode currently being checked appears in the lower-left corner
of the printer interface.
The wizard operates the lamp to test if its power is within the acceptable
range.
Figure 6-115 Final wizard screen
Note: The UV lamp remains on until you click Done.