4) Remove the sampler.
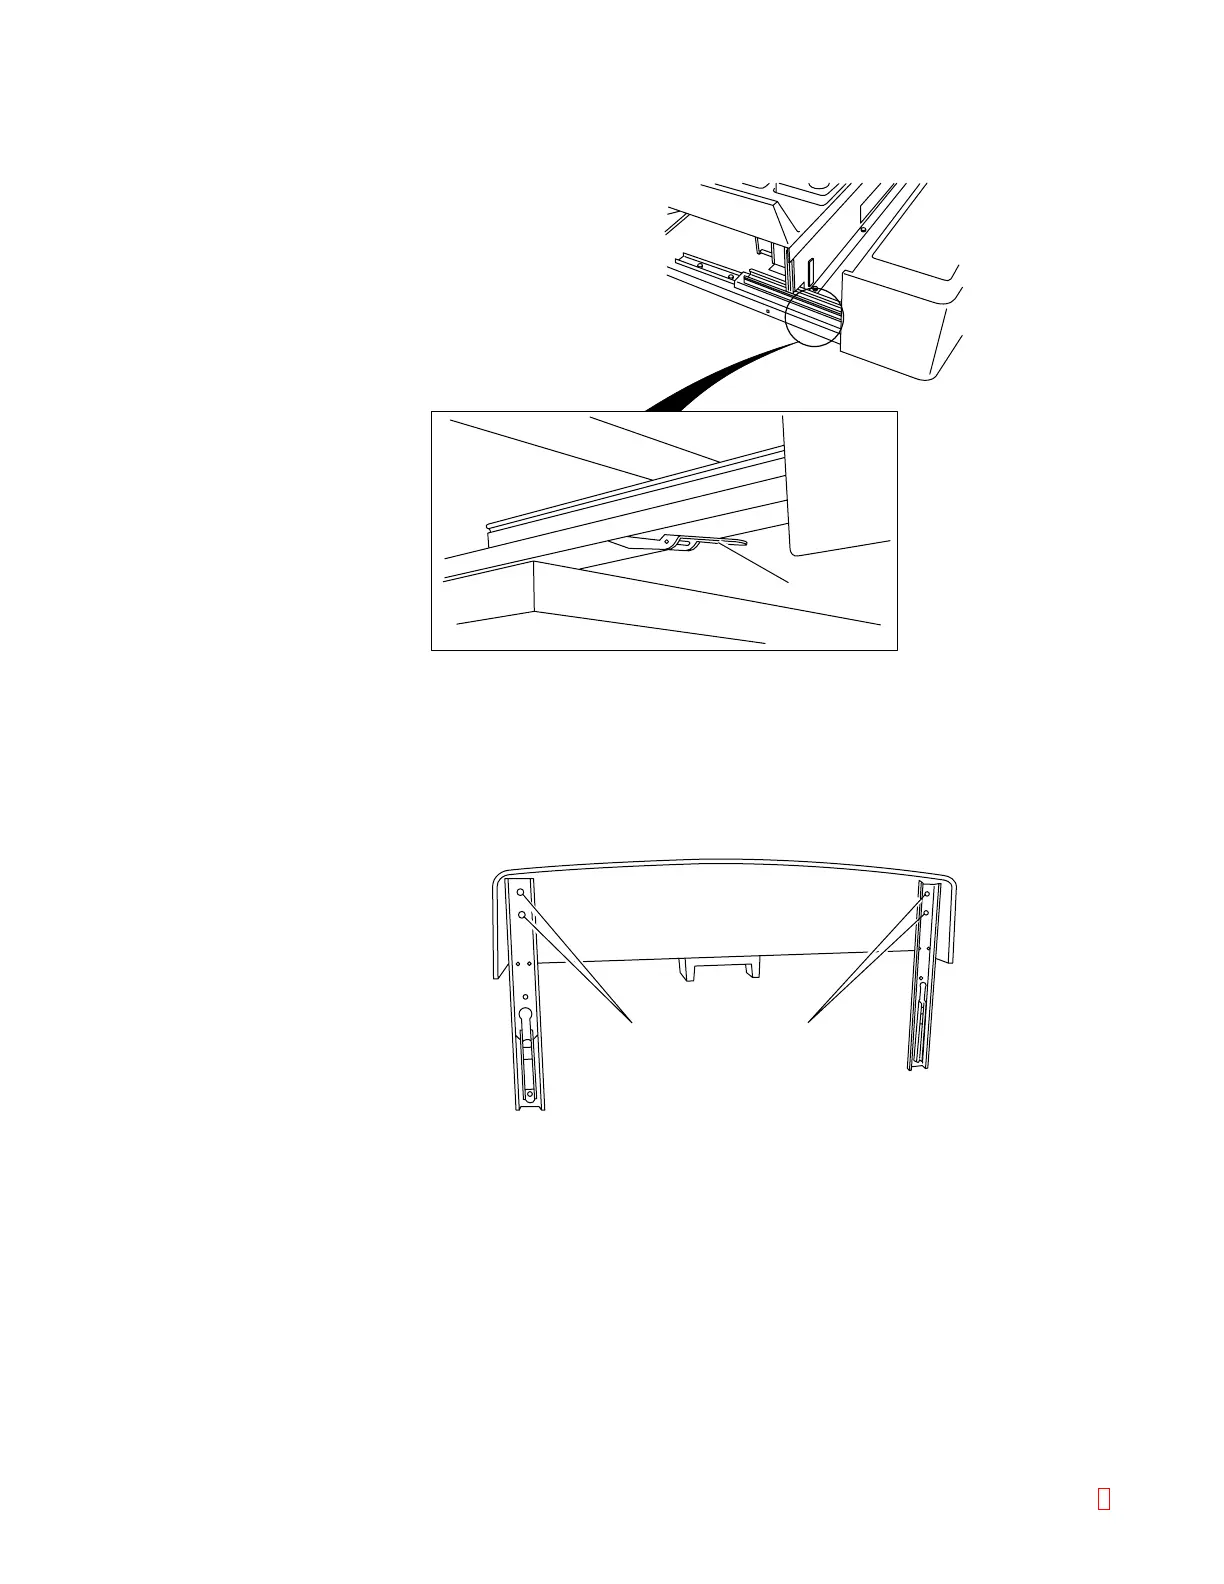
Release the stoppers while pushing the stopper levers by fingers, and remove the sampler.
Lever
Screws Screws
Figure B-23: Removing the Sampler
(3) Attach the slide rail to the sampler with the ID bar code scanner.
1) Remove the slide rail from the removed sampler.
Loosen the screws as shown and remove the slide rail from the sampler.
Take care not to lose the slide rail, screws, or washers that were removed, as they
must be attached to the sampler with the ID bar code scanner.
Figure B-24: Removing the Slide Rail
2) Attach the slide rail to the sampler with the ID bar code scanner.
Mount the duct-attached slide rail to the sampler onto the side where the cable
protrudes. All four screws should be temporarily tightened.
3) Insert the cable from the sampler into the slide rail duct.
CA-500 Series S/M B-15 Revised December 2001 8