CA-500 Series S/M 4-14 Revised December 2001
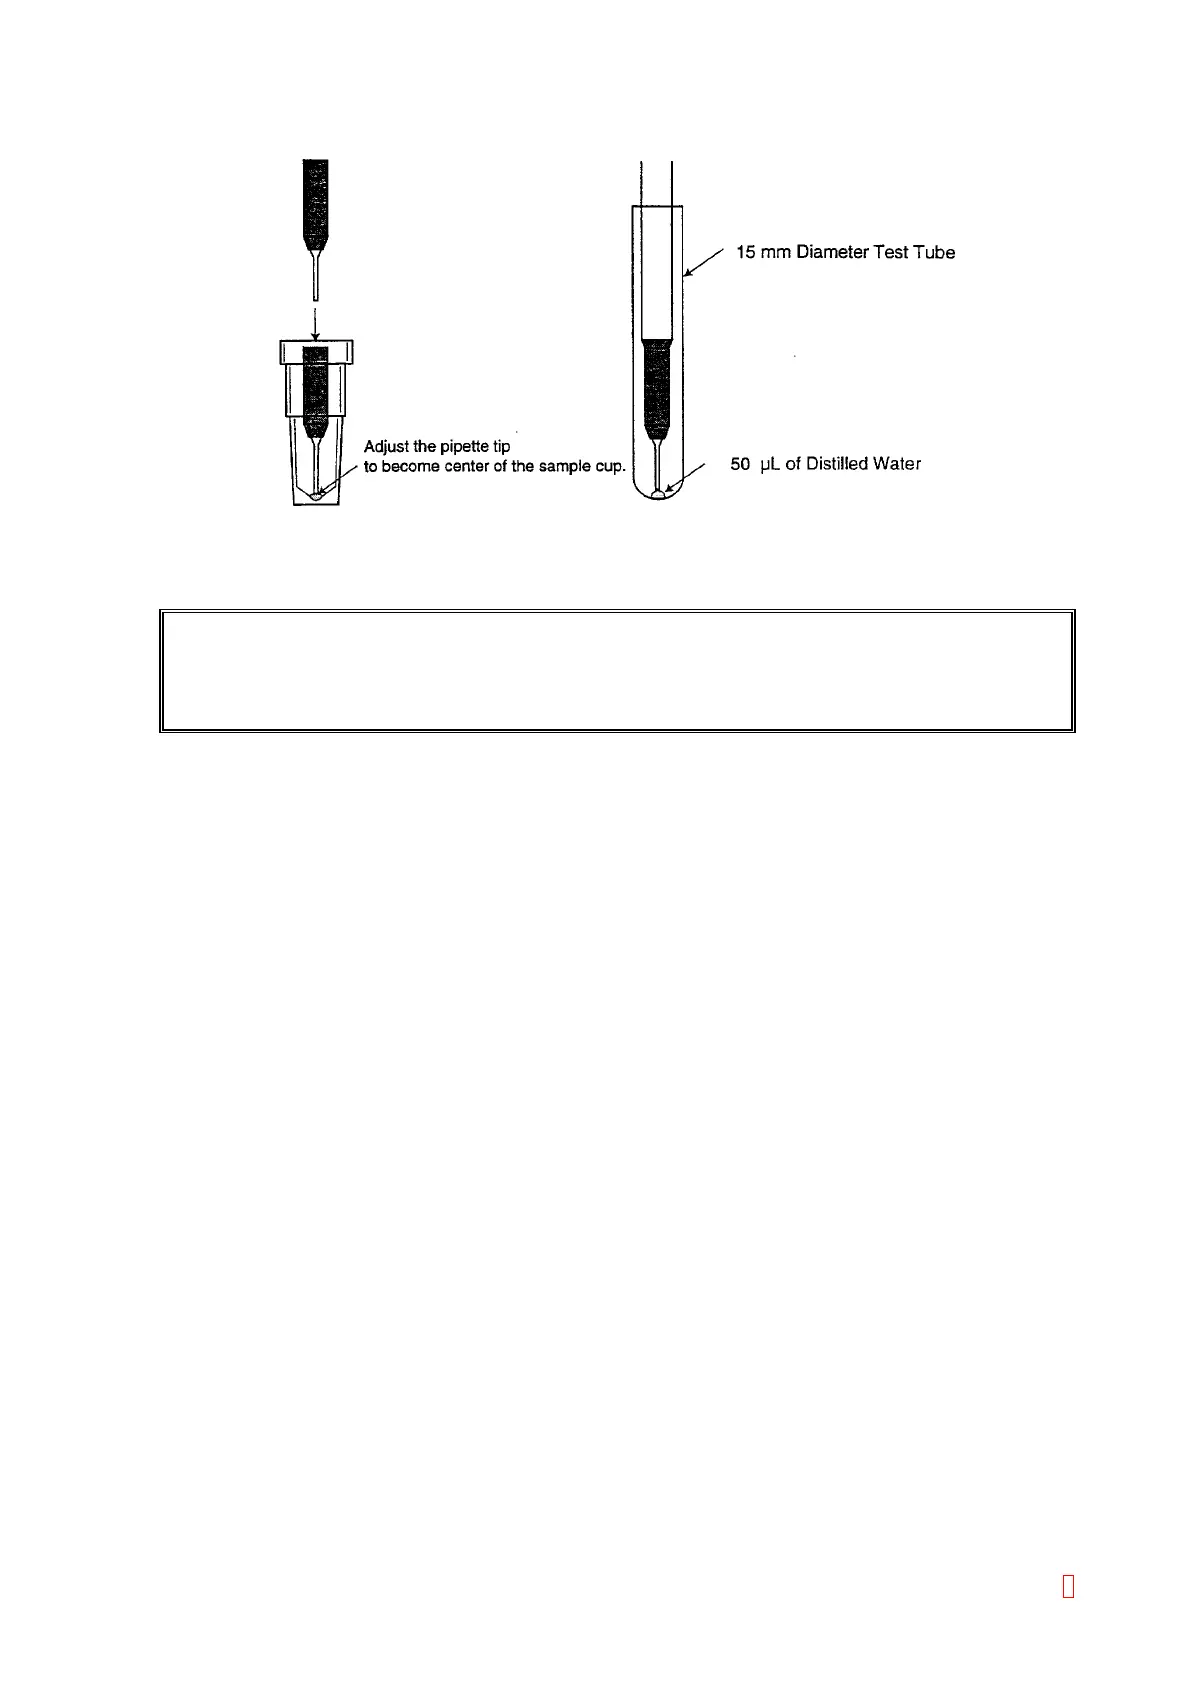
4) Use [n], [p], [m], and [Æ] keys to adjust the pipette tip to become the center of the sample cup.
Figure 4-3-5: Pipette Tip Position
5) Press [Z TEST] key to descent the pipette. The pipette detects the 50 µL of distilled water and stops.
CAUTION: Probe descend until probe detect liquid surface or pipette bottom pulse value. When the
probe stops before detecting liquid surface, perform Section 4.3.4, (3) Pipette Lower
Limit Adjustment.
6) Use [n], [p], [m], and [Æ] keys to adjust the pipette tip to become the center of the sample cup.
7) Press [Z ADJUST] key again to ascend and descend the pipette. Verify that the pipette is placed at
the center of the sample cup. (Z pulses will be stored as the setting value in the memory when
“Mecha Position” adjustment is completed.)
8) Press [XY ORG] key to return the pipette (head) to the home position.
9) Move sample cup to the sample rack No. 10.
10) Press [Pos. +] key to select the setting position “[2]blood 10”.
11) Execute Steps 3) to 8).
12) Move the sample cup to the blood_stat position.
13) Press [Pos. +] key to select the setting position “[3]blood_stat”.
14) Execute Steps 3) to 8).
8