PROCEDURE
1 Clean all parts of the piston, piston rings, gland box bore, cylinder liner, cylinder liner
bore and the installation tool (002, Figure 8-76).
2 Apply oil to the piston, piston rings, gland box bore, cylinder liner and cylinder liner bore.
3 Remove the cover plate from the piston rod bore.
4 Attach the lifting tool (001) to the installation tool (002) and the engine room crane.
5 Operate the engine room crane to put the installation tool (002) on the cylinder liner
(003).
6 Remove the engine room crane and the lifting tool (001).
7 Operate the turning gear to move the crank to TDC.
8 Put oil on the bore and on the O-rings of the piston rod gland.
9 Attach the piston suspension device (004) to the top of the piston (005).
10 Torque the bolts to the correct value, refer to section 16.1 Tightening instructions.
11 Attach the distance holders to the piston rod foot.
12 Make sure that the piston rod gland (010) is correctly installed on the piston rod.
13 Attach the engine room crane to the lifting tool (004).
14 Operate the engine room crane to lift the piston (005) a small distance.
15 Loosen the eight bolts (007).
16 Open fully the two supports (006).
17 Continue to lift the piston until the distance holders touch the gland box (010).
18 Open the plates (008).
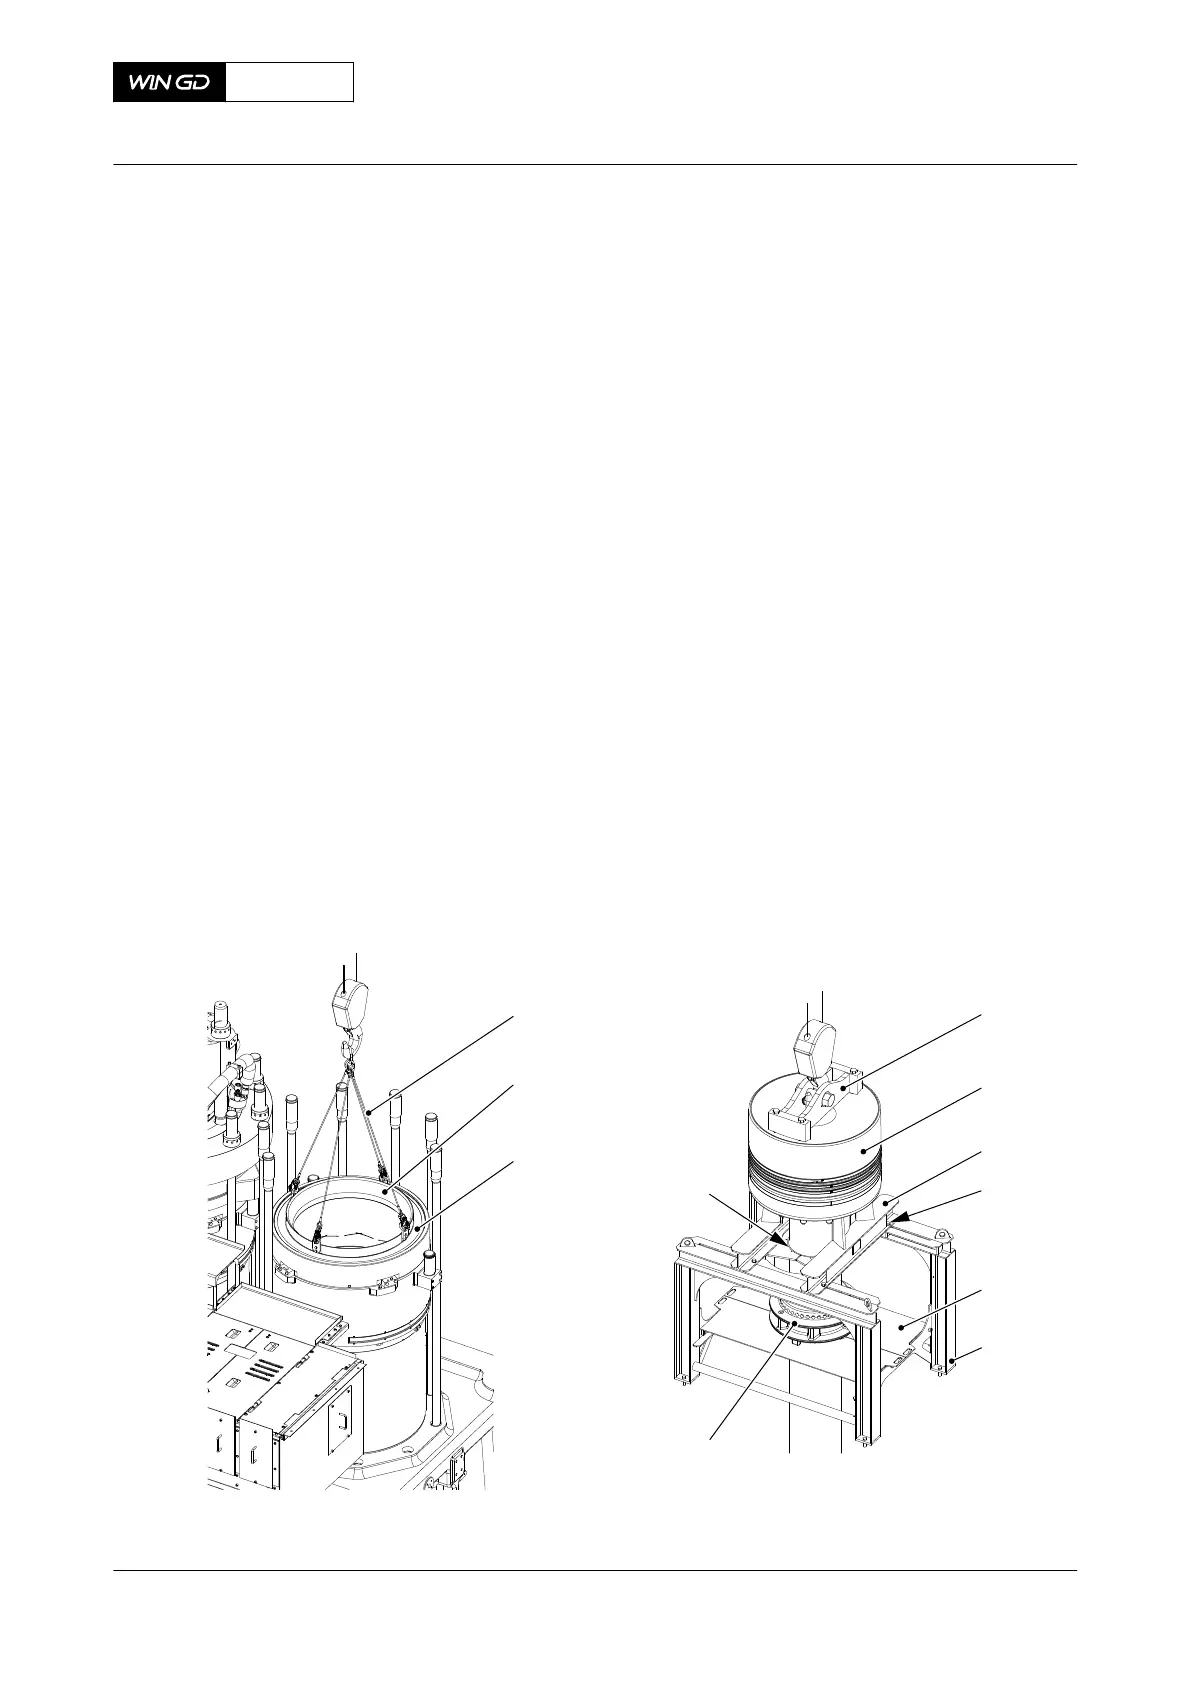
Fig 8-76 Piston - move (example)
001
002
004
005
006
007
008
009
010
003
011
00784
X62DF
AA00-3403-00AAA-720A-A
Maintenance Manual Piston - install
Winterthur Gas & Diesel Ltd.
- 499 - Issue 002 2020-10