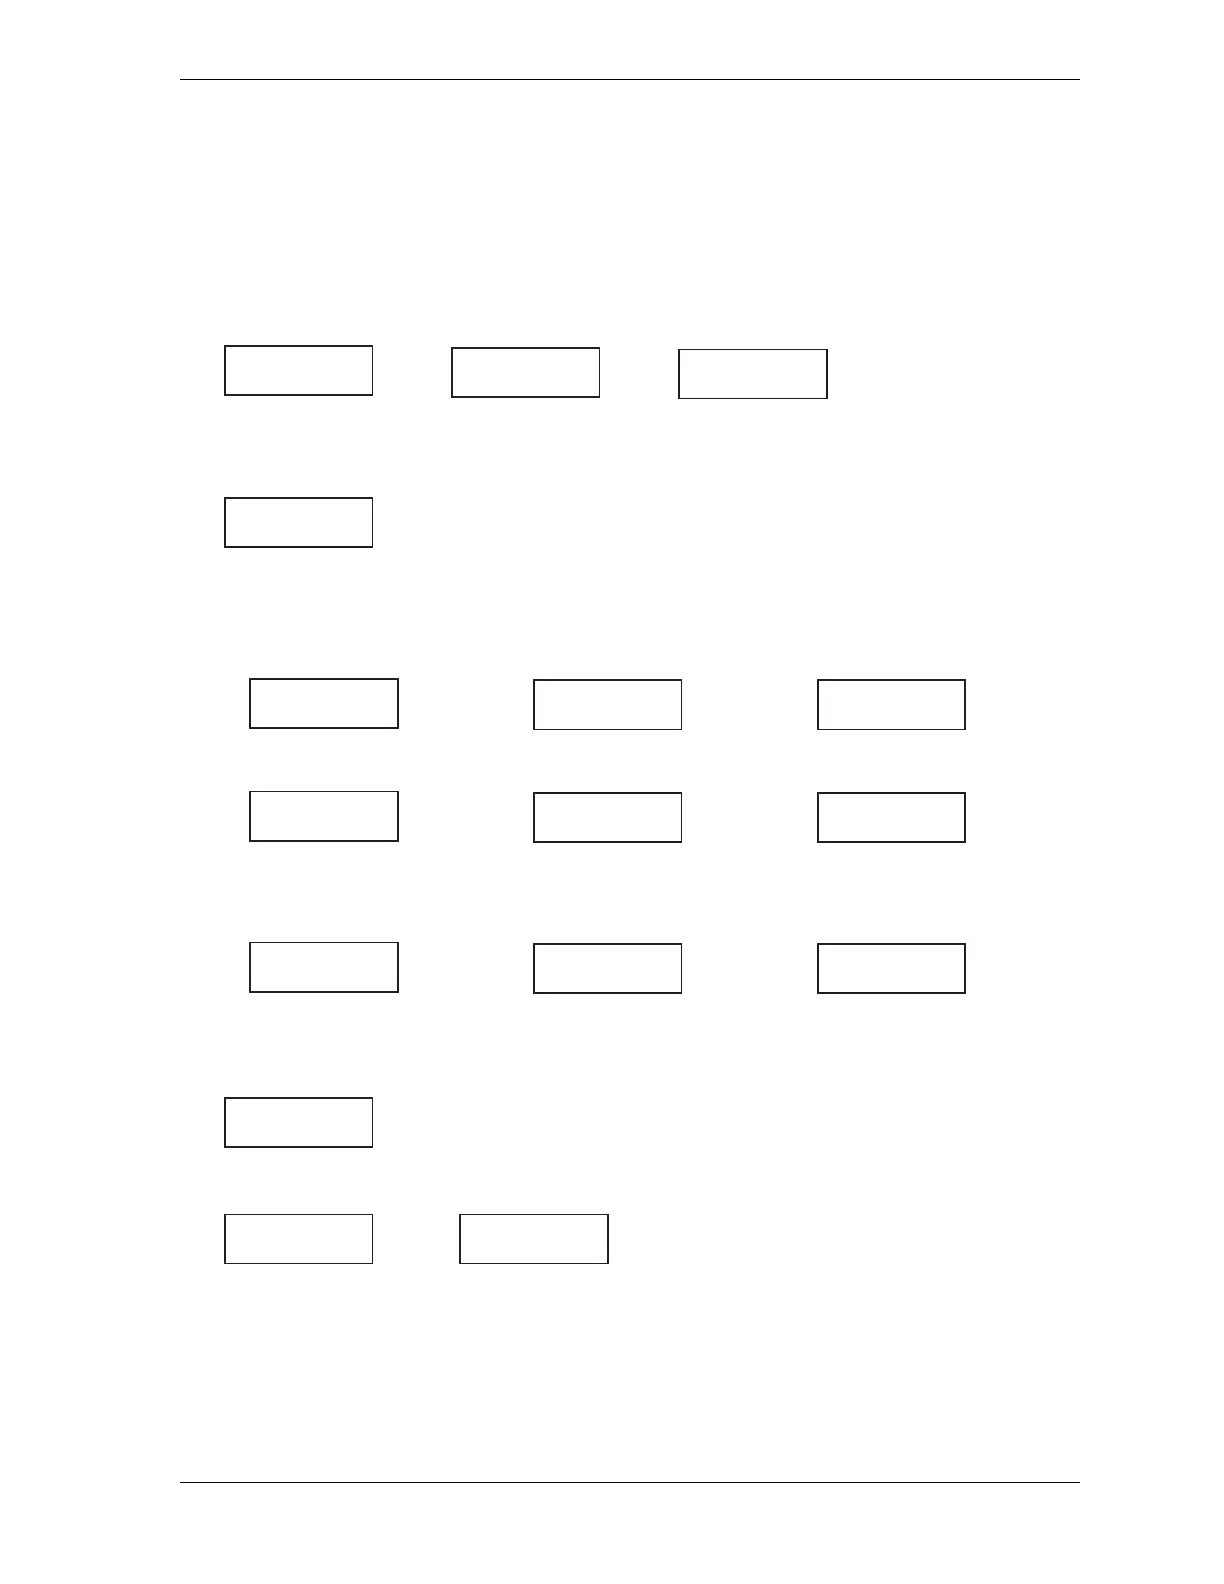
Figure 2-40. Overrun Sensor Magnet Installation Worksheet
Overrun Sensor Magnet Installation Worksheet
To determine your presss Top-stop On Angle, overrun magnet installation angle,
and option switch 1 and 2 settings, do the following:
1. With the Top Stop Angle set to 270°, cycle the press three times in Inch mode.
Record the angle at which the press top-stops each time.
Trial 1 Trial 3Trial 2
°
°
°
2. Calculate the average of the three trials, and record.
°
Avergage angle at which press top-stops
3. Does the average angle at which the press top-stops occur before or after TDC?
Calculate the Top-stop On Angle as follows (a or b):
a. Angle at which press top-stops occurs before TDC (181° through 357°)
b. Angle at which press top-stops occurs after TDC (3° through 180°)
°
=
°
°
360
°
=
°
Top-stop Angle Setting
Stopping Angle
Stopping Angle
Top-stop On Angle
Average angle
°
°
=
°
Top-stop Angle Setting Average angle Top-stop On Angle
4. Determine the angle at which to install the overrun magnet (refer to Table 2-27).
°
5. Determine option switch 1 and 2 settings (refer to Table 2-27).
Switch 1 setting Switch 2 setting
°
270
 Loading...