1128600 SmartPAC 2 with WPC 2000 Integration User Manual
4-4 Initialization Mode
2. When the press is at TDC, perform the next procedure.
Setting the Resolver Zero Position
To zero the resolver with the press at TDC, perform the following steps:
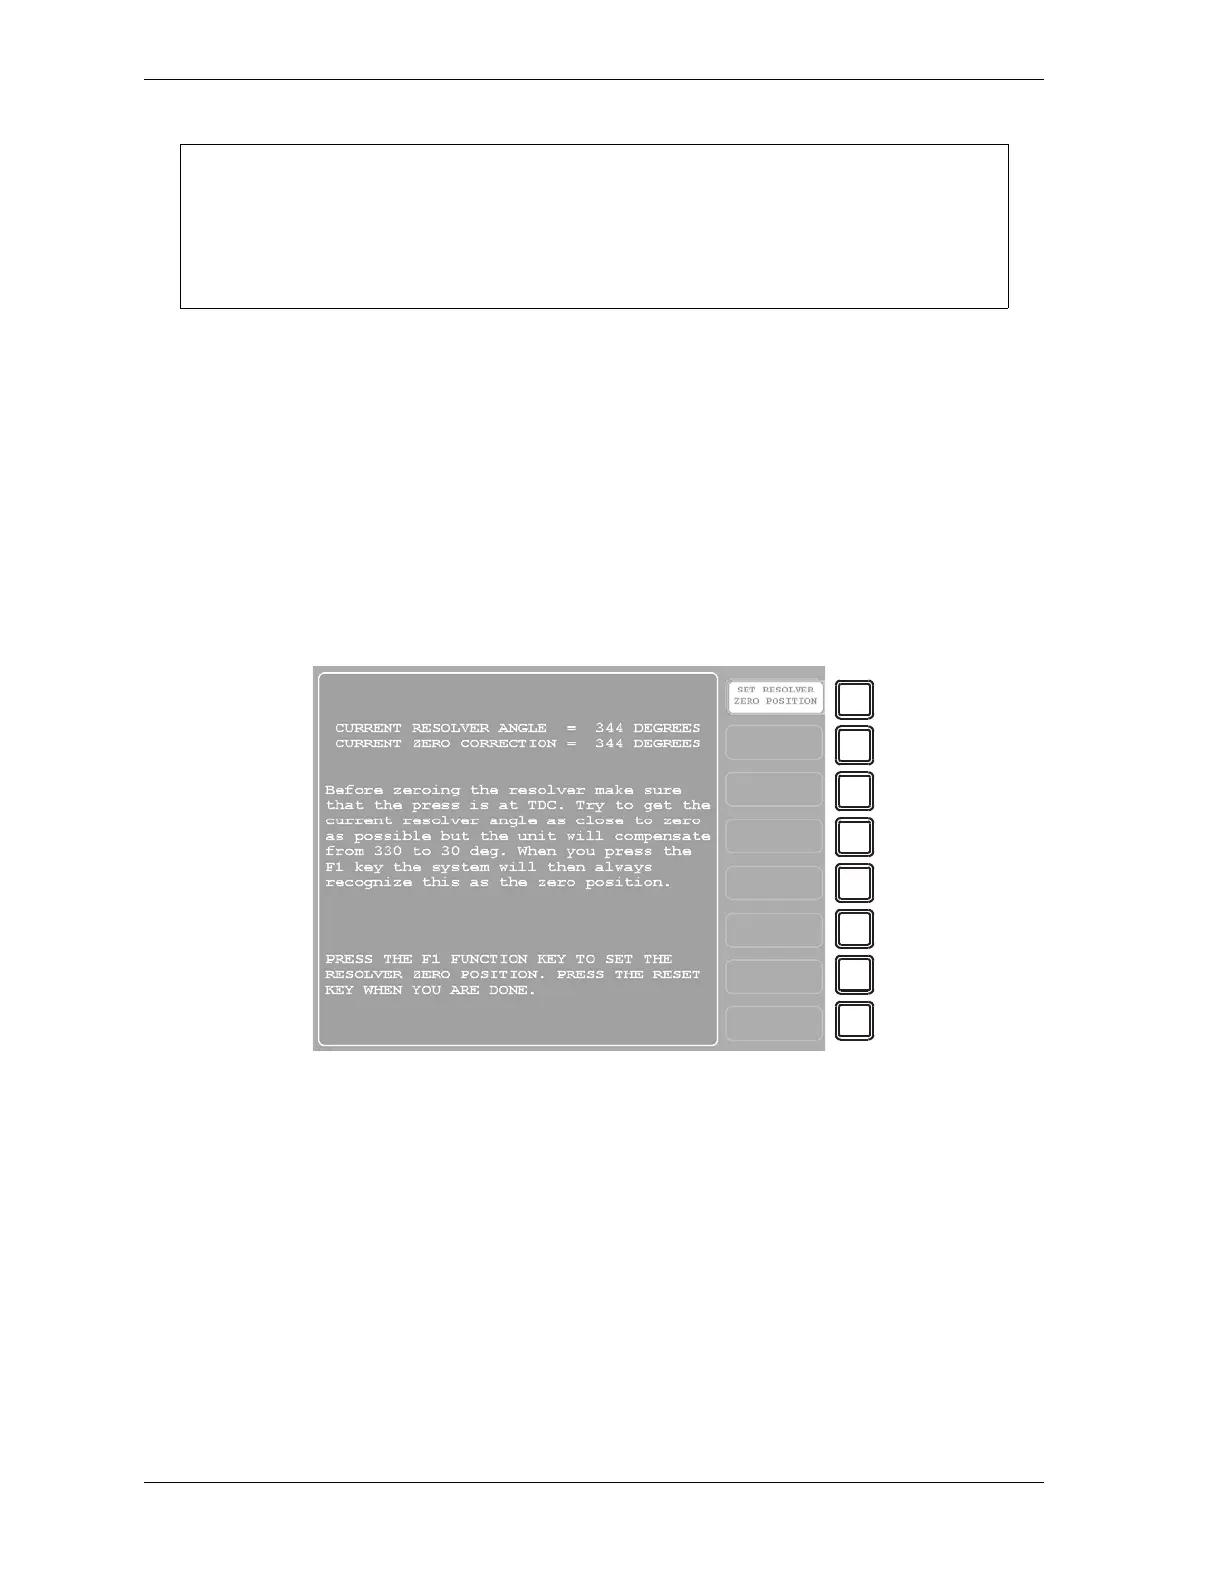
1. Select RESOLVER ZERO on the Main Initialization Menu. The screen shown in
Figure 4-2 displays.
The value shown in the CURRENT RESOLVER ANGLE field, which is the actual
angular position of the resolver shaft, should be as close as possible to 0°. Ideally, the
reading should be between 355° and 5°, but anywhere between 330° and 30° is acceptable.
2. If the current resolver angle is outside the range of 330° to 30°, loosen the tension on your
drive mechanism and turn the resolver shaft by hand (either direction is acceptable) until
the arrow on the shaft is aligned with the keyway (see Figure 2-13, page 2-26), indicating
a resolver position of 0°. Continue to adjust the position of the resolver shaft until the
reading in the CURRENT RESOLVER ANGLE field is as close to 0° as you can get it.
Then tighten the drive mechanism, making sure not to change the resolver angle reading.
3. Press the F1 (Set Resolver Zero Position) key on the Resolver Zero screen.
SmartPAC 2 electronically adds or subtracts the offset (i.e., the difference between the
CURRENT RESOLVER ANGLE reading and 0°), and the CURRENT ZERO
USE A DIAL INDICATOR TO DETERMINE TDC
Do not rely on the SmartPAC 2 display to indicate when the press has reached TDC. Until
the resolver is zeroed, displayed values are inaccurate. Use a dial indicator or some other
means to determine 0°.
Figure 4-2. “Resolver Zero” Screen