SmartPAC 2 with WPC 2000 Integration User Manual 1128600
Run Mode 6-7
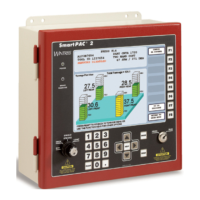
To disable or enable sensors, do the following:
1. Press ENTER with the highlight bar on the DISABLE/ENABLE SENSORS item.
If you are enabling sensors, the message at the left of the Status Box changes from
SENSORS DISABLED to SENSORS ENABLED.
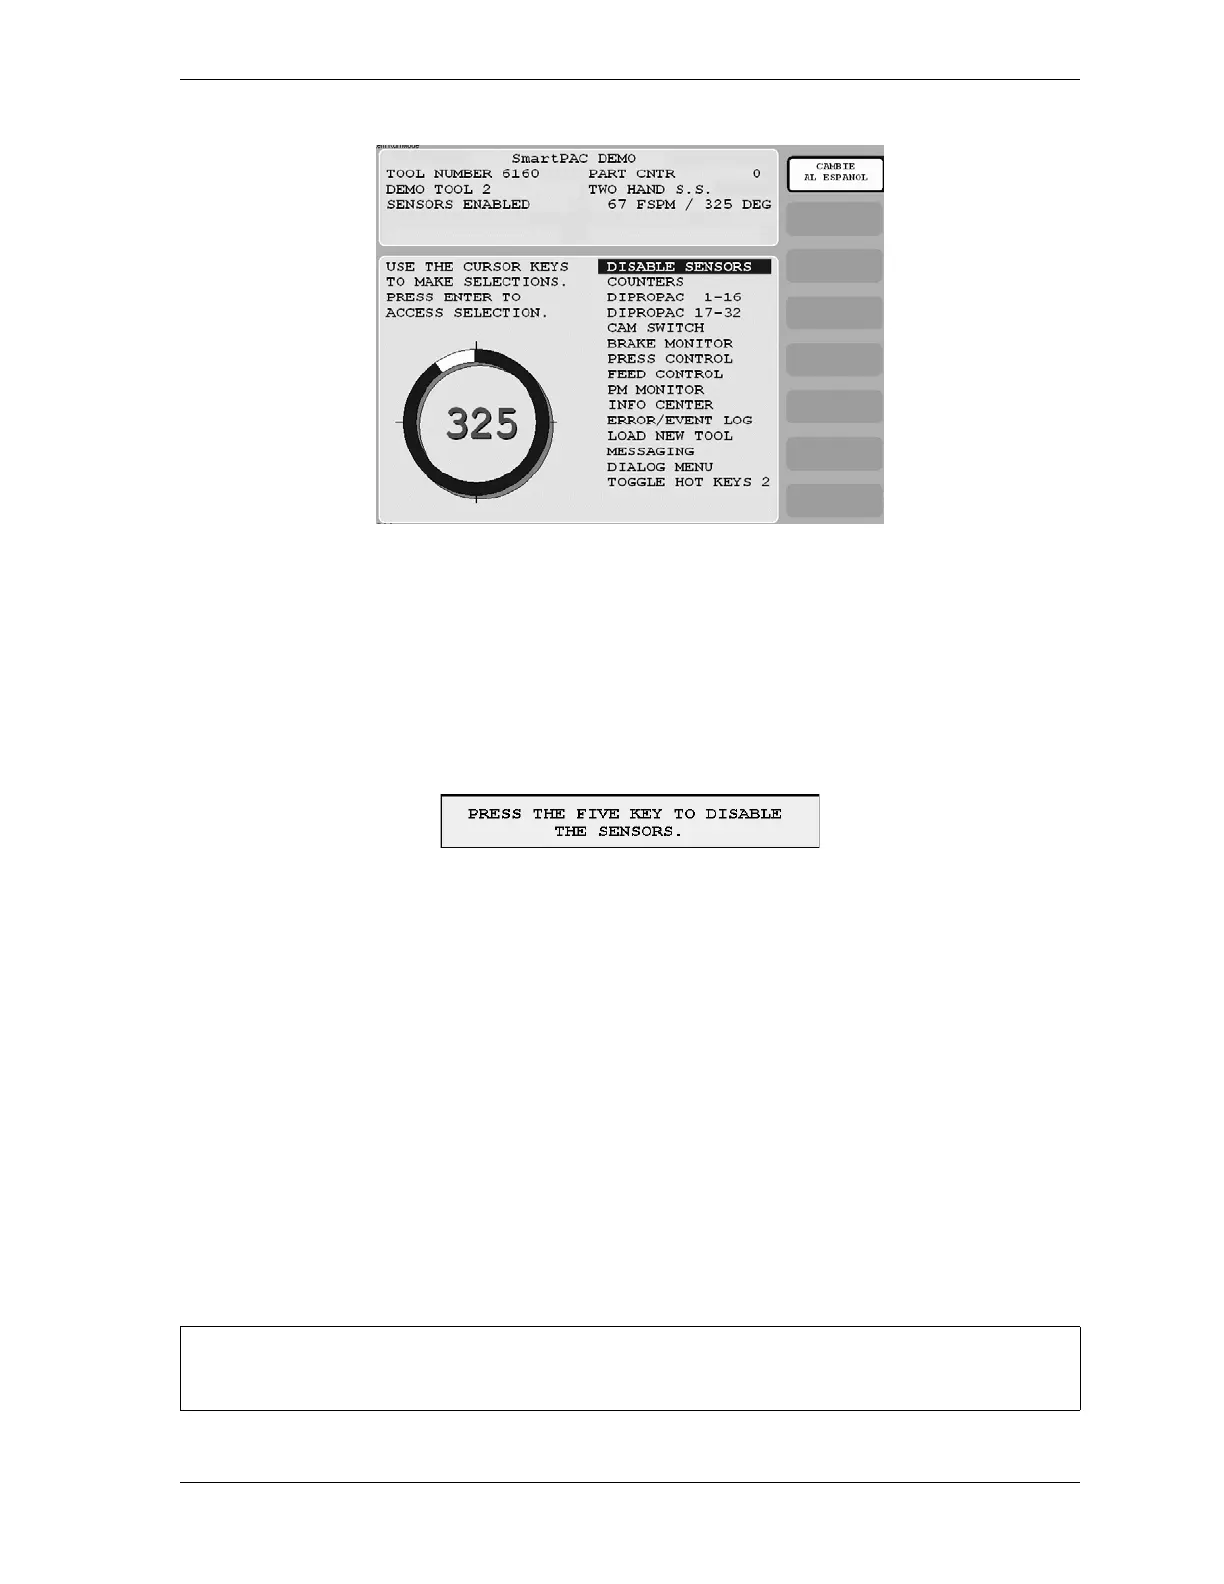
If you are disabling sensors, the window shown in Figure 6-9 displays.
2. Press the 5 key to confirm that you want to disable the sensors. The message at the left of
the Status Box changes from SENSORS ENABLED to SENSORS DISABLED, and the
message flashes in red.
You can manually enable or disable sensors no matter which setting (i.e., Manual, Auto by
Tool, or Auto by Sensor) is selected for Sensor Enable Mode in Initialization (see page 4-18).
If either of the Auto Enable options is selected, you should refer to Setting the “Auto Enable
by Tool” Counter Value, page 5-21 or Setting the “Auto Enable by Sensor” Counter Value,
page 5-23 to make the appropriate setting for the tool.
In order to protect the tool, sensors should always be enabled except during setup and
troubleshooting when they can be temporarily disabled. If you have enabled Setup Mode (see
page 4-19), you can run the press in Inch during setup with green sensors disabled. When
Setup Mode is active, the message SENSORS IN SETUP MODE is displayed in the Status
Box in place of the SENSORS ENABLED message.
Figure 6-8. Main Run Menu with SENSORS ENABLED Display
Figure 6-9. Disable Sensors Confirmation Message
If you temporarily disable sensors, be sure to re-enable them before you resume making parts.
 Loading...