04/2016
4-32
Phaser 4600/4620/4622 Printer Service Manual
REP 7.6
Revised
4 Repairs and Adjustments
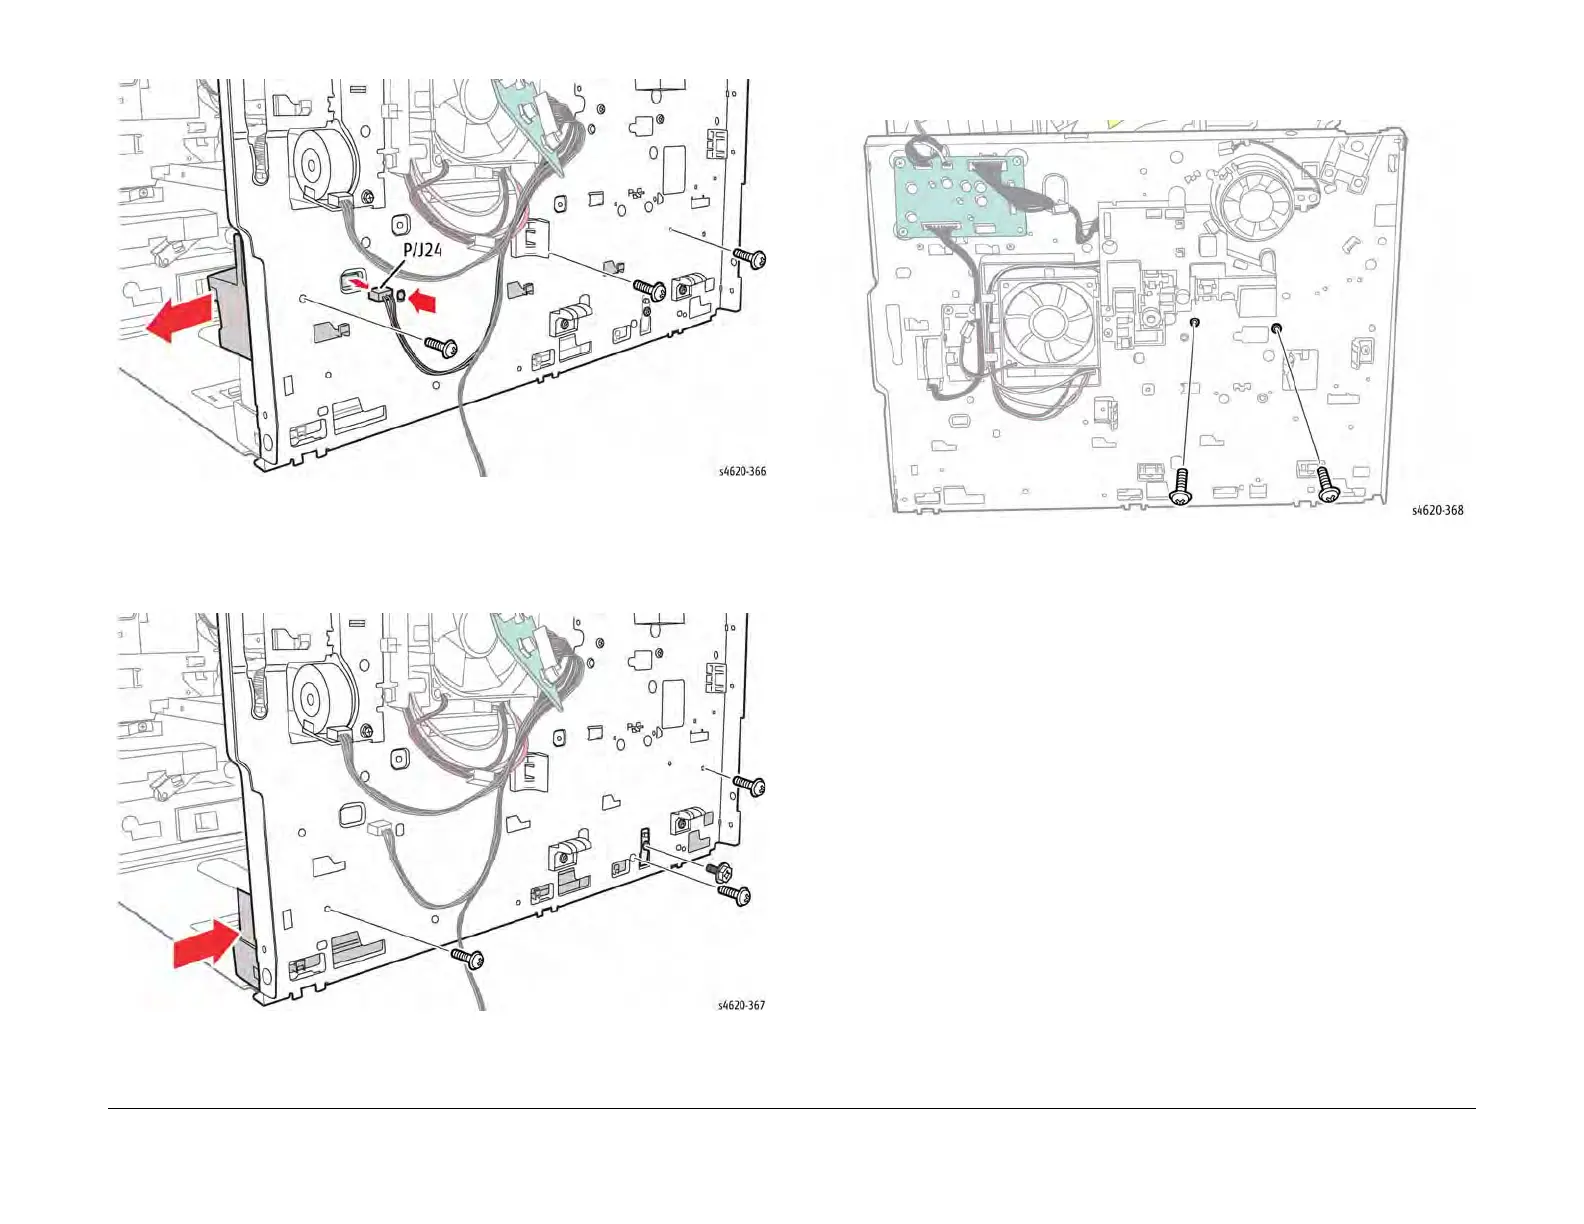
Figure 3 Remove the left upper tray guide
20. Remove 4 (3 plastic, 1 metal) screws that secure the lower left tray guide and ground
strap. Remove the ground strap, then slide the guide forward to release the hooks and
remove the left lower tray guide from the chassis, Figure 4.
Figure 4 Remove the left lower tray guide
21. Remove 2 (plastic) screws that secure the left side of the middle frame assembly, Figure
5.
Figure 5 Remove the left side middle frame assembly screws
22. Remove the Joint Board, REP 9.8.
23. Remove 3 (2 plastic, 1 metal) screws that secure the left side of the Exit Assembly, Figure
6.