CALREC Putting Sound in the Picture 39
LAYERS
Apollo provides an comprehensive
layers feature to aid in organizing
and accessing many paths extremely
quickly.
Layer selection is performed from the
right hand side of the Layers row of any
standard control bed panel, as shown
right. If the layer select controls are not
visible on a particular panel, it is likely to
be in Tools or Layer Tools mode - press
the Tools/Layer Tools button, or the exit
button in the row above to return to the
default modes row menu. Fig 1 shows the
layout of controls on the Layers Row.
A/B Paths
Each fader provides instant access to
two paths. These paths are known as the
A and B paths and are described in the
Assigning Paths section of this document.
To switch all faders to the A or B path
use the ALL A or ALL B buttons on the
Layers row.
Layers 1-12
There are also 12 layers available on the
surface. Each layer contains its own A
and B paths.
Layers can be switched using the green
buttons on the Layers row. The 12 layers
are divided into two banks. The first
bank contains layers 1-6 and the second
contains layers 7-12. The selected bank
and selected layer are highlighted.
Using layers
Layers provide a flexible method of
organizing paths on the surface. Layer 1,
for example, may be configured to contain
all main presenter microphones on path
A and audience microphones on path B.
Layer 2 may contain VT or server audio
sources on path A. Switching between
layers 1 and 2 provides fast access to
both of these organised collections of
sources. A path may appear on multiple
layers simultaneously.
Layer Locking
A path can be locked to a fader and
remain on the surface regardless of the
selected layer. To lock a path touch the
LAYER TOOLS button on the Layers Row.
On the updated Functions row above,
touch and hold the LAYER LOCK button
and then tap the assign buttons of any
faders which contain paths that are to be
locked to the surface. Holding LAYER
LOCK and tapping an assign button
toggles the lock on and off. See Fig 2.
When a path is locked, a padlock icon
will appear in the fader label display to
indicate the lock is active.
When a path is unlocked the A/B display
will show text to indicate the original layer
location of the path as it may not be the
currently selected layer. The locked path
will still remain in view until a different
layer or All A/B selection is made.
Layer Split
The Layers row contains a button entitled
LAYER SPLIT. Touching this button on
any panel inserts a layer split along the
left hand side of that panel. The button
will light up as an indication of the split.
Any layer changes made to the left of the
split will not affect any faders to the right
of the split. This applies to All A and All
B selections too. Multiple layer splits can
be put in place across the surface, each
obeying the same rules described above.
Turning off the B layer
The global B layer, which allows each
fader to access a B path can be turned
off. This is currently a factory set option
and Calrec should be contacted for
activation.
With this option set, the faders on the
surface will only have access to one path
per layer and can be accessed using the
A layer path assignment buttons.
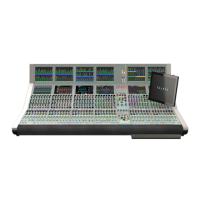
FIG 1 - LAYERS ROW
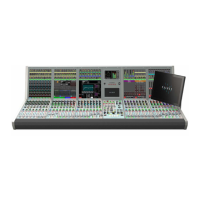
FIG 2 - LAYER TOOLS