Routing Audio
126 APOLLO
Digital Broadcast Production Console
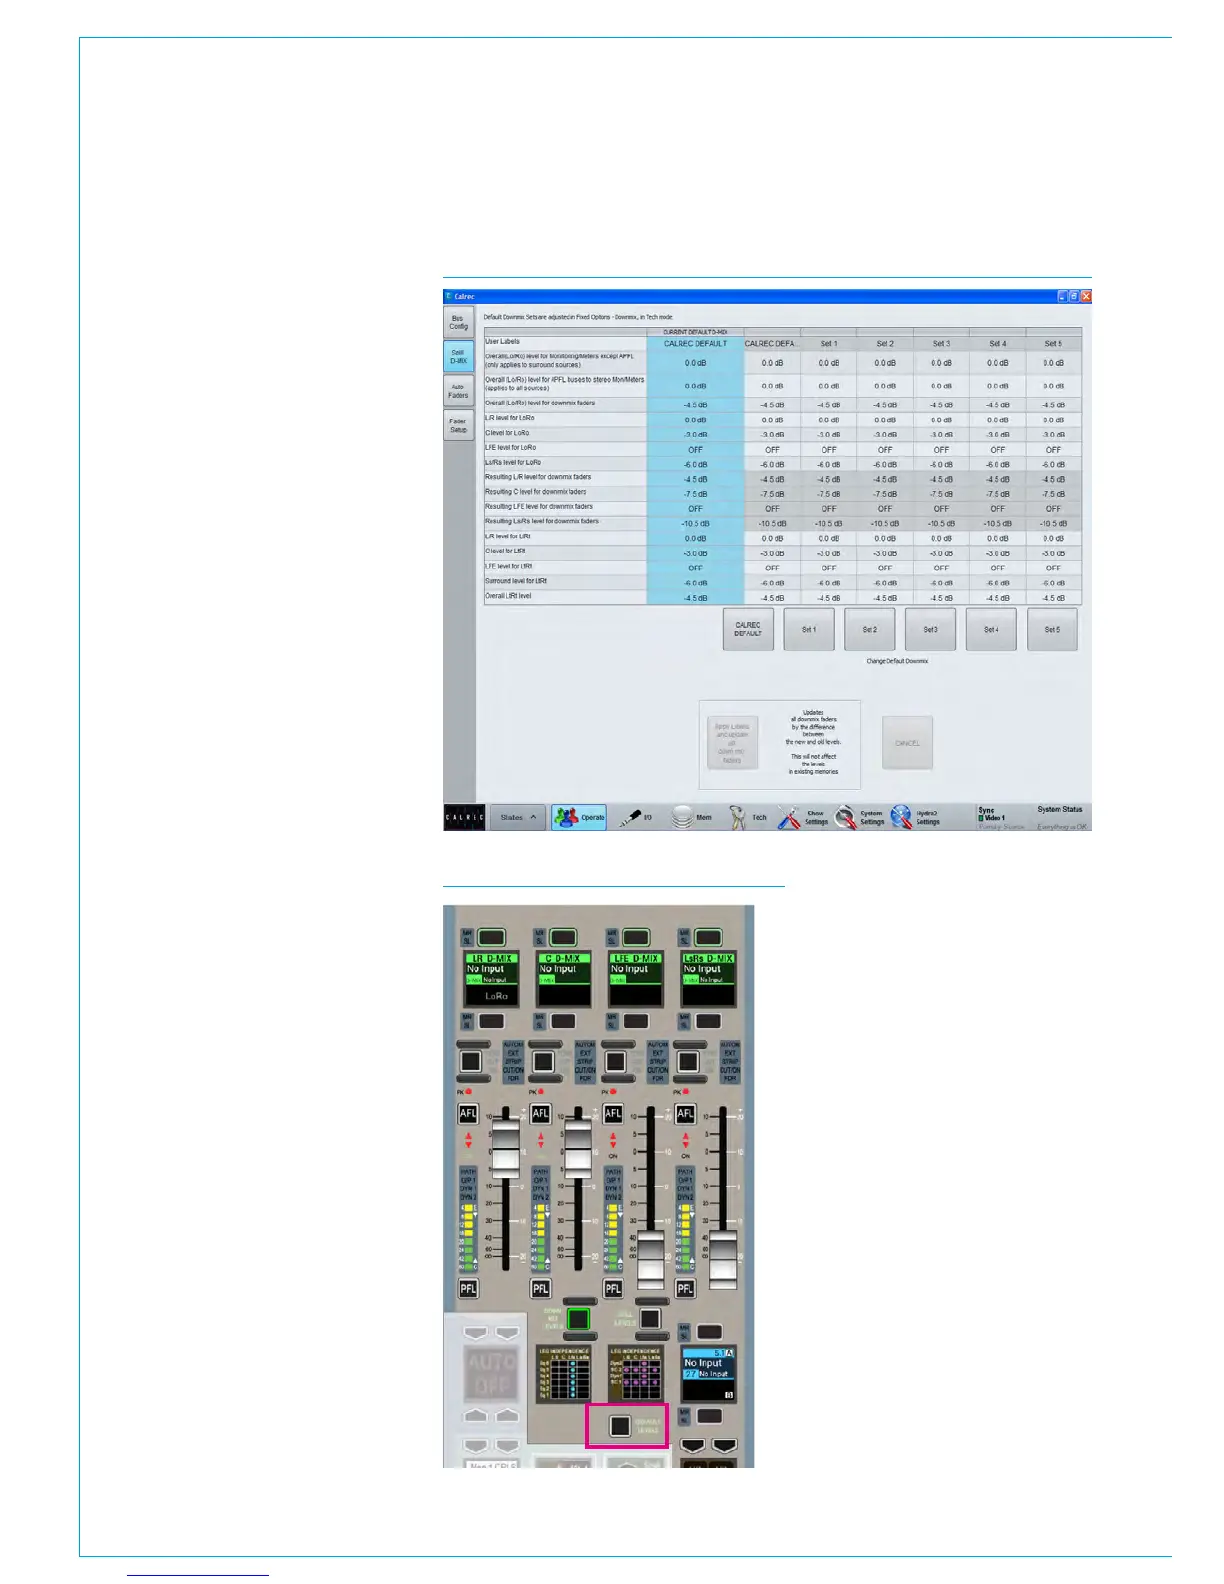
Selecting the required downmix
default
When any relevant downmix defaults have
been set up, users can select the required
configuration for use in their show by
navigating to the >Operate>Spill D-MIX
screen in the main application as shown
in Fig 3.
The downmix configuration currently in
use is indicated in the CURRENT D-MIX
column of the table. To select another
configuration, touch the button below
the relevant column. This will make the
following buttons at the bottom of the
screen active:
• ‘Apply Levels and update all down mix
faders’.
• This applies the downmix to the system
(monitoring, metering and paths)
including existing paths. If the downmix
faders on any paths have been offset
from the downmix default levels, the
offset will also be applied to the new
downmix levels for those paths.
• CANCEL. This cancels any changes to
this selection.
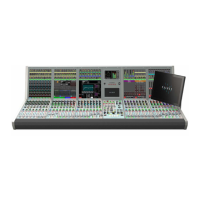
Applying default levels to downmix
faders
If any downmix faders have been changed,
it is possible to set individual downmix
faders to their default.
To do this, make sure that the faders
on the monitor panel are set to display
the downmix levels by pressing the
DOWNMIX button. Now press and hold
the DEFAULT LEVELS button along with
the assign buttons for any downmix faders
that are to be set to default. See Fig 4.
FIG 3 - SELECTING A DOWNMIX DEFAULT FOR USE IN A SHOW
FIG 4 - DOWNMIX DEFAULT