Getting Signals into Apollo
56 APOLLO
Digital Broadcast Production Console
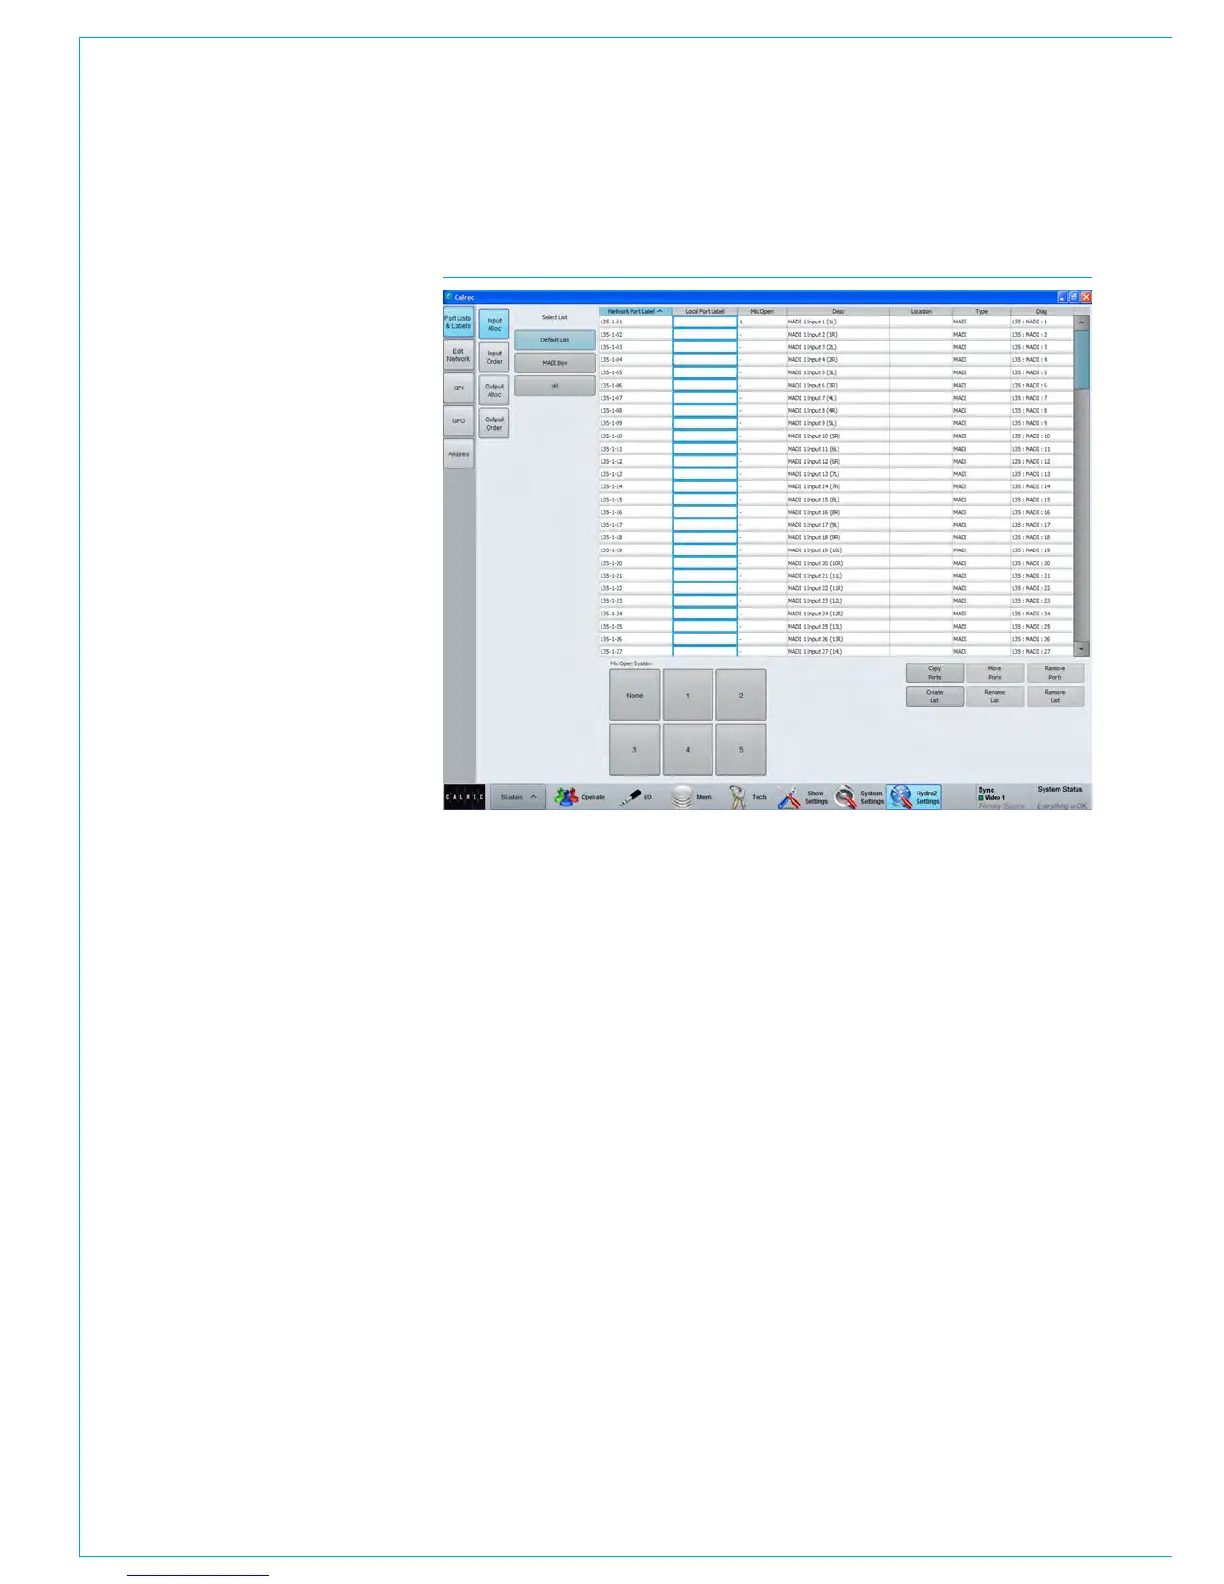
FIG 2 - PORTS LIST SETUP SCREEN
Console level port labelling is performed
from >Hydra2 Settings>Port Lists &
Labels screen in the main application see
Fig 2. In this screen, touch the ‘Input
Alloc’ or ‘Output Alloc’ button to access
the available input or output ports. Double
click a port name to provide a new name.
Each label is updated as soon as they are
edited.
If the port list is being viewed
alphabetically in label order, editing them
will cause them to move position in the list
and they can disappear from view. The list
view can be filtered by any of the columns.
To prevent ports moving as they are
labelled, click on the ‘Diag’ column header
to view them in their physical order.
Note that up to 20 characters can be
entered as port labels. All 20 characters
are visible in the main application, and
H2O, however the control surface has
limited text fields. Fader displays only
show the first 10 characters of a port
label, TFT meter labels will show 14.
When reviewing port lists in the patching
screens, the ports are displayed
alphabetically. This should be considered
when labelling ports. Ports can be
grouped together even if they are not in
alphabetical order using sets which are
described later in this section.
Port lists
Ports can be assigned to lists. Lists
provide a way of filtering the information
shown when patching ports.
To access ports lists, go to the
>Hydra2 Settings>Port Lists & Labels
screen in the main application (Fig 2).
Select the ‘Input Alloc’ or ‘Output Alloc’
button at the left of the screen to work
with input or output ports respectively.
The screen will show all available port lists
just to the right of the ‘Input Alloc’ button.
The ‘Default List’ is created automatically
and contains all available input or output
ports.
Creating lists
To create a new list, select the required
ports from the default list (or any other
list that already exists) and touch the
‘Create List’ button. A popup will appear
prompting for the name of the new list,
which can be six characters or less. Enter
the name and touch OK.
The new list will appear below the default
list and will contain the selected ports.
Touch the new list to confirm this. It
is possible to make a new list which is
empty, by ensuring that no ports are
selected when touching the ‘Create List’
button.
Copying and moving ports to lists
Ports can be copied or moved between
lists by selecting the required ports in the
source list and touching ‘Copy Lists’ or
‘Move Lists’. A popup dialogue will appear
allowing selection of the destination list.
Select the destination list and touch OK.
Removing ports from lists
To remove ports from a list, select the
required ports and touch the ‘Remove
Ports’ button.
Renaming lists
Touch the ‘Modify Lists’ button to bring up
a popup dialogue. This dialogue allows
you to select a list and rename it.
Removing lists
To remove a list, select the required list
and touch the ‘Remove List’ button.
A popup dialogue will appear asking for
confirmation of the removal.
Sets
Sets provide a way to group ports which
together form part of a single source, for
example a 5.1 surround source.