Front Panel Operation Revision 4
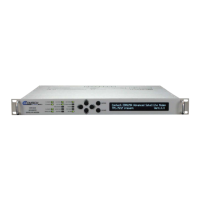
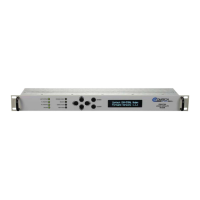
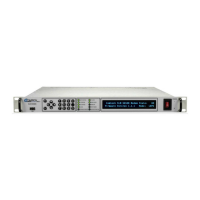
CDM-760 Advanced High-Speed Trunking Modem MN-CDM760
6–72
On the bottom line – Use the arrow keys to select the standby image (in this example, Image
#2) if desired. Press ENTER. You are then prompted to reboot the unit.
6.2.7 SELECT: ODU (Outdoor Unit)
ODU: BUC:PwrSupply+Ref
LNB:PwrSupply+Ref FSK-control ()
Use the arrow keys to select BUC:PwrSupply+Ref or LNB:PwrSupply+Ref. Press ENTER.
FSK-control is reserved for FUTURE use and is non-operational at this time.
6.2.7.1 (ODU:) BUC:PwrSupply+Ref
BUC control/monitor:
PSU-and-10MHz PSUmonitor ()
Use the arrow keys to select PSU-and-10MHz. Press ENTER.
PSUmonitor is reserved for FUTURE use and is non-operational at this time.
6.2.7.1.1 (ODU: BUC:PwrSupply+Ref) PSU-and-10MHz
BUC: Voltage=Off 10MHz=Off (Off,On)
Alarm limits, from 000 to 500 mA ()
The BUC: Voltage and Alarm Limits controls are reserved for FUTURE use and are non-
operational at this time.
Use this menu to enable a high stability 10MHz reference clock with ±0.06 ppm on the
rear panel J12 | L-BAND TX IN Type ‘N’ connector.
Use the arrow keys to select the 10MHz Reference as Off or On. Press ENTER.
6.2.7.2 (ODU:) LNB:PwrSupply+Ref
LNB control/monitor:
PSU-and-10MHz PSUmonitor ()
Use the arrow keys to select PSU-and-10MHz or PSUmonitor. Press ENTER.