C
HAPTER
5
| Interface Configuration
Trunk Configuration
– 135 –
COMMAND USAGE
◆ When configuring static trunks, you may not be able to link switches of
different types, depending on the manufacturer’s implementation.
However, note that the static trunks on this switch are Cisco
EtherChannel compatible.
◆ To avoid creating a loop in the network, be sure you add a static trunk
via the configuration interface before connecting the ports, and also
disconnect the ports before removing a static trunk via the
configuration interface.
PARAMETERS
These parameters are displayed:
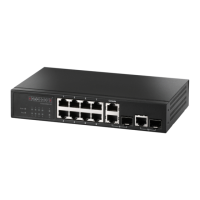
◆ Trunk ID – Trunk identifier. (Range: 1-5)
◆ Member – The initial trunk member. Use the Add Member page to
configure additional members.
■
Unit – Unit identifier. (Range: 1)
■
Port – Port identifier. (Range: 1-10)
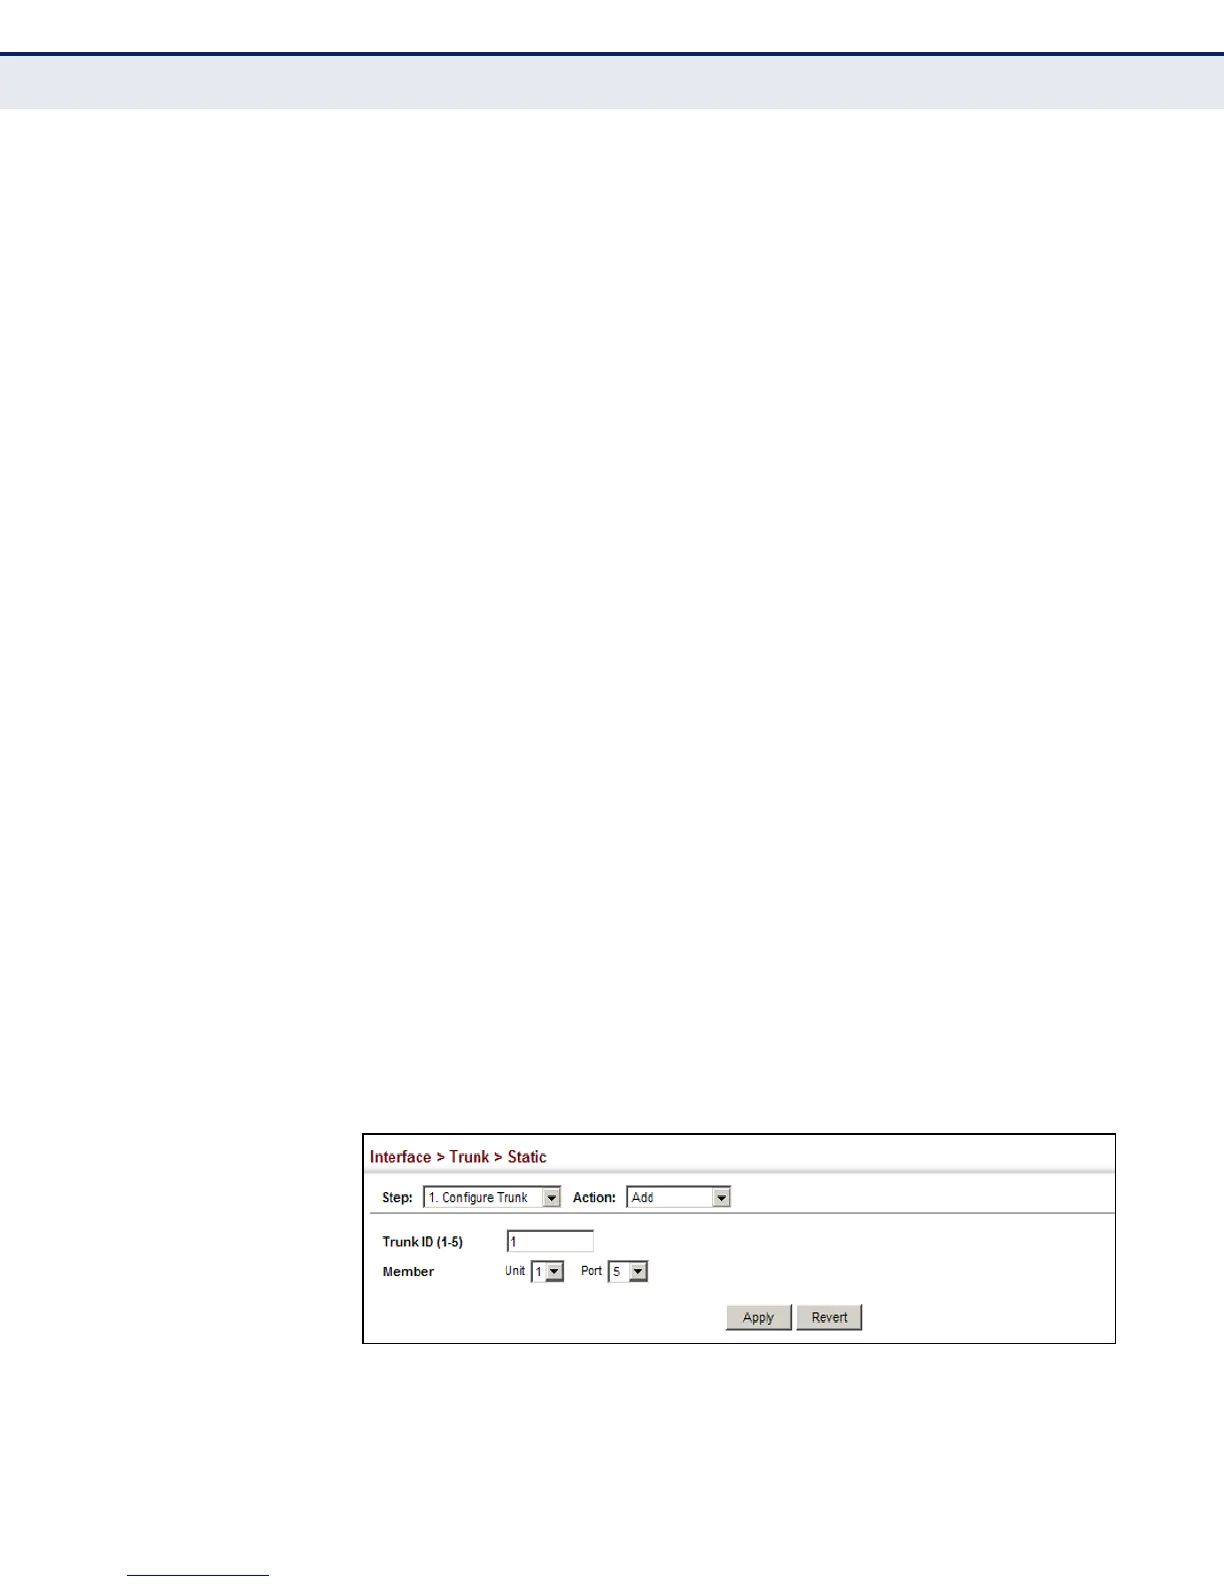
WEB INTERFACE
To create a static trunk:
1. Click Interface, Trunk, Static.
2. Select Configure Trunk from the Step list.
3. Select Add from the Action list.
4. Enter a trunk identifier.
5. Set the unit and port for the initial trunk member.
6. Click Apply.
Figure 38: Creating Static Trunks
 Loading...