GE MEDICAL SYSTEMS PROPRIETARY TO GE
D
IRECTION 2294854-100, REVISION 3 LOGIQ™ 9 PROPRIETARY MANUAL
Chapter 8 Replacement Procedures 8-11
8-2-7 Front Bumper Replacement Procedure
8-2-7-1 Manpower
One person, 30 minutes
8-2-7-2 Tools
Phillips size 2
Torx screwdriver T-20
8-2-7-3 Preparations
1.) Shut down the system as described in Section 4-3-2 on page 4-3.
2.) Remove Front Cover as described in Section 8-2-5 on page 8-9.
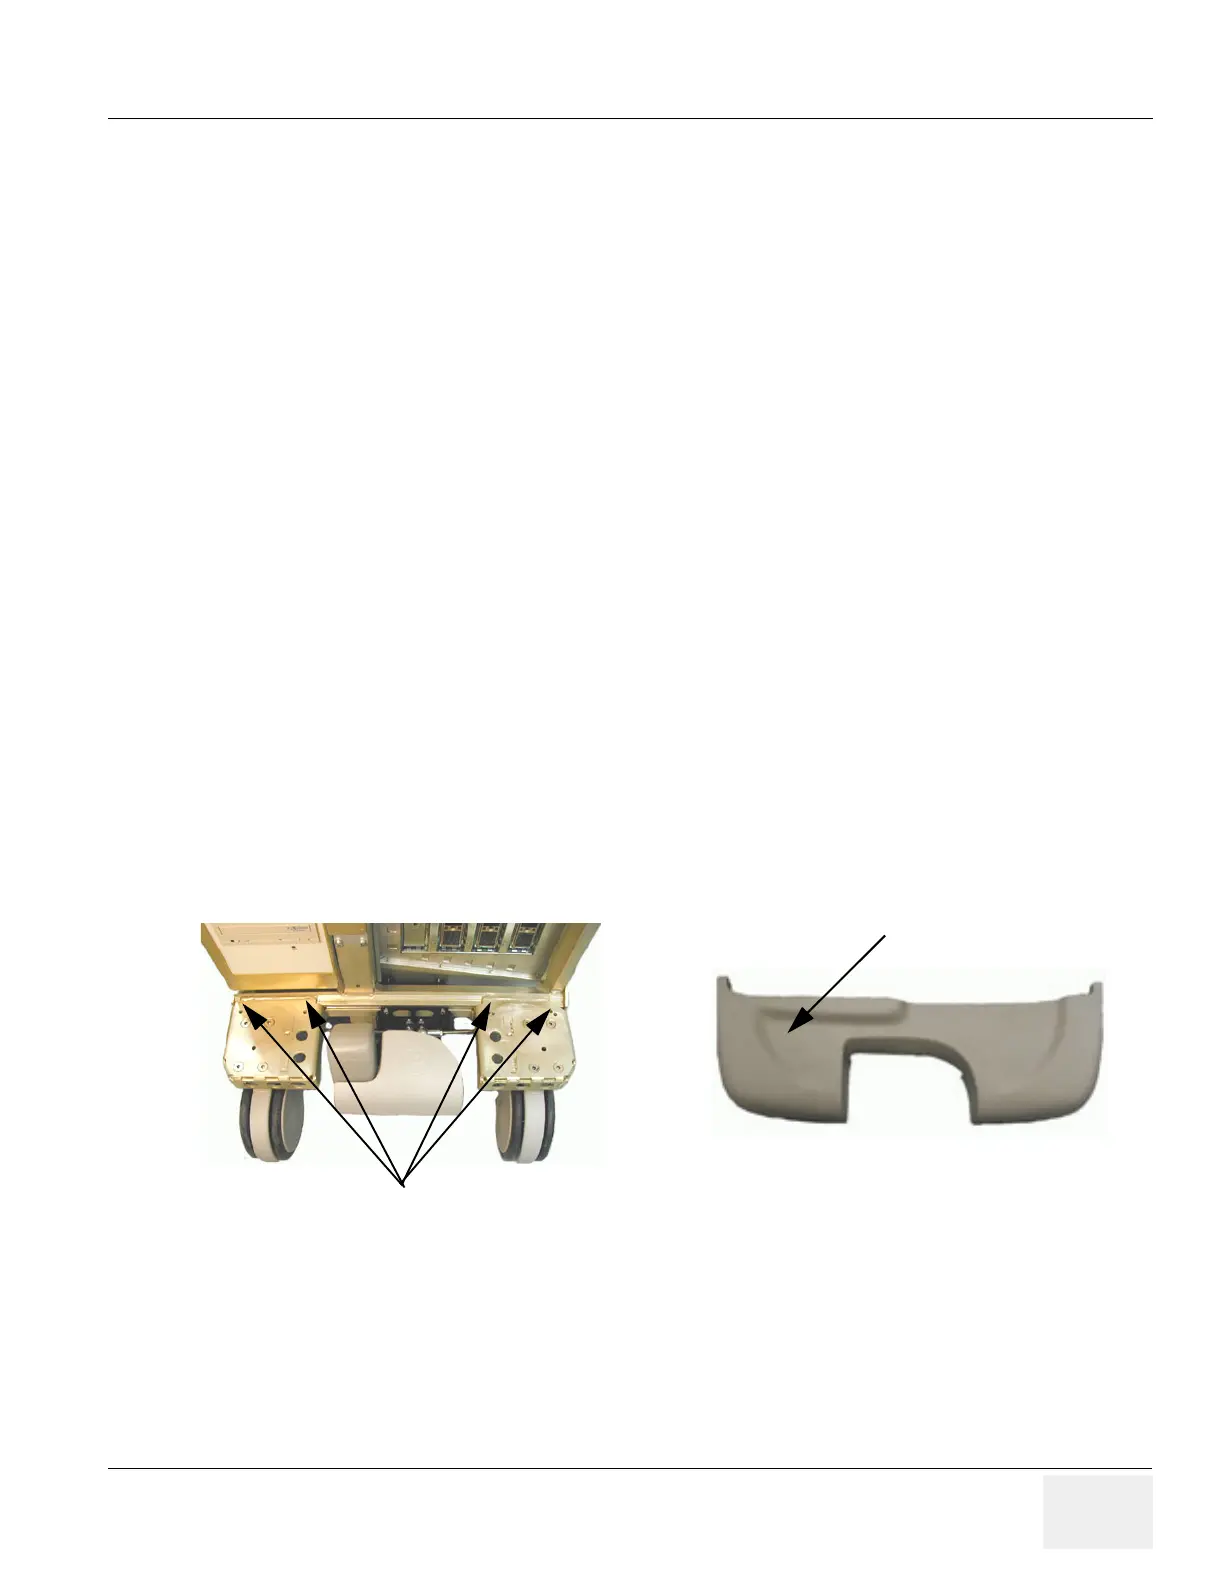
8-2-7-4 Front Bumper Removal Procedure
1.) Unscrew 4 Torx screws under the bumper.
2.) Lift the bumper off.
8-2-7-5 Front Bumper Installation Procedure
1.) Put the new bumper in position.
2.) Fasten the 4 screws firmly.
NOTE: Do NOT overtighten these screws.
3.) Install Front Cover as described in Section 8-2-5 on page 8-9. (click here to view the cover
installation video)
Figure 8-7 System Front Bumper
Screw holes
Front Bumper