EasyManuals Logo

GE LOGIQ 9 User Manual

GE LOGIQ 9
570 pages
To Next Page IconTo Next Page
To Previous Page IconTo Previous Page
Page #462 background imageLoading...
Page #462 background image
GE MEDICAL SYSTEMS PROPRIETARY TO GE
D
IRECTION 2294854-100, REVISION 3 LOGIQ™ 9 PROPRIETARY MANUAL
8-164 Section 8-44 - Inner Boss Bumper Removal Procedure
Section 8-44
Inner Boss Bumper Removal Procedure
8-44-1 Manpower
8-44-2 Tools
Hexagon key 2,5 mm
8-44-3 Inner Boss Bumper Replacement Procedure
1.) Move Top Console in front position.
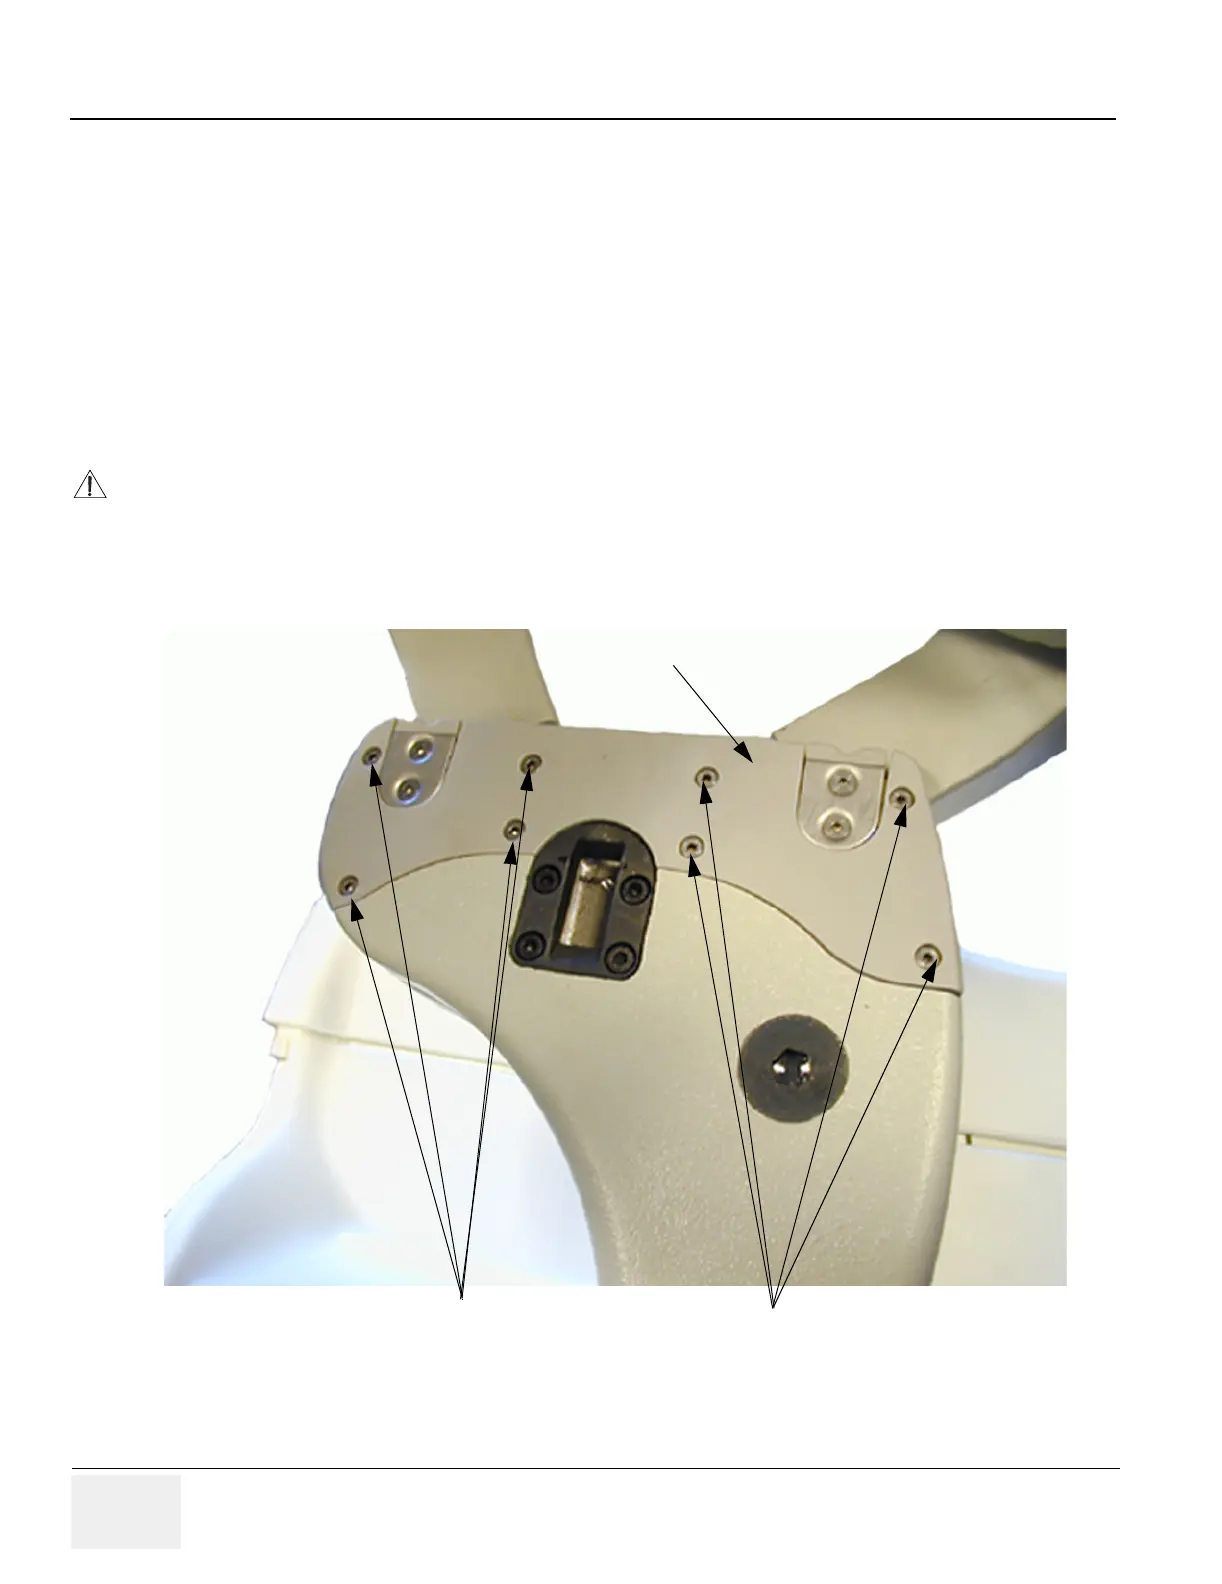
2.) Unscrew 8 hexagon screws.
3.) Replace the bumper.
CAUTION
Be aware of the risk of squeezing fingers in Frogleg Assembly.
Figure 8-170 Frogleg base
Hexagon screws
Hexagon screws
Inner Boss Bumper

Table of Contents

Other manuals for GE LOGIQ 9

Questions and Answers:

Question and Answer IconNeed help?

Do you have a question about the GE LOGIQ 9 and is the answer not in the manual?

GE LOGIQ 9 Specifications

General IconGeneral
BrandGE
ModelLOGIQ 9
CategoryMedical Equipment
LanguageEnglish

Related product manuals