GE MEDICAL SYSTEMS PROPRIETARY TO GE
D
IRECTION 2294854-100, REVISION 3 LOGIQ™ 9 PROPRIETARY MANUAL
Chapter 8 Replacement Procedures 8-171
8-47-6 Differences in Replacing the Digital Color Printers (cont’d)
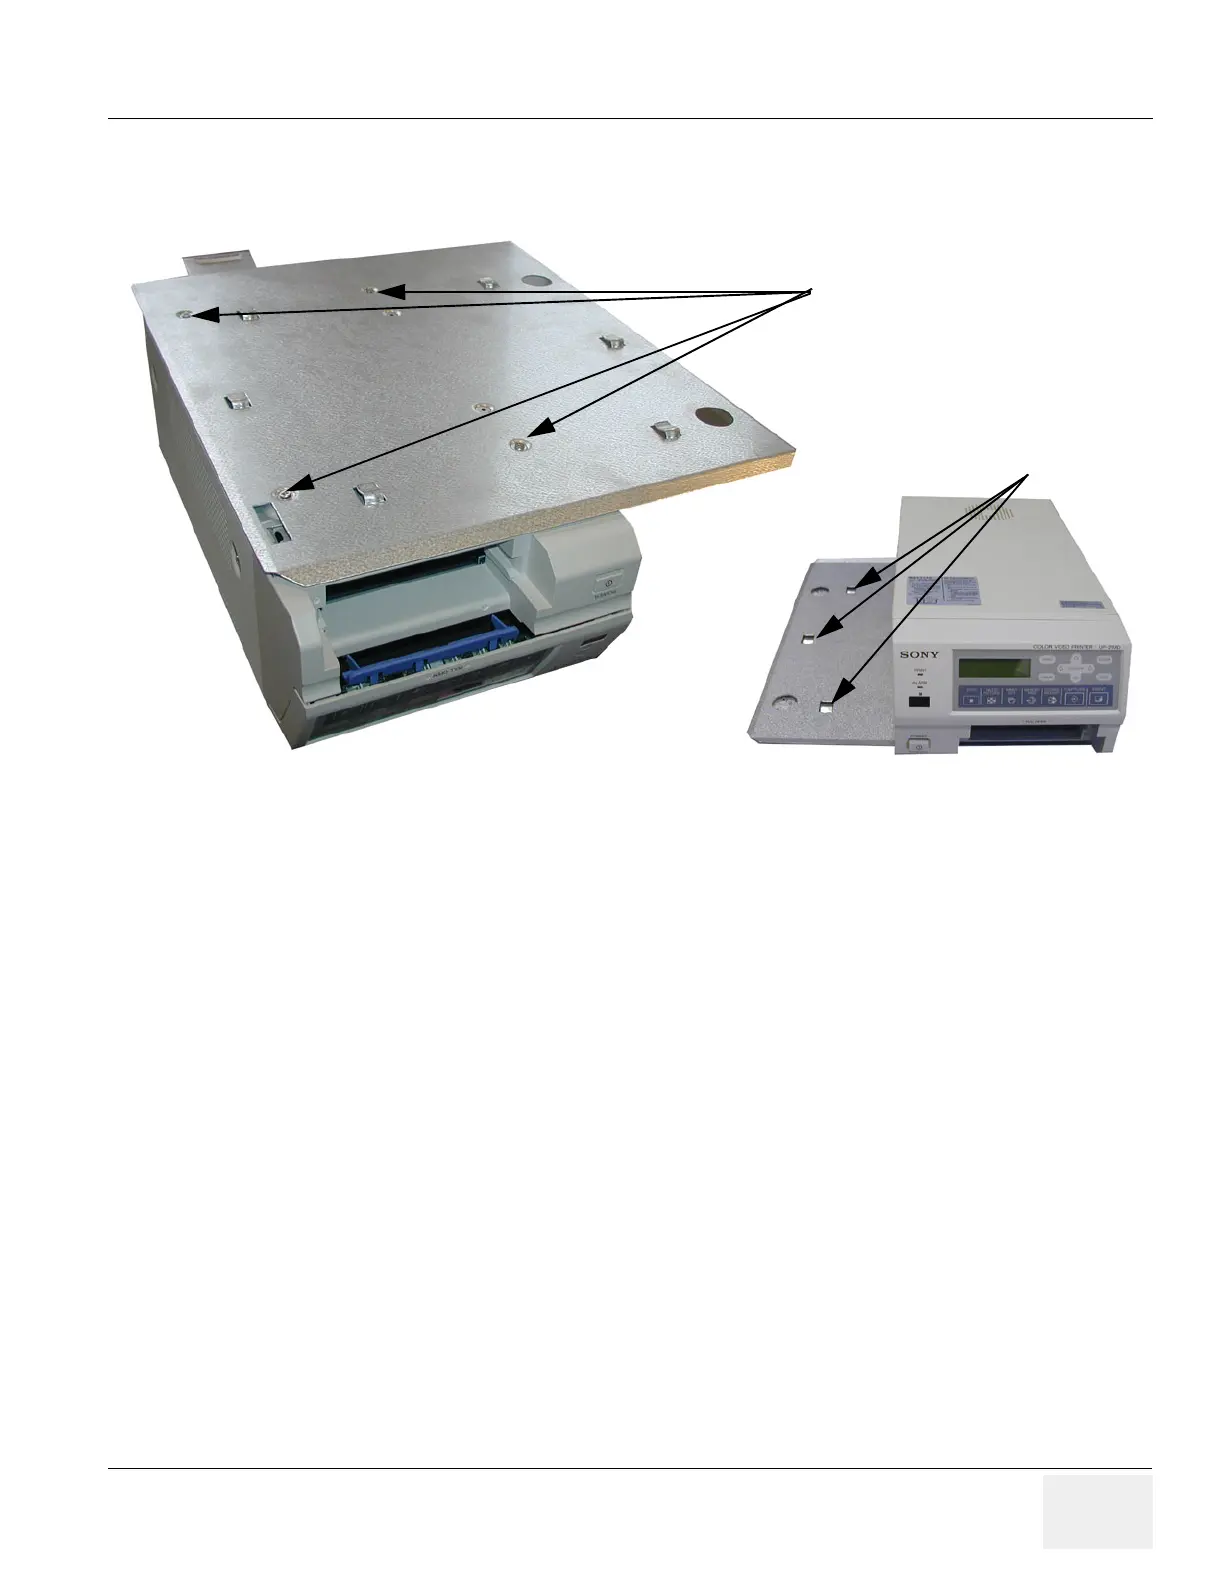
8-47-7 UP-D21 Installation Procedure
1.) Install the mounting plate on the new printer.
2.) On the left side of the System: Slide the UP-D21MD Printer Assembly into the color printer opening.
3.) The Mounting Plate has six Latch Clamps under and one Latch Lock at the rear end. These fit in
square holes in the system’s frame and locks the UP-D21MD when it’s pushed in position.
4.) Install the Cover Box and secure with two (2) screws shown in Figure 4-4.
Figure 8-178 Sony UP-D21MD Mounting Plate
Screws
Latch Clamps
Three more
under the
Printer