GE MEDICAL SYSTEMS PROPRIETARY TO GE
D
IRECTION 2294854-100, REVISION 3 LOGIQ™ 9 PROPRIETARY MANUAL
8-118 Section 8-29 - Alpha-Numeric (A/N) Keyboard Replacement Procedure
8-29-5 A/N Keyboard Installation
1.) Using the key removal tool, remove the “return” and left “shift” keys from the replacement keyboard.
use the same procedure as before. Make sure that the plungers come off with the keys and that
they are fully seated into the keytop after removal.
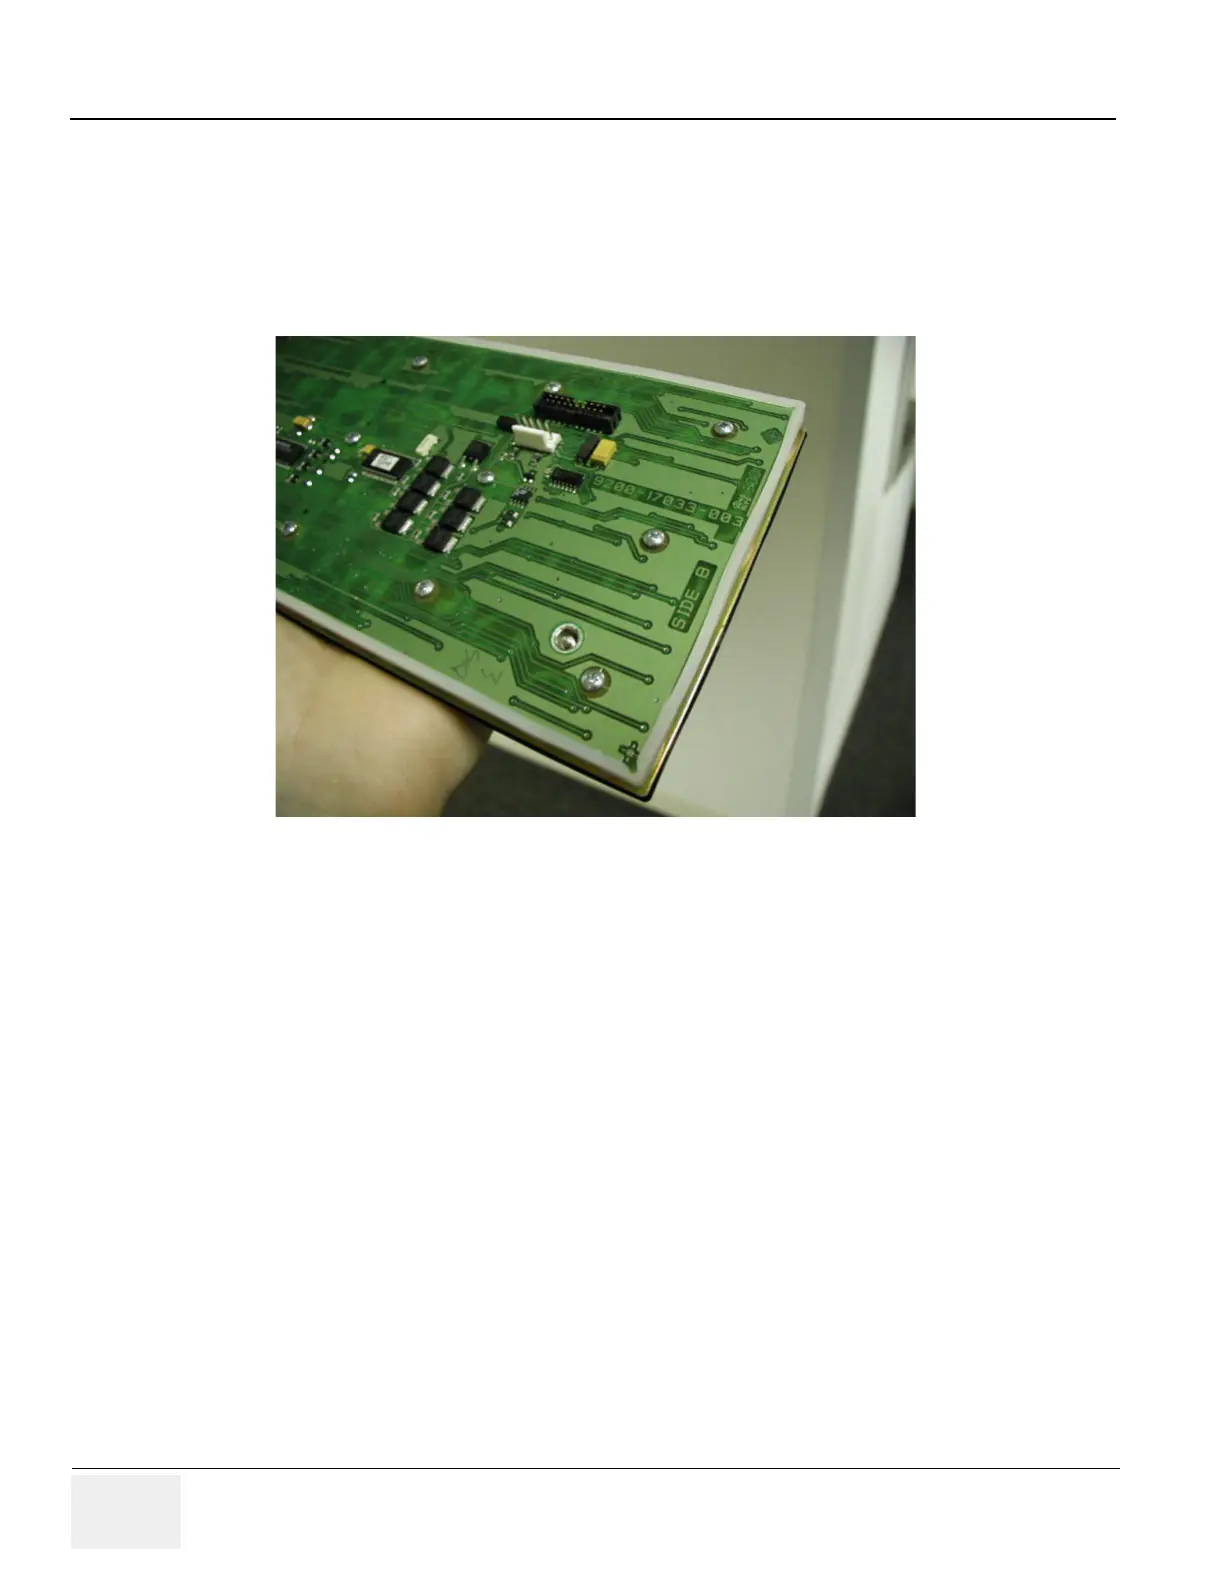
2.) Check the replacement keyboards rubber gasket. When seated correctly, it should wrap around the
edge of the circuit board. If the gasket is not seated correctly, the keyboard will be difficult to install.
3.) Connect the cables to the replacement keyboard. Check that the cables are not shifted by one row
of pins as this is possible to do.
4.) Insert the keyboard left side first making sure the gasket remains seated around the circuit board.
Figure 8-128 Keyboard Gasket