GE MEDICAL SYSTEMS PROPRIETARY TO GE
D
IRECTION 2294854-100, REVISION 3 LOGIQ™ 9 PROPRIETARY MANUAL
Chapter 8 Replacement Procedures 8-119
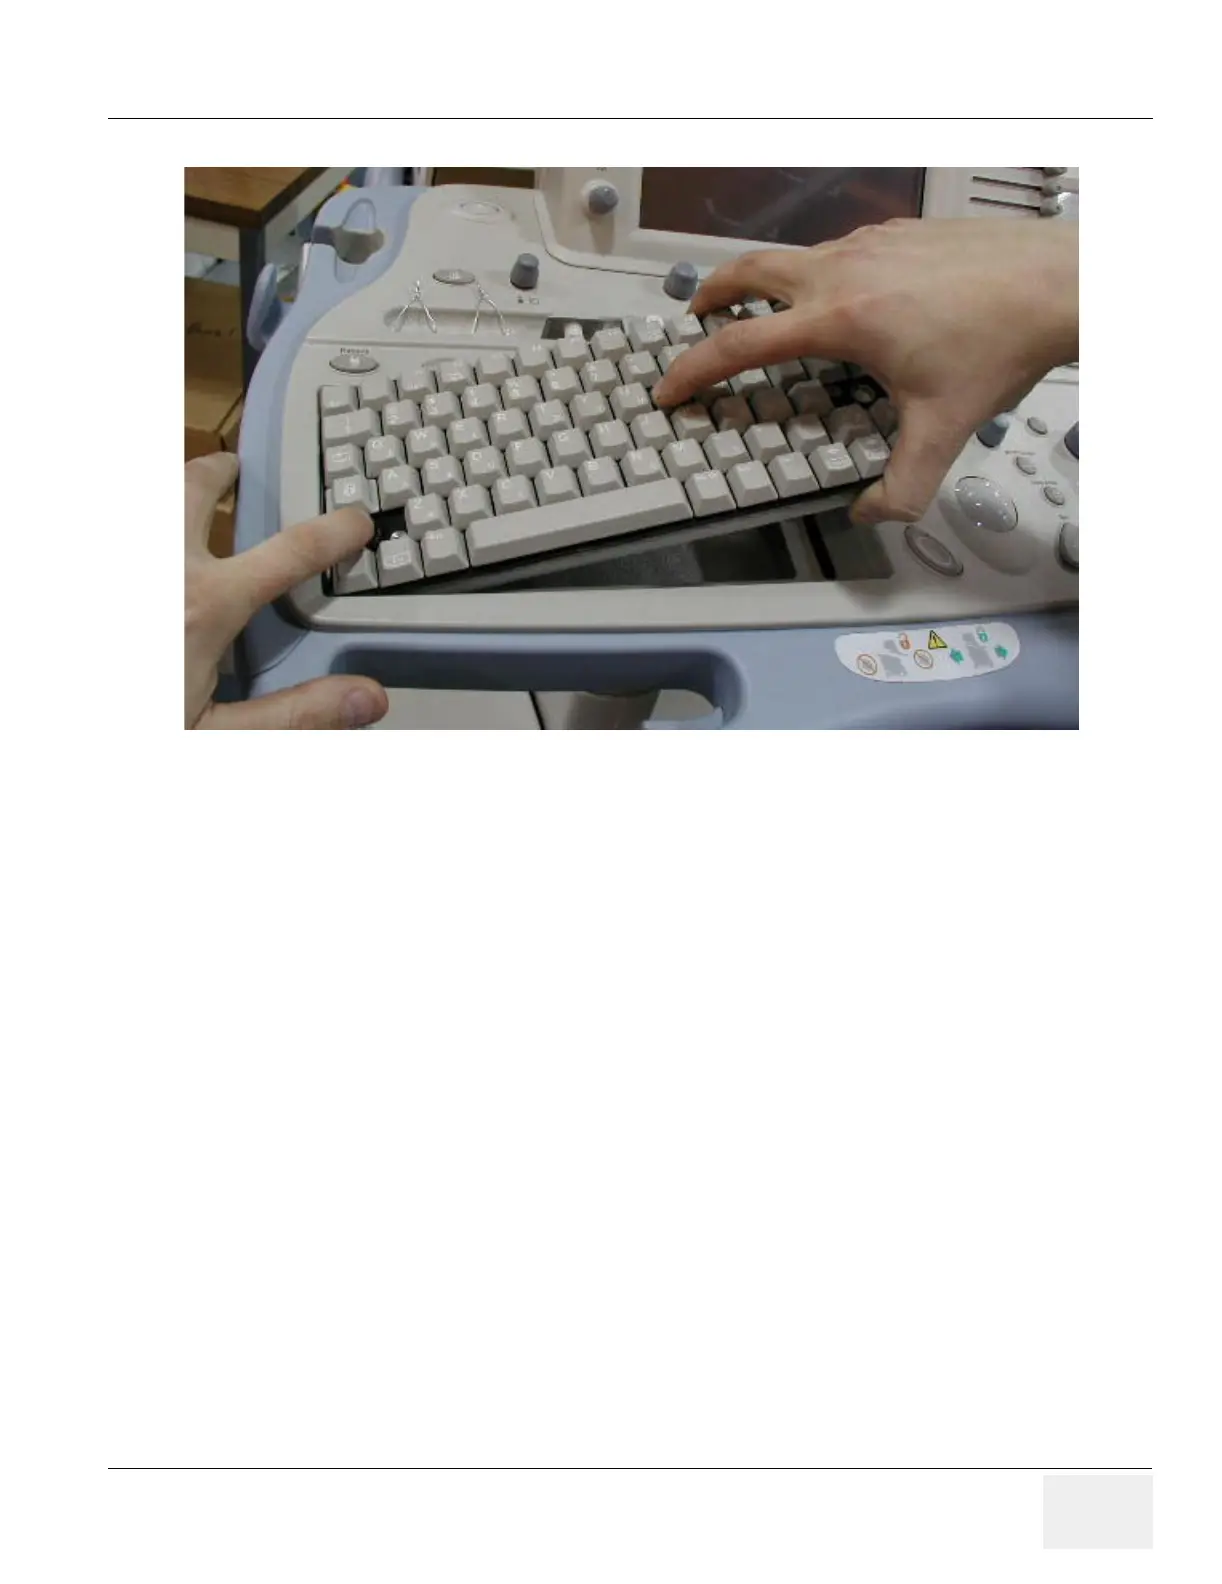
5.) Continue to work the keyboard down into the plastics slightly pushing to the left so that the gasket
on the right side goes into the plastics without getting disturbed.
6.) Seat the keyboard fully by pushing down on the whole keyboard with both hands.
7.) Check the function of the keys around the keyboard edge. If keys stick or have a bad feel. the
gasket probably got disturbed and is not around the edge of the circuit board. Remove the keyboard
check the gasket and try again.
8.) If the keyboard is seated correctly, secure it with the screws.
9.) Reinstall the keytops. If a keytop seem too high, the white plunger was probably not seated all the
way into the keytop. The keytop and plunger must be removed to fully seat the plunger into the
keytop.
10.)Energize the system and type with the keyboard to check the function of each key.
Figure 8-129 Replacing Keyboard