GE MEDICAL SYSTEMS PROPRIETARY TO GE
D
IRECTION 2294854-100, REVISION 3 LOGIQ™ 9 PROPRIETARY MANUAL
8-114 Section 8-29 - Alpha-Numeric (A/N) Keyboard Replacement Procedure
Section 8-29
Alpha-Numeric (A/N) Keyboard Replacement Procedure
The A/N Keyboard can be replaced without removal of the operator panel from the frame. The screws
for removal are hidden under the “return” and left “shift” keys.
8-29-1 Manpower
8-29-2 Tools
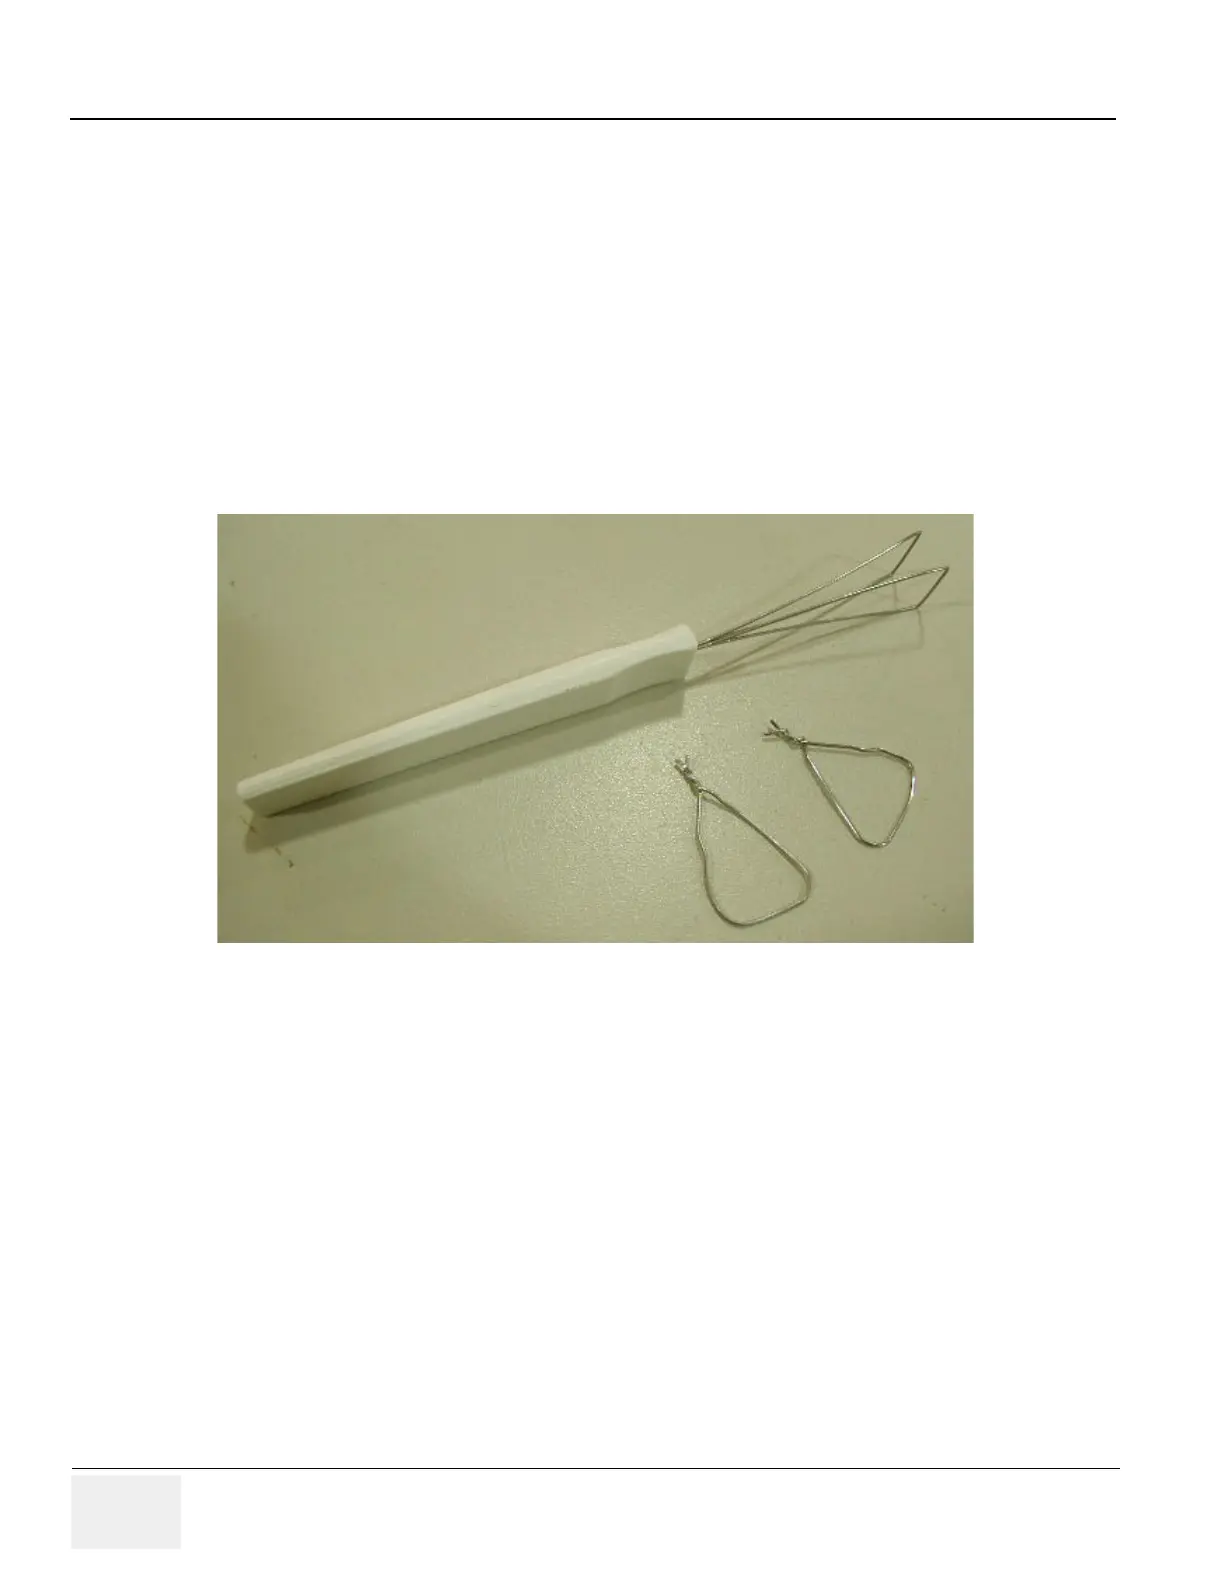
A key removal tool is required. Acquire a commerical key removal tool or fashion two loops made from
paperclips as shown in Figure 8-123 on page 8-114 .
8-29-3 Preparations
1.) Power Down/Shutdown the system as described in Section 4-3-2 on page 4-3
8-29-4 A/N Keyboard Removal
1.) Place the loops under opposite corners of the key to be removed as shown in Figure 8-
124 on page 8-115 . To remove the AN keyboard, the “return” and left “shift” keys must be
removed.
2.) Pull up with the tool but also slightly to the top edge (number row) of the keyboard. The slight pull
towards the top forces the white plunger to come off with the key. If using paperclips, it works best
if you use one hand on each clip and pull together.
3.) If the white plunger stays in the keyboard, you can reinstall the key and try again. Or, the plunger
can be removed from the keyboard needle nose pliers grabbing between the same points as where
the key inserts.
Figure 8-123 Key Removal Tools