GE MEDICAL SYSTEMS PROPRIETARY TO GE
D
IRECTION 2294854-100, REVISION 3 LOGIQ™ 9 PROPRIETARY MANUAL
8-92 Section 8-18 - Monitor Assembly Replacement Procedure
Section 8-18
Monitor Assembly Replacement Procedure
8-18-1 Manpower
2 persons, 1 hour
8-18-2 Tools
#2 Phillips screwdriver
5 mm Hexagon key
8-18-3 Preparations (click here to view the cover removal video)
1.) Power Off/Shutdown the system as described in Section 4-3-2 on page 4-3.
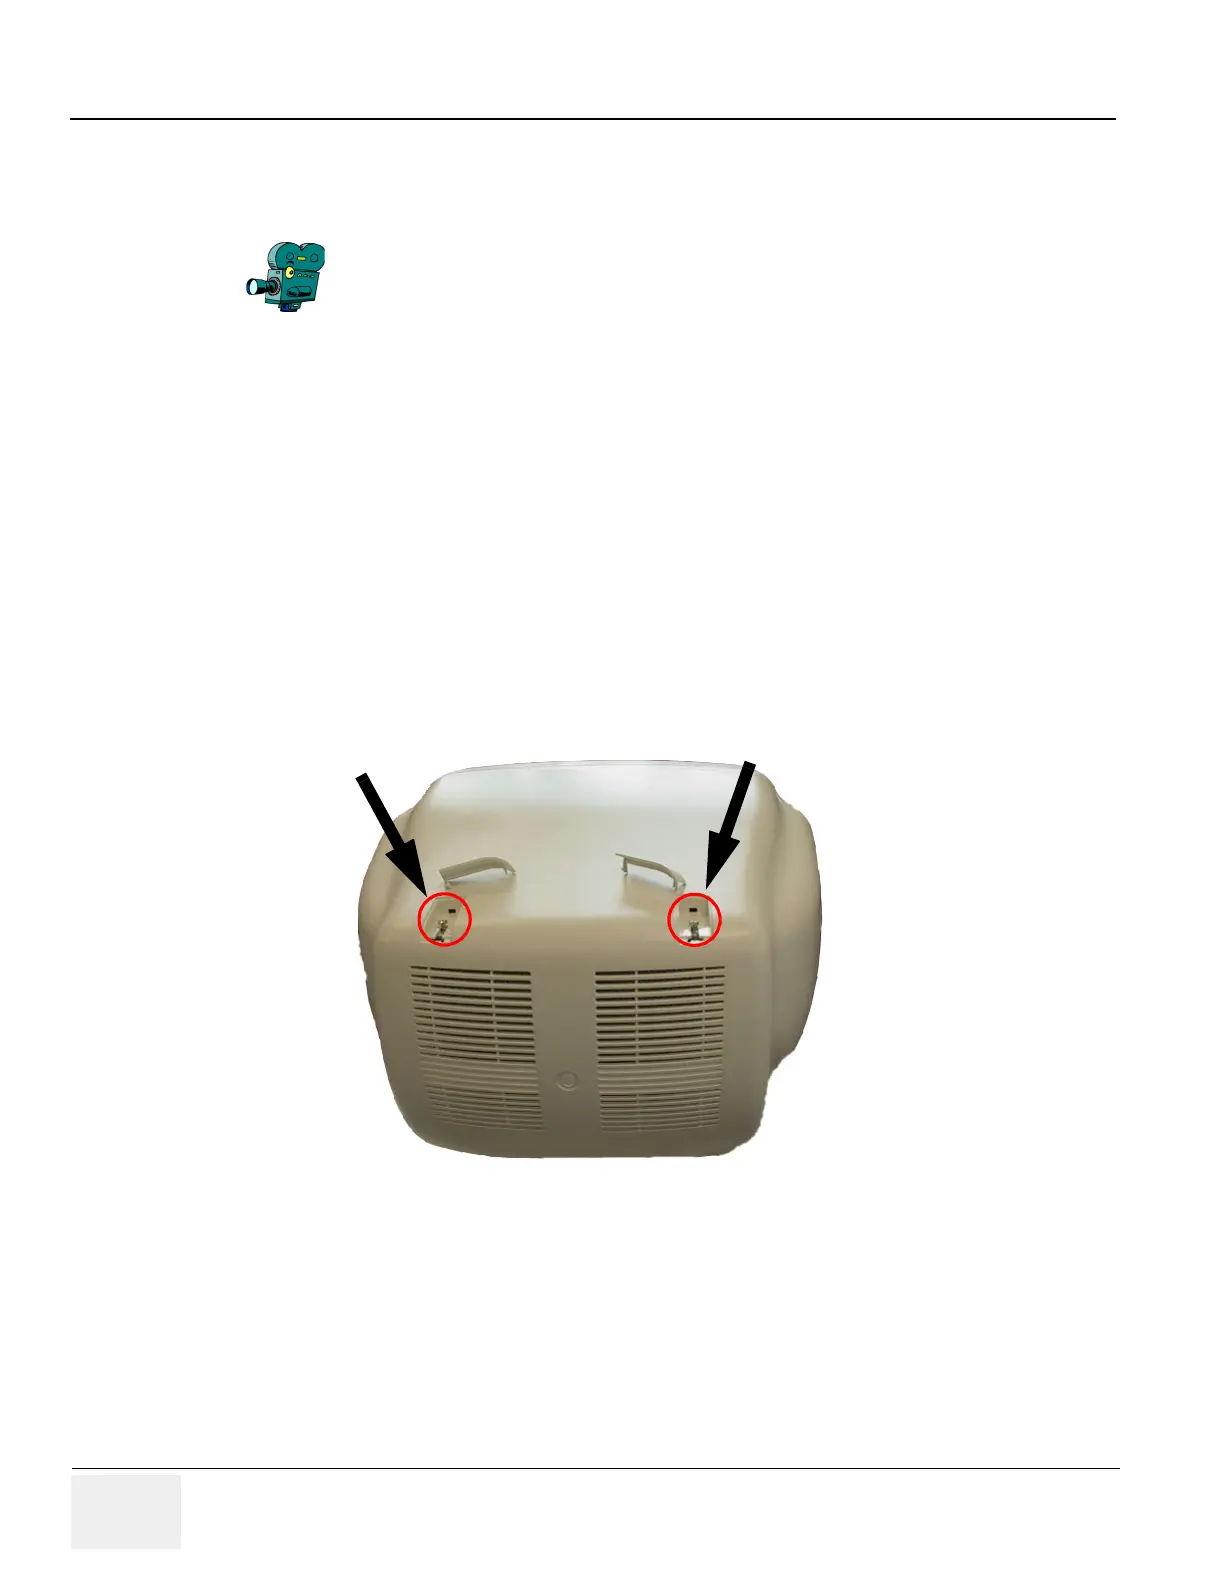
2.) .Remove the Monitor cover: Refer to Figure 8-102 and Figure 8-103.
a.) Remove the two top screw caps (covers)
b.) Remove the top two screws.
c.) Tilt the back of the monitor up as much as possible and position the back of the monitor over
the top tray well.
d.) Using a stubby screwdriver remove the two screws in the bottom of the cover.
Select the movie camera icon to view the video of the monitor
replacement procedure.
6 minutes and 13 seconds
Figure 8-102 Monitor Cover Top Screws