GE MEDICAL SYSTEMS PROPRIETARY TO GE
D
IRECTION 2294854-100, REVISION 3 LOGIQ™ 9 PROPRIETARY MANUAL
Chapter 8 Replacement Procedures 8-91
8-17-5 AC Transformer Installation Procedure (cont’d)
.
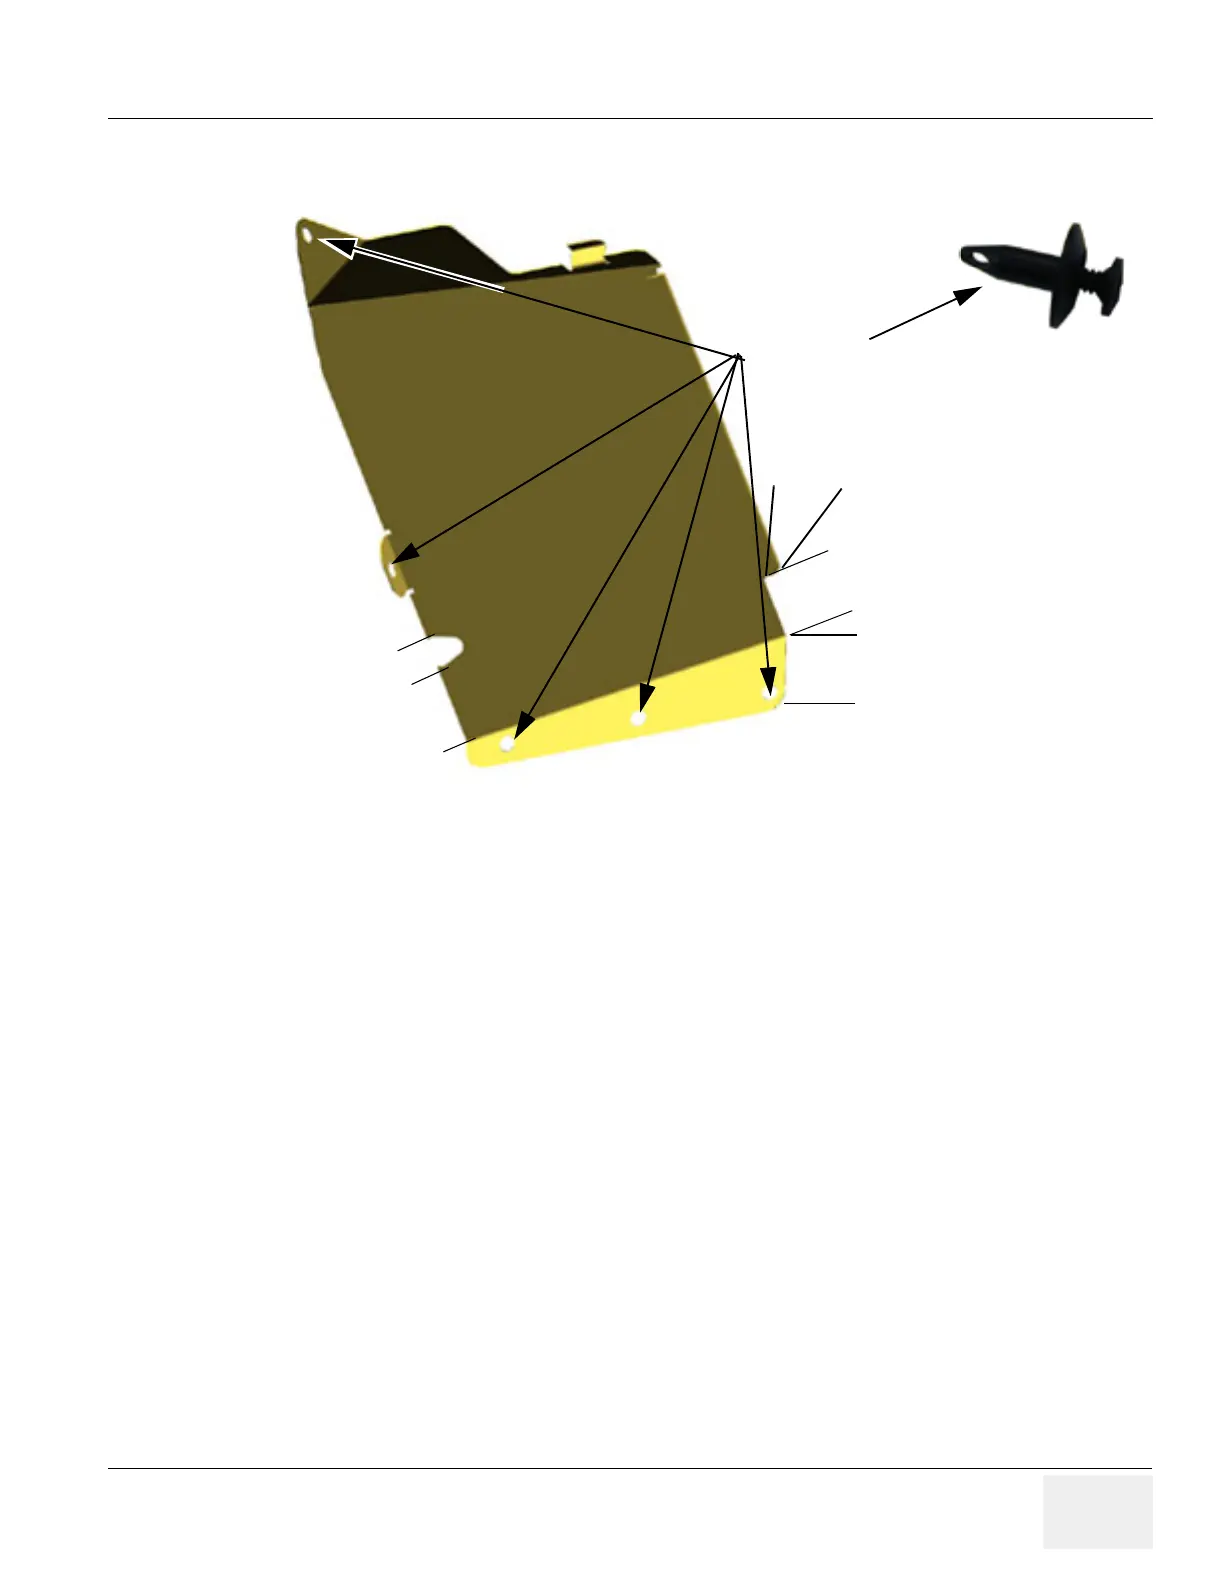
7.) Compare Rat Guard with illustration in Figure 8-101 above. If it is not already done, use a hack saw
or metal shears and modify Rat Guard according to this illustration.
8.) Install Rat Guard.
9.) Secure Rat Guard with five (5) new plastic expansion plugs, P/N 080X3141.
10.)Install the Lower Rear Cover as shown in Section 8-2-6 on page 8-10
11.)Install the Upper Rear Cover shown in Section 8-2-3 on page 8-7.
12.)Install both left- and right-side covers as shown in Section 8-2-2 on page 8-5.
13.)If required, Power On/Boot-up the scanner as described in Section 4-3-1 on page 4-2.
14.)Do functional check-out as described.
Figure 8-101 Rat Guard modification
Expansion plugs
36 mm
30 mm
40 mm
15 mm
12 mm
 Loading...


