GE MEDICAL SYSTEMS PROPRIETARY TO GE
D
IRECTION 2294854-100, REVISION 3 LOGIQ™ 9 PROPRIETARY MANUAL
Chapter 8 Replacement Procedures 8-55
8-11-2 Export/Import (Moving Data Between Ultrasound Systems) (cont’d)
5.) Once you have selected all of the patients to export, press Copy Patient from the Select All/
Copy Patient Menu.
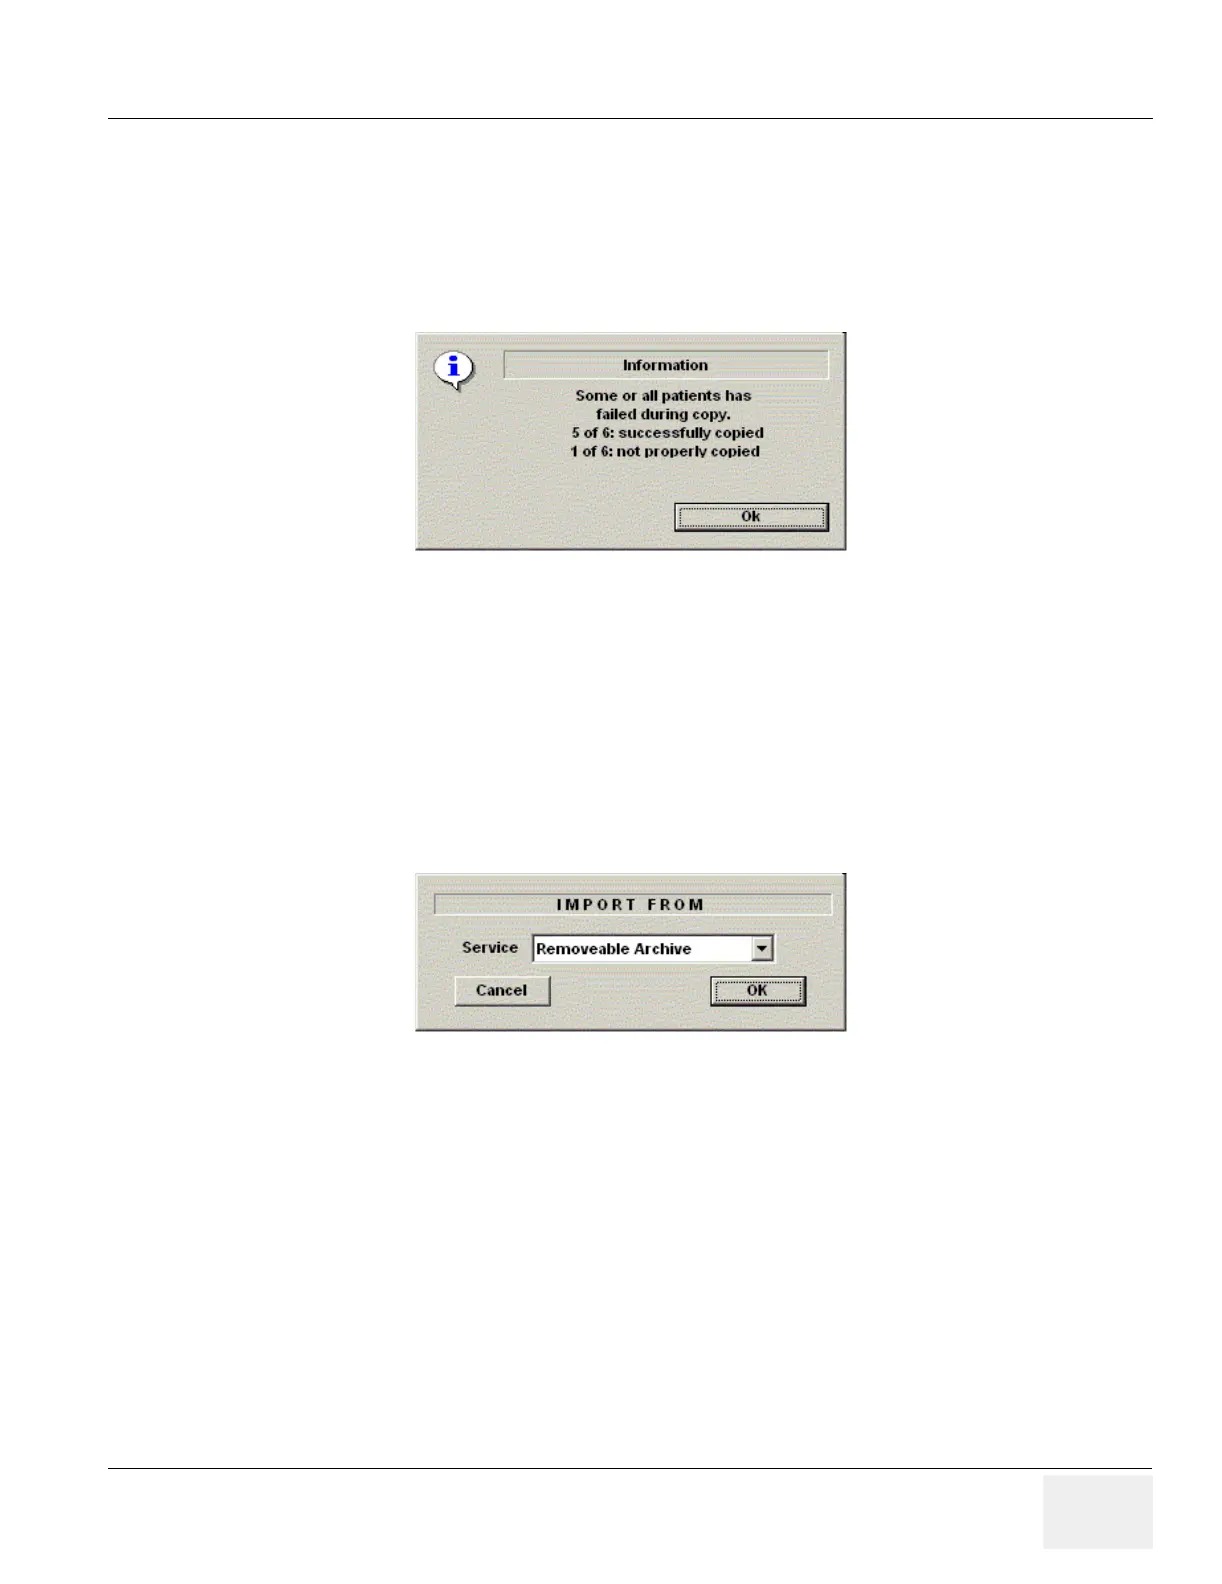
6.) Informational status messages appear as the copy is taking place. A final status report pop-up
message appears. Press OK.
1.) Press F3 to eject the media. Specify that you want to finalize the CD-ROM. However, if
you want to import this data to another system, do not finalize the CD.
8-11-2-2 Importing Data
To import an exam(s) to another Ultrasound system,
1.) At the other Ultrasound system, insert the MOD or CD-ROM.
2.) Press Patient, press More, then Import. The Import from pop-up message appears. Press OK.
3.) The Patient menu just shows the patients available for import from the removable media you
just loaded onto the system.
4.) Select the patients to be imported.
5.) Press Copy Patient from the Select All/Copy Patient menu.
6.) Please wait for the patient information to be copied to this Ultrasound system. Informational
messages appear while the import is taking place.
7.) Press F3 to eject the media.
Figure 8-58 Export Completion Status Message
Figure 8-59 Import Pop-up Message
 Loading...