GE MEDICAL SYSTEMS PROPRIETARY TO GE
D
IRECTION 2294854-100, REVISION 3 LOGIQ™ 9 PROPRIETARY MANUAL
Chapter 8 Replacement Procedures 8-161
4.) Lift Frogleg off its cone axle.
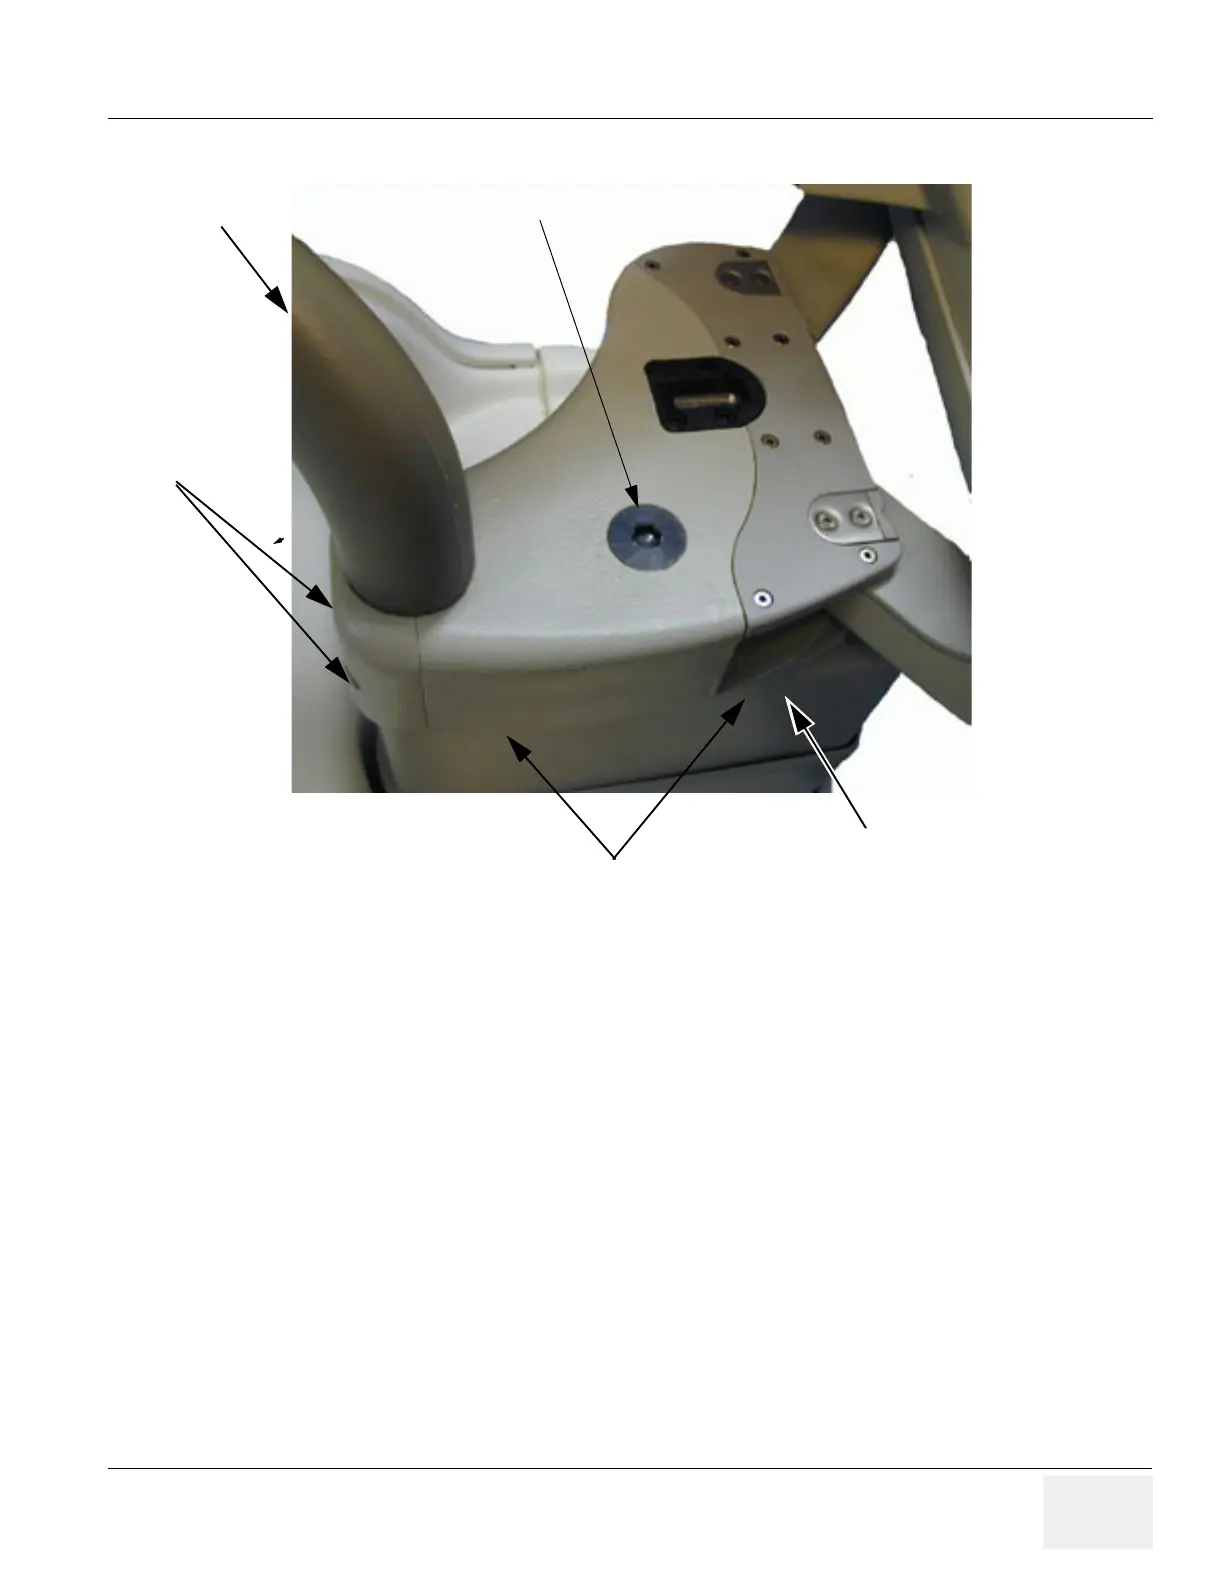
8-41-5 Frogleg Installation Procedure
1.) Install a new Frogleg on the axle. Make sure its position forward is correct.
2.) Tighten the hexagon bolt with a momentum of 250 Newton.
3.) Fasten 4 screws on the Upper Column Cover.
4.) Reinstall the Top Console Assembly.
5.) Install the cable neck on the Froglegs back.
6.) Install Monitor as described in Monitor Replacement on page 8-94.
Figure 8-167 Frogleg base
Upper column cover
10 mm hexagon bolt
Neck
Screws
2 screws on each side of column