156
Chapter 12:
Measuring and Dimensioning
To edit existing dimensions
Using the shape pointer, double click on an existing dimension object. The active tool becomes
that dimension tool and the edit circles are made available to change the dimension object size
or extension lines.
OR
1 Click one of the Dimension tools.
2 Move the cursor over existing dimension lines on the work surface. The cursor
changes to show a box.
3 Click on the dimension object to show the edit circles.
4 Click and drag on the edit circles to change the size of the dimension or the extension
lines.
Understanding Dimensioning
What is dimensioning for?
Dimensioning tools are used to show the actual output sizes of objects in Composer.
Dimensions are commonly used to aid in the installation process and as a sales tool for use in
customer proofs. Dimension objects can be paper printed or optionally output from GSPPlot in
the Plot layout menu.
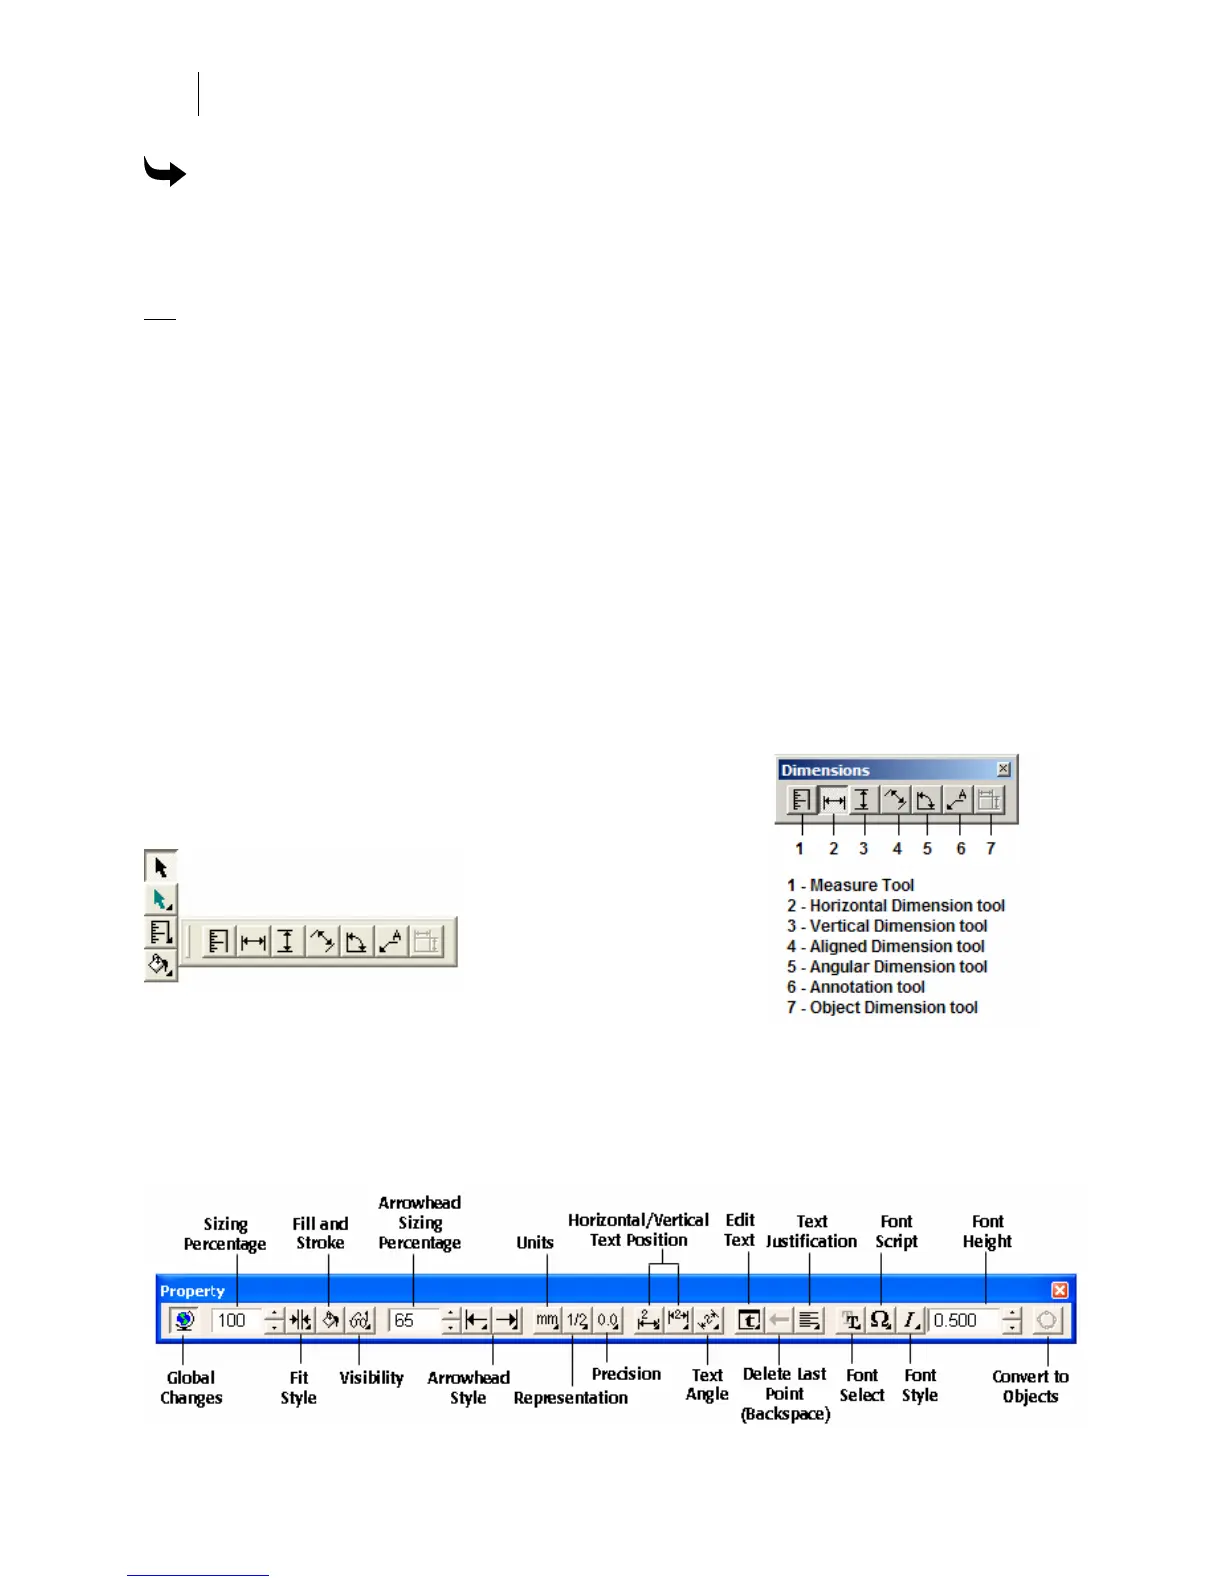
Dimensioning involves the use of a set of special tools. These
tools are displayed on the dimensioning tool bar which is a
flyout toolbar from the main menu.
Each tool in the Dimension Toolbar has customizable
properties that will present themselves when you have
chosen one of the dimensioning tools. Below is the Dimension Tools Properties box in its
entirety.
The first tool in the Dimensions toolbar is the Measure tool. Refer to the section in the beginning
of this chapter “Measuring distance and angles.”
 Loading...