355
4 Click the button to the right of the Image Path field to open the Browse for Folder
dialog box.
5 Browse the list of directories to find where the linked file is stored.
6 To change the location of the IMO files, click the button to the right of Separations Path
field to open the Browse for Folder dialog box. You must save the file before these
fields are available for editing.
7 Browse the list of directories to find the folder in which to store the IMO files.
8 Click OK to return to the Image Fill dialog box.
9 Click OK to return to Composer.
Editing images in Composer
Once an image or raster file is in Composer, you can perform basic editing functions using
Composer tools, or you can edit an image using a third-party image editing program such as
Microsoft Paint, Corel Photo-Paint or Adobe PhotoShop.
Basic Composer image editing tools
In Composer you can:
♦ Size images using the standard Composer tools.
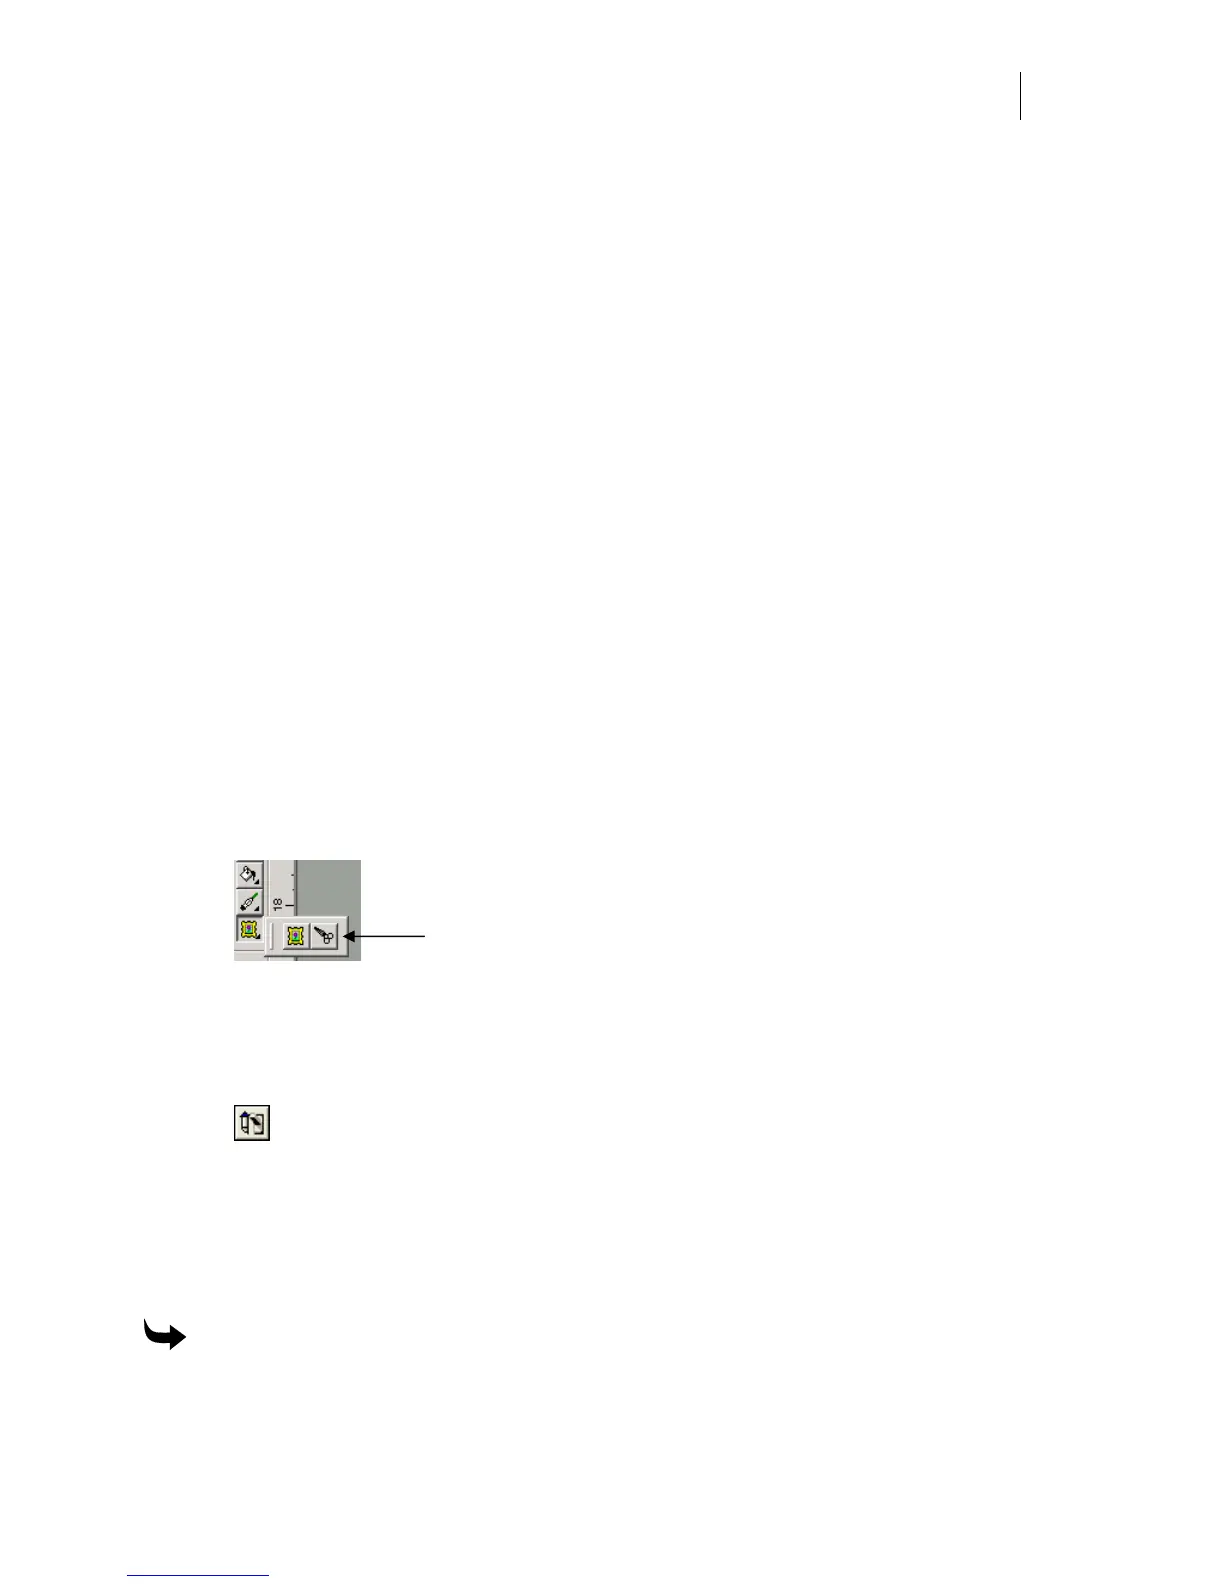
♦ Crop images using the Crop Image tool in the Image Fill toolbar. Select the image to be
cropped, click the Crop Image tool, then click and drag on the side selection handles to
crop or trim image area. If you wish to crop an image you must crop it BEFORE
rotating it. Cropping previously rotated images is not allowed.
Crop Image tool
♦ Rotate images using the standard Composer rotate tools including Directed Rotate,
Keyboard Rotate, and on work-surface rotate.
♦ Assign a cut attribute to the outside rectangle of the image using Cuts On in the
arrange toolbar.
♦ Vectorize the image as described in “Converting images to cut shapes.”
Using non-GSP image editing software to edit images already placed in
Composer
You must first select which image editor you wish to use and then edit the image.
To select an Image Editor
1 Click Tools > Options > Images. On the Images tab, click Browse in the Image Editor
group box. The Browse dialog box opens.
 Loading...